Tile Adhesive Selection Guide for Every Surface
A beautifully chosen tile can still disappoint if the adhesive beneath it is wrong for the surface, tile format or room conditions. This tile adhesive selection guide is designed to help homeowners, designers and installers specify the right fixing system from the outset, protecting both the finish and the investment in your project.
Adhesive is not simply a consumable added at the end of a tile order. It is part of the installation system. The tile, substrate, adhesive, grout, trims and preparation materials must work together, particularly in bathrooms, kitchens, entrance halls and commercial interiors where moisture, movement and regular foot traffic all place demands on the surface.
Start with the tile, not the colour
The first question is whether the tile is ceramic, porcelain or natural stone. These materials behave differently, and their weight, porosity and size affect the adhesive required.
Ceramic wall tiles are generally lighter and more absorbent, making them suitable for a wider range of wall adhesive options in dry internal areas. Porcelain is denser and has very low water absorption. It needs an adhesive with strong bonding performance, particularly when used on floors, in wet rooms or in larger formats.
Natural stone requires additional care. Some stones can be sensitive to moisture, while pale marble, limestone and certain translucent materials may be affected by grey adhesive showing through or causing discolouration. A white adhesive is often the sensible choice for light-coloured stone, but always check the tile supplier's recommendation before fixing.
Tile size matters as much as material. Large-format porcelain tiles, slim panels and rectified tiles demand a more controlled installation. Their broad surface area can make minor variations in the floor or wall much more visible, while their weight requires reliable adhesive contact. A flexible cement-based adhesive is commonly specified for these applications, with the appropriate trowel and fixing method used to achieve full support.
Tile adhesive selection guide: match it to the setting
Where the tile is being installed has a direct bearing on adhesive choice. A splashback behind a basin is very different from a porcelain floor in a busy family kitchen or a hotel bathroom.
Dry internal walls
For small to medium ceramic wall tiles in a dry room, a ready-mixed wall adhesive may be appropriate. It is convenient for smaller projects and has no mixing requirement. However, ready-mixed adhesive is not a universal solution. It should not be assumed suitable for porcelain, heavy tiles, floors, large formats or areas subject to prolonged moisture.
For a more versatile specification, a powdered cement-based adhesive offers dependable performance across a broader range of wall tiles. It is mixed on site, so the correct water ratio and working time should be followed carefully.
Bathrooms, showers and wet rooms
Bathrooms need a system-led approach. Adhesive alone does not make a wall or floor waterproof. In showers, wet rooms and other areas exposed to regular water, suitable tanking or waterproofing preparation should be installed before tiling, following the system guidance.
A cement-based flexible adhesive is usually the stronger choice for porcelain and for areas where temperature or minor substrate movement may occur. For shower walls, choose products specifically rated for wet areas and ensure the board, background and waterproofing layer are equally suitable. A premium tile finish cannot compensate for an unsuitable backing surface.
Floors and underfloor heating
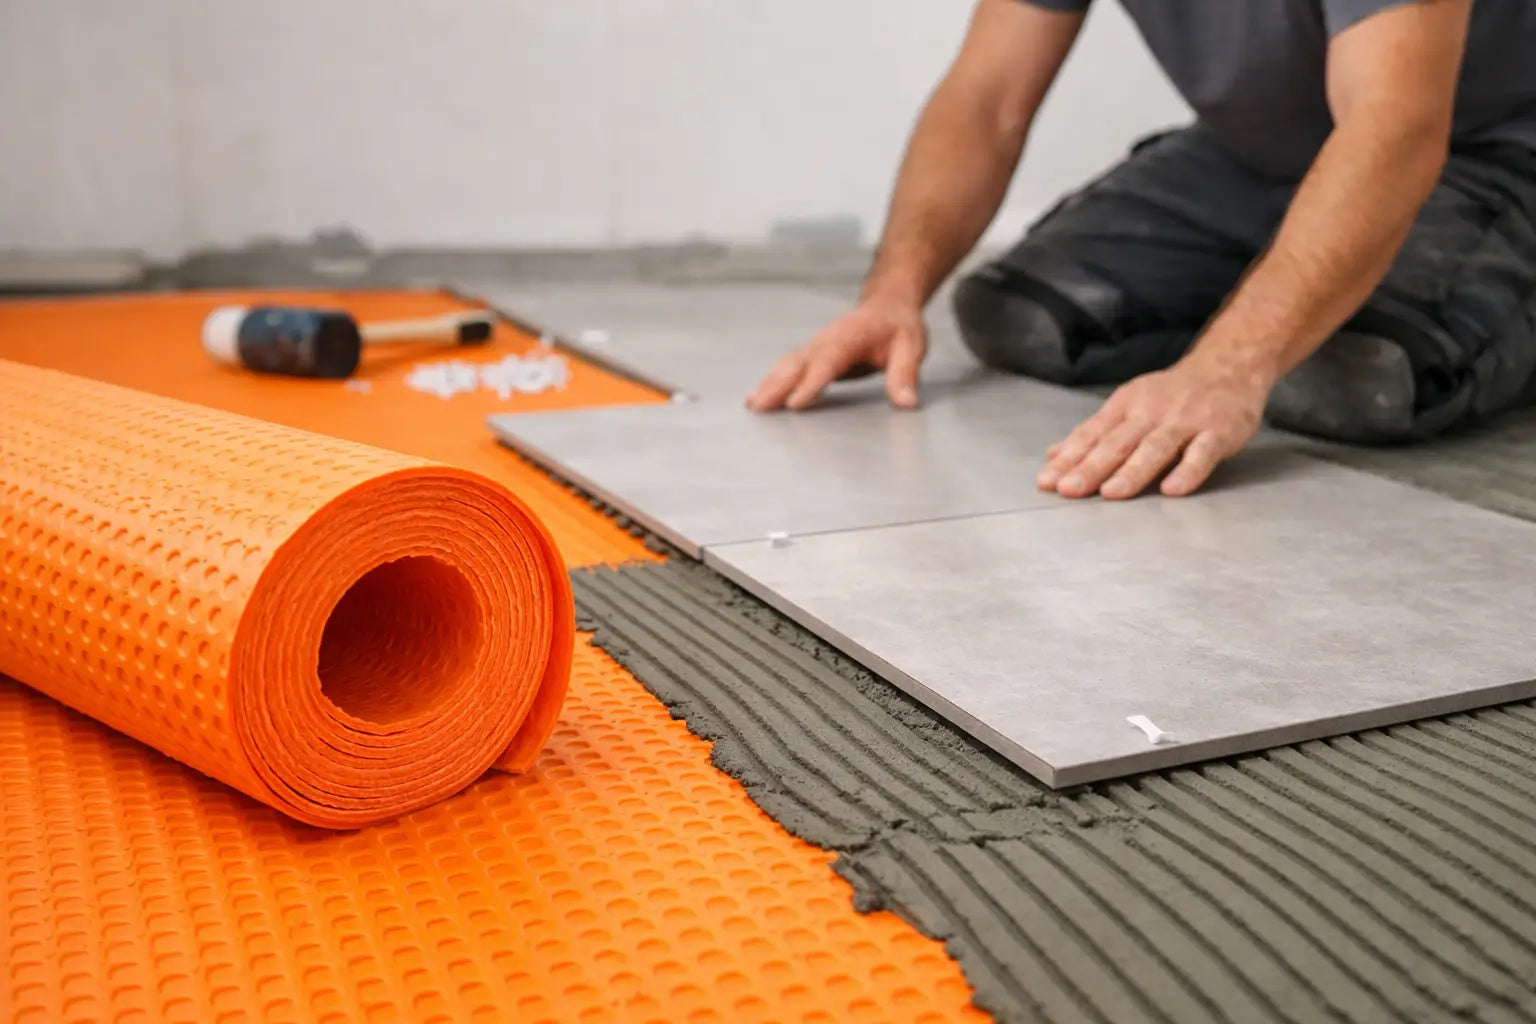
Floor tiles experience compression, impact and movement. For porcelain, stone and most floor applications, use a floor-rated cement-based adhesive rather than a ready-mixed wall product. Flexible adhesives are particularly relevant over underfloor heating, timber-based substrates and backgrounds where limited movement is expected.
If underfloor heating is installed, the heating system must be commissioned and operated in line with its instructions before tiling. It should be switched off while the adhesive and grout cure, then brought back up to temperature gradually. Fast changes in temperature can stress a newly tiled surface.
Commercial and high-traffic spaces
Reception areas, restaurant floors, retail interiors and hospitality projects need performance to match their visual impact. Consider the anticipated traffic, tile size, substrate condition, point loading and programme requirements. A higher-performance adhesive can be worthwhile where installation speed, bond strength or flexibility is critical.
For areas that require exceptional chemical resistance or specialist hygiene performance, an epoxy adhesive or grout system may be specified. These products offer advantages in the right setting but are more demanding to install and are not automatically necessary for every commercial project.
Understand adhesive classifications
Cement-based adhesives are often classified under EN 12004. While product data sheets should always guide final selection, the main designations are useful when comparing options.
A C1 adhesive is a standard cementitious adhesive, while C2 indicates improved adhesion. For many porcelain floor and wall installations, particularly in demanding locations, C2 performance is a sensible starting point. An F designation identifies a rapid-setting adhesive, which can reduce waiting time before grouting or trafficking the area. This can be valuable on refurbishment projects, but it also means less working time for the installer.
Flexibility is commonly shown as S1 or S2. An S1 adhesive is deformable and suits many applications involving underfloor heating, large-format tiles and substrates with modest movement. S2 products provide greater deformability for more demanding specifications. More flexibility is not always a substitute for correct preparation, however. A loose floor, unstable timber or uneven wall still needs to be remedied before tiling begins.
Check the substrate before ordering adhesive
The background is often the deciding factor in a successful installation. It must be sound, clean, dry where required, and free from dust, paint, grease and loose material. Uneven surfaces should be levelled with an appropriate preparation product rather than relying on tile adhesive to correct substantial variation.
Fresh plaster needs sufficient drying time before tiling, and highly porous surfaces may require priming. Some backgrounds, including plasterboard, tile backer boards, concrete, screed, plywood and existing tiles, have different preparation requirements. Always establish what is already on the wall or floor before selecting the fixing materials.
Timber floors deserve particular attention. Standard floorboards often move too much for a direct tiled finish. A suitable tile backer board, uncoupling system or prepared overlay may be required, depending on the construction and loading. The same principle applies to cracked or movement-prone screeds: treating the visible surface alone may not address the underlying issue.
Choose the right fixing method and coverage
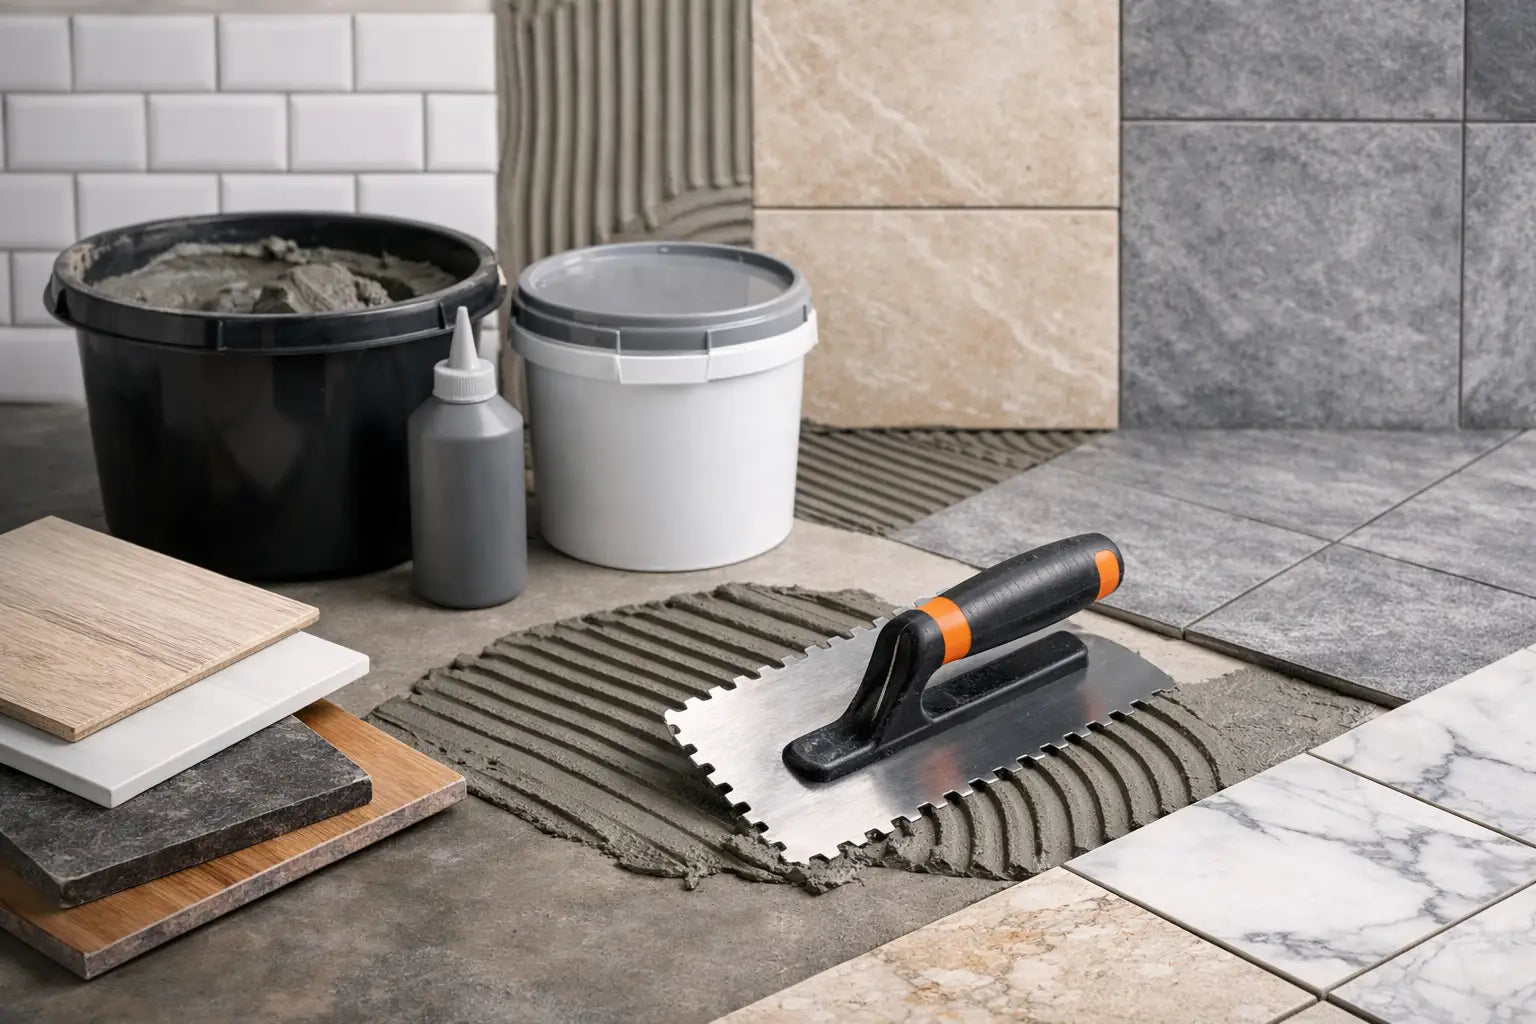
The correct adhesive can still fail if it is applied poorly. Trowel size should suit the tile format and the flatness of the substrate. Small wall tiles may need a modest notched trowel, while larger porcelain floor tiles often require a deeper notch to provide adequate adhesive bed thickness.
For large-format tiles and natural stone, back-buttering is frequently recommended. This means applying adhesive to the tile back as well as combing adhesive onto the substrate. The aim is strong, consistent contact with minimal voids, especially on floors and in wet areas where unsupported corners can lead to cracking.
Avoid spot fixing floor tiles with isolated blobs of adhesive. It leaves voids beneath the tile and can create weak points under foot traffic. Tiles should be bedded into combed adhesive with the ridges collapsed, giving the support required across the tile.
Coverage figures on adhesive bags are useful for estimating quantities, but they are only a guide. Coverage changes with tile size, trowel depth, substrate flatness and whether back-buttering is needed. For a large-format porcelain floor, allow for a higher adhesive requirement than the headline coverage might suggest. Ordering all installation materials together helps keep the programme moving and ensures products are compatible.
Do not overlook colour, cure time and grout compatibility
Adhesive colour can affect the final appearance of pale stone, glass and light-coloured tiles. White adhesive is generally preferable where there is a risk of show-through. For darker porcelain and ceramic tiles, grey adhesive is often a practical, cost-effective option.
Cure time also affects the schedule. Standard-setting adhesives give more time to adjust tiles, which can be useful for intricate layouts or feature walls. Rapid-setting products support faster progress, but they require organised preparation and confident installation. Do not grout, seal or place heavy traffic on the surface before the adhesive has cured for the period stated by the manufacturer.
Finally, select grout and trims as part of the same decision. Movement joints must be planned where required, particularly across larger floor areas, at perimeters and where different materials meet. Silicone or an appropriate flexible sealant is normally used at changes of plane rather than rigid grout.
For a confident specification, begin with a sample tile and an honest assessment of the substrate. Smart Tiles can help bring the tile, adhesive and finishing materials together, so the surface you choose in the showroom or online is supported by an installation system suited to the way the space will be used.