How to Install Uncoupling Membrane Tiles
A tiled floor can look beautifully considered on the day it is laid, yet still fail months later if movement in the subfloor transfers through to the finish. The search term “install uncoupling membrane tiles” is commonly used for a system where an uncoupling membrane is fitted between the prepared floor and the tiles. It is a practical detail that helps protect premium porcelain, ceramic and natural stone finishes from stresses below.
For homeowners, it is an investment in a floor that is designed to last. For installers, designers and commercial specifiers, it is a reliable way to manage risk where substrates, tile formats and heating systems demand more from the installation. The membrane does not correct every problem beneath a floor, but used as part of a suitable system, it can make a major difference to long-term performance.
What an uncoupling membrane does
An uncoupling membrane is a thin, purpose-made sheet or mat installed beneath floor tiles. It separates - or uncouples - the tiled finish from minor movement in the substrate. Timber floors can flex, screeds can shrink as they cure, and underfloor heating creates regular temperature changes. Without a suitable installation system, those movements may result in cracked grout, loose tiles or cracks through the tile itself.
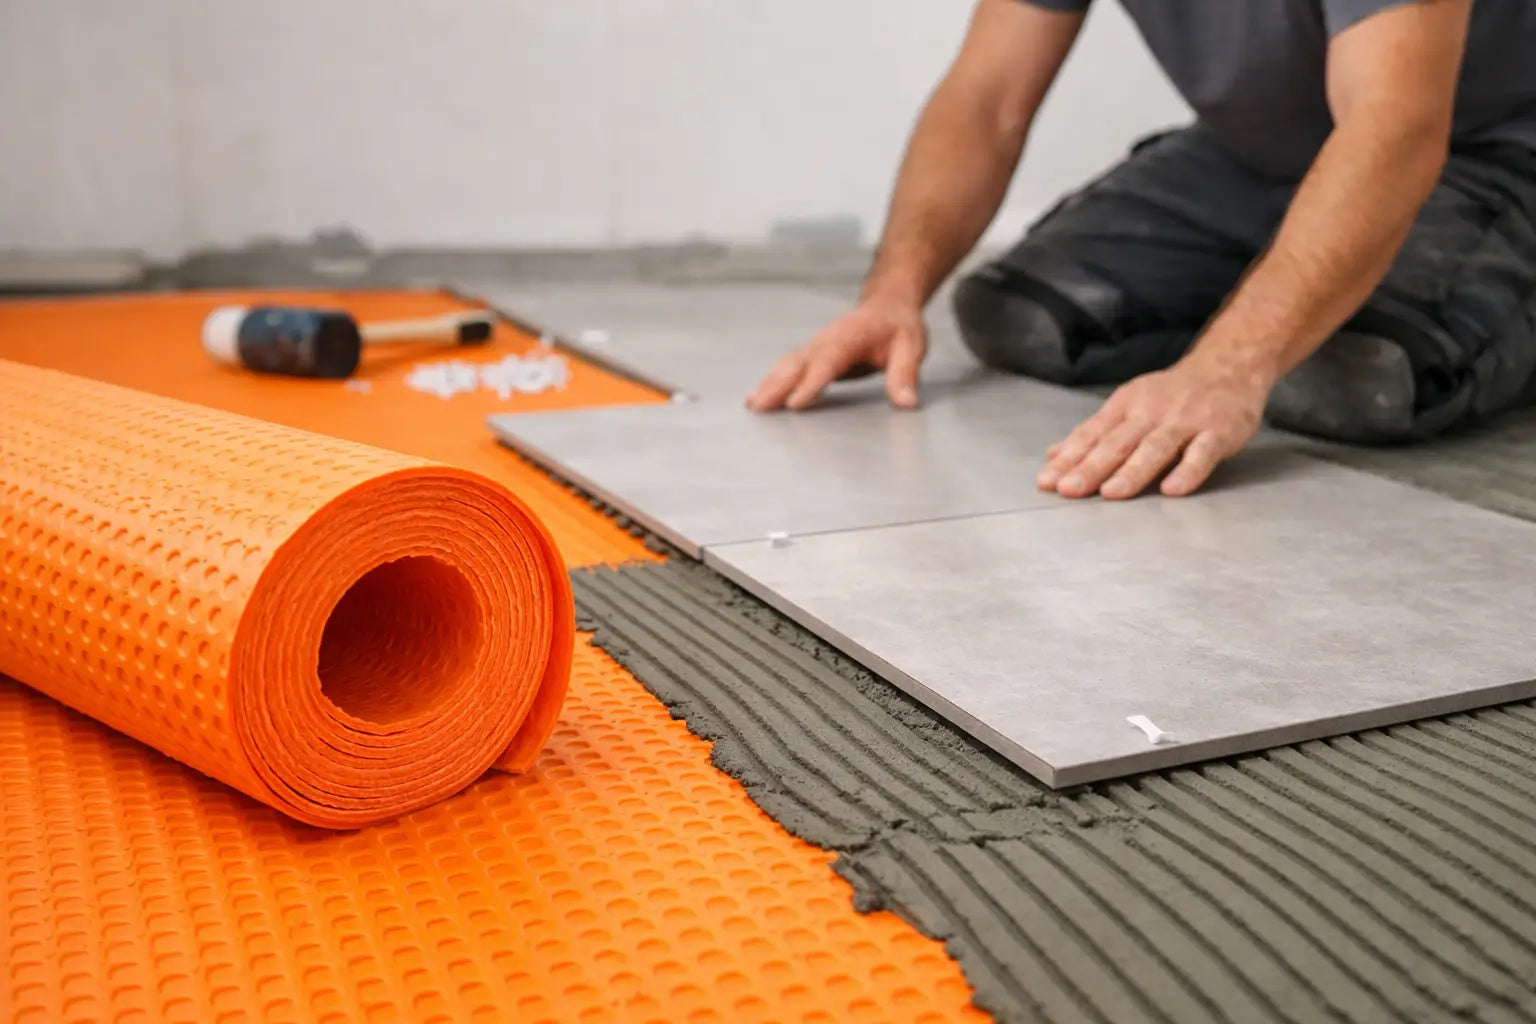
Most membranes have a fleece-backed underside that bonds into adhesive and a structured upper surface that receives the tile adhesive. The design allows the tiled layer and the substrate to move independently to a limited degree. Some products also provide vapour management, load distribution or waterproofing when the specified sealing tapes and accessories are used.
That last point matters. An uncoupling membrane is not automatically a waterproof floor. If the project is a wet room, shower area or another space requiring waterproofing, select a complete compatible tanking or waterproofing system and follow its stated detailing requirements.
Check whether the floor is suitable first
A membrane is not a substitute for a sound subfloor. Before any adhesive is mixed, assess the condition, flatness and rigidity of the floor. Loose floorboards, a crumbling screed, contaminated concrete and significant changes in level need attention first.
On concrete or sand and cement screed, check that the substrate has cured and dried adequately for the products being used. Newly laid screed can retain moisture for far longer than expected, particularly in cool conditions. Always work to the membrane, adhesive and flooring manufacturer’s requirements rather than relying on a general drying rule.
Timber subfloors need particular care. Boards must be securely fixed, suitable for tiling and sufficiently rigid. Deflection is the movement caused by loading, and an uncoupling membrane cannot make a flexible floor structurally stiff. Where the floor needs strengthening, use an appropriate tile backer board, overlay or subfloor solution before installing the membrane.
Flatness is equally relevant when using large-format porcelain tiles. The membrane follows the floor beneath it; it will not remove hollows or high spots. Use a compatible smoothing compound where required, then allow it to cure as specified. Taking time at this stage protects both the visual quality of the finished surface and the adhesive bond.
Materials and tools for installing membrane tiles
The exact products should be selected as a compatible installation system. The membrane manufacturer will specify which adhesive type, trowel notch and fixing method are suitable. This is especially important where underfloor heating, large-format tiles, natural stone or demanding commercial use is involved.
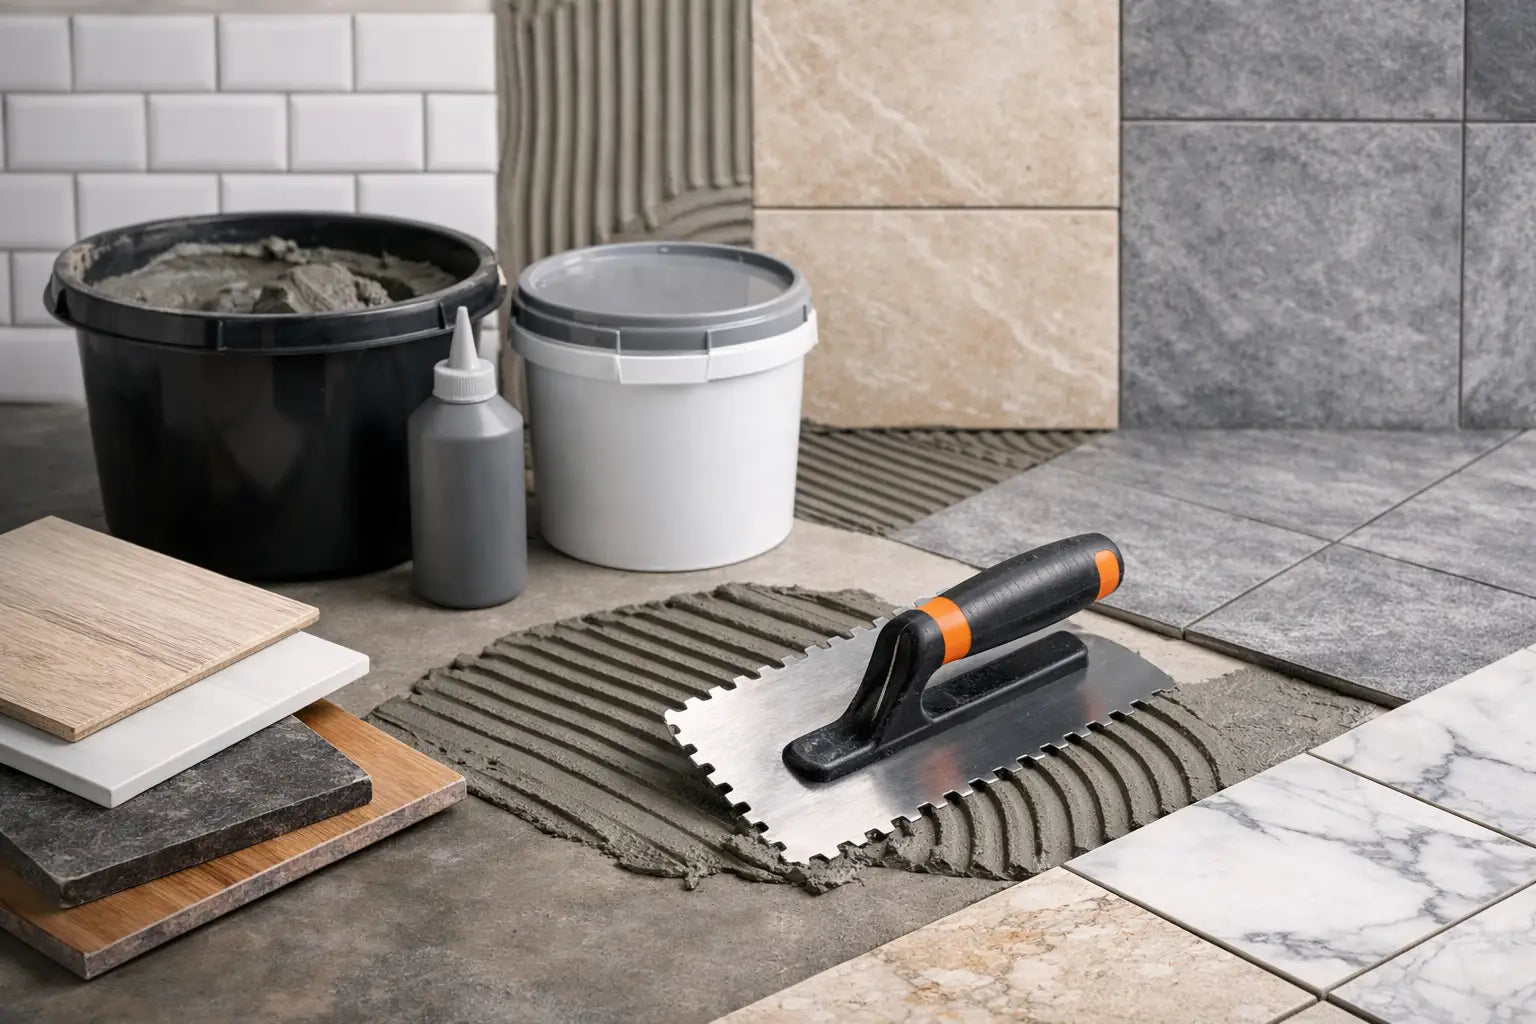
For a typical project, prepare the membrane, a suitable tile adhesive, perimeter movement material, a notched trowel, straightedge, knife, tape measure, mixing equipment and a grout float. You will also need the chosen tiles, tile spacers or levelling clips where appropriate, grout, sealant for movement joints and trims for exposed edges.
Cement-based flexible adhesive is often specified for floor tiling, but product selection depends on the substrate, tile type and installation environment. Do not assume that one adhesive suits every membrane. Check the technical data for both products and use the stated coverage rates to order sufficient material, including a sensible allowance for cuts and wastage.
How to install uncoupling membrane before tiles
Start by planning the tile layout rather than simply beginning at the nearest wall. Establish a centre line or reference line that gives balanced cuts at visible edges and doorways. In hallways and open-plan rooms, consider how the tile joints will relate to thresholds, cabinetry and adjoining finishes.
Cut and dry-lay the membrane
Roll out the membrane and cut it to fit the room, leaving the required perimeter gap at walls, fixed furniture, pipes and other restraining surfaces. Lay the sections dry first, checking that the sheets sit flat and that seams are positioned sensibly. A sharp utility knife is normally sufficient for cutting, though always use a stable cutting surface and follow site safety procedures.
Where waterproofing is required, do not leave the seam treatment until later. Confirm the correct tape, corner pieces and sealing compound before work begins. Different systems have different requirements for overlaps and joints.
Apply adhesive and bed the fleece
Mix the substrate adhesive to the manufacturer’s stated consistency. Spread only an area that can be covered while the adhesive remains workable, then comb it in one direction with the specified notched trowel. Press the membrane into the adhesive with the fleece side down.
Use a float, roller or straightedge to work from the centre outwards, removing trapped air and ensuring full contact. Lift a corner of the first section occasionally to check that adhesive has transferred consistently to the fleece. Poor bedding at this stage can undermine the performance of the entire floor.
Butt adjoining sheets neatly unless the product instructions specify an overlap. Keep the surface clean as you work, especially in the cavities of structured membranes. Allow the substrate bond to firm up if the system requires it before moving on to tile fixing.
Fix the tiles with full adhesive contact
Set out the first row carefully, using your reference lines. Apply tile adhesive across the membrane and work it firmly into the structured surface before combing additional adhesive with the correct trowel. With many cavity-style membranes, the cavities must be fully filled as part of the fixing process, although the exact method varies by manufacturer.
For large-format tiles, exterior installations and floors subject to regular traffic, back-buttering the tiles is often needed to achieve solid support. The objective is full and even adhesive contact, with no voids that could leave the tile vulnerable to point loads or cracking.
Place each tile with a slight sliding action across the adhesive ridges, then check it is level with adjacent tiles. Lift the occasional tile while work is underway to verify coverage. This small check is far more useful than discovering hollow areas after the adhesive has cured.
Maintain consistent joints and avoid using adhesive to correct major level differences. Tile levelling systems can help control lippage between large tiles, but they do not replace a flat substrate or correct adhesive coverage.
Movement joints, heating and finishing details
Movement accommodation is not optional on a well-specified tiled floor. Keep the perimeter gap clear and finish it with a suitable flexible sealant or a skirting detail that does not restrain the floor. Honour structural movement joints in the substrate through the tiled surface, and add intermediate movement joints where the floor size, shape, heating or exposure conditions require them.
Underfloor heating should be commissioned only after the full tiling system has cured. Then increase the temperature gradually, following the heating and adhesive manufacturer’s guidance. Turning a system straight to maximum temperature can place unnecessary stress on freshly installed materials.
Once the tile adhesive has set, grout the joints with a grout suitable for the joint width, tile finish and expected use. Use flexible sealant - not grout - at perimeters, changes of plane and movement joints. Fit trims where tile edges are exposed, selecting a finish that complements the tile and the wider interior scheme.
Common mistakes to avoid
The most frequent error is treating the membrane as a cure for an unsuitable floor. If the substrate is moving excessively, damp, dusty or uneven, deal with that condition before tiling. Another common issue is selecting adhesive without checking it is approved for the membrane and tile combination.
Rushing the bedding process can leave air pockets beneath the membrane, while inadequate coverage beneath the tiles can create weak points in a floor that otherwise appears sound. It is also easy to overlook perimeter and structural movement joints because they are less visible than the tile itself. Yet those details are essential where a tiled floor meets walls, doorways, heated areas and larger open spaces.
A carefully chosen porcelain or stone-effect floor deserves an installation system with the same level of thought. Smart Tiles can help bring tile finishes, trims, adhesives, grout and preparation materials together so the practical specification supports the look you have chosen. Confirm the substrate and installation details before ordering, and the finished floor will have the best possible foundation for years of daily use.