How to Prepare a Subfloor for Tiles Properly
A premium porcelain floor can look precisely specified and beautifully finished, yet still fail if the surface beneath it moves, holds moisture or falls outside acceptable tolerances. To prepare a subfloor for tiles properly, assess the existing construction before ordering adhesive or setting out the first tile. This is the stage that protects the finish, grout lines and long-term performance of the whole installation.
The right preparation depends on whether the floor is concrete, screed, timber or an existing tiled surface. Tile format matters too. Large-format porcelain is less forgiving of unevenness than a small mosaic, while natural stone may need additional support and a suitable adhesive system. Establishing these details early helps avoid unnecessary delays once the project is underway.
Start by checking the subfloor condition
A subfloor does not need to be perfectly level to receive tiles, but it must be sufficiently flat, sound, clean and stable. Flatness affects how evenly the tile is supported by adhesive. If there are hollows and high spots, tiles can rock, lippage becomes more visible and voids beneath the surface are more likely.
Use a long straightedge to check the floor in several directions, particularly across doorways, around floor wastes and through the centre of the room. As a practical guide, large-format tiles usually require a flatter substrate than smaller tiles. Check the tile manufacturer’s installation guidance and the selected adhesive system rather than relying on one generic tolerance for every project.
The surface should also be free from loose material, dust, paint, polish, old adhesive residue and contaminants such as oil or grease. A clean-looking floor is not necessarily a suitable bonding surface. Scrape, grind or mechanically abrade weak residues until a stable base is exposed, then vacuum thoroughly.
Movement is the other critical consideration. Walk the floor and listen for squeaks on timber decks. Look for cracking in concrete or screed, loose boards, crumbling edges and areas that sound hollow. Tiling over an unstable base transfers that movement directly into the tile finish, often leading to cracked grout or debonded tiles.
Concrete and screed subfloors
Concrete and sand-and-cement screeds are common tile bases, but they need time to cure and dry. These are not the same thing. A floor can be hard enough to walk on while still containing too much moisture for the chosen tile adhesive, membrane or flooring build-up.
New screed should be allowed to cure in line with its type and the manufacturer’s instructions. Traditional screeds can take considerably longer to dry than many people expect, especially during cold or humid periods. Fast-drying products have different timescales, but only when mixed, laid and ventilated as specified.
Where moisture is a concern, use an appropriate test method and follow the adhesive manufacturer’s limits. Do not assume that a surface which feels dry is ready. Ground-floor slabs may also require a functioning damp-proof membrane below the slab. Persistent dampness must be resolved at its source before tiling begins.
Small depressions and localised high spots can often be corrected with a compatible smoothing compound. For broader unevenness, a suitable levelling compound may be the most efficient route to a flat substrate. Prime first where required. Primers are not optional extras: they can regulate suction, improve adhesion and prevent a levelling compound or adhesive drying too quickly against a porous base.
Cracks need judgement. A hairline shrinkage crack in an otherwise sound slab may be managed with a compatible crack-isolation or uncoupling system. A crack that is widening, has a vertical step or indicates structural movement should be investigated before any surface finish is installed. Covering it with tile is not a repair.
Check floor heights before levelling
Every preparation layer adds height: levelling compound, tile backer board, uncoupling membrane, adhesive and the tile itself. Measure the proposed build-up at door thresholds, stairs, fitted cabinetry and adjoining finishes before committing to a system. This is particularly relevant when specifying a thicker porcelain tile or natural stone, and where underfloor heating is planned.
Timber floors need stiffness, not just a clean surface
Timber is more prone to deflection than concrete. It expands and contracts with changing humidity, and floorboards can move independently. A tiled floor requires a rigid, well-supported base, so preparation often involves more than simply screwing down a few loose boards.
First inspect the structure. Floorboards or sheet material should be securely fixed to the joists, with no damaged sections, bounce or excessive flex. Replace weak boards and add fixings where necessary. If the floor moves noticeably underfoot, the joist spacing, span and deck specification should be reviewed by a competent professional before tiling.
Standard flooring-grade chipboard is not generally the preferred direct base for tiles, particularly in wet areas. A tile backer board or a suitable uncoupling system can provide a more reliable surface, but it does not compensate for an inherently weak floor. Follow the board manufacturer’s fixing pattern, fastener requirements and joint treatment exactly. The board must be fully supported and fixed, not loosely laid over the existing deck.
Exterior-grade plywood is sometimes used as part of a tile build-up, provided it is of suitable quality, thickness and condition. It should be securely screwed at appropriate centres, with allowance for movement around the perimeter. For bathrooms, shower rooms and other wet zones, consider the full waterproofing requirement rather than treating the tile itself as the water barrier.
Use the right system for wet areas and heated floors
Tiles and grout are decorative, durable surfaces, but they are not a complete waterproofing system. In a shower enclosure, wet room or bathroom floor subject to regular splashing, use an appropriate tanking system beneath the tiles. This usually includes a compatible waterproof coating or membrane, reinforcement tape at changes of plane and sealing around penetrations.
The detail around shower trays, baths, floor drains and pipework deserves particular care. These are the places where water can find its way into a timber subfloor or behind wall finishes. Use components designed to work together, including primers, membranes, adhesives and sealants, rather than mixing systems without checking compatibility.
For electric or water-based underfloor heating, the subfloor must be flat enough to support the heating system and tile finish evenly. Heating should not be used to force-dry a newly laid screed, levelling compound or adhesive unless the product instructions explicitly permit it. Once the installation has cured, bring the heating up gradually in accordance with the system guidance. Flexible adhesive and grout are normally required, but the exact specification should suit the tile, substrate and heating arrangement.
Plan the tile installation before opening the adhesive
Preparation and layout are closely connected. Dry-lay a few tiles or mark out the grid to understand how cuts will fall at walls, doorways and focal points. A centred arrangement may look best in one room, while avoiding a narrow cut at the entrance may be the better decision in another. For patterned tiles and wood-effect planks, check the manufacturer’s recommended offset to reduce the appearance of lippage.
Select an adhesive that is rated for the subfloor, tile type and room conditions. A porcelain tile has low porosity and typically needs a cement-based adhesive designed for porcelain rather than a basic wall-tile adhesive. Large tiles often benefit from a pourable or non-slump adhesive, depending on whether they are being installed on floors or walls and the chosen format.
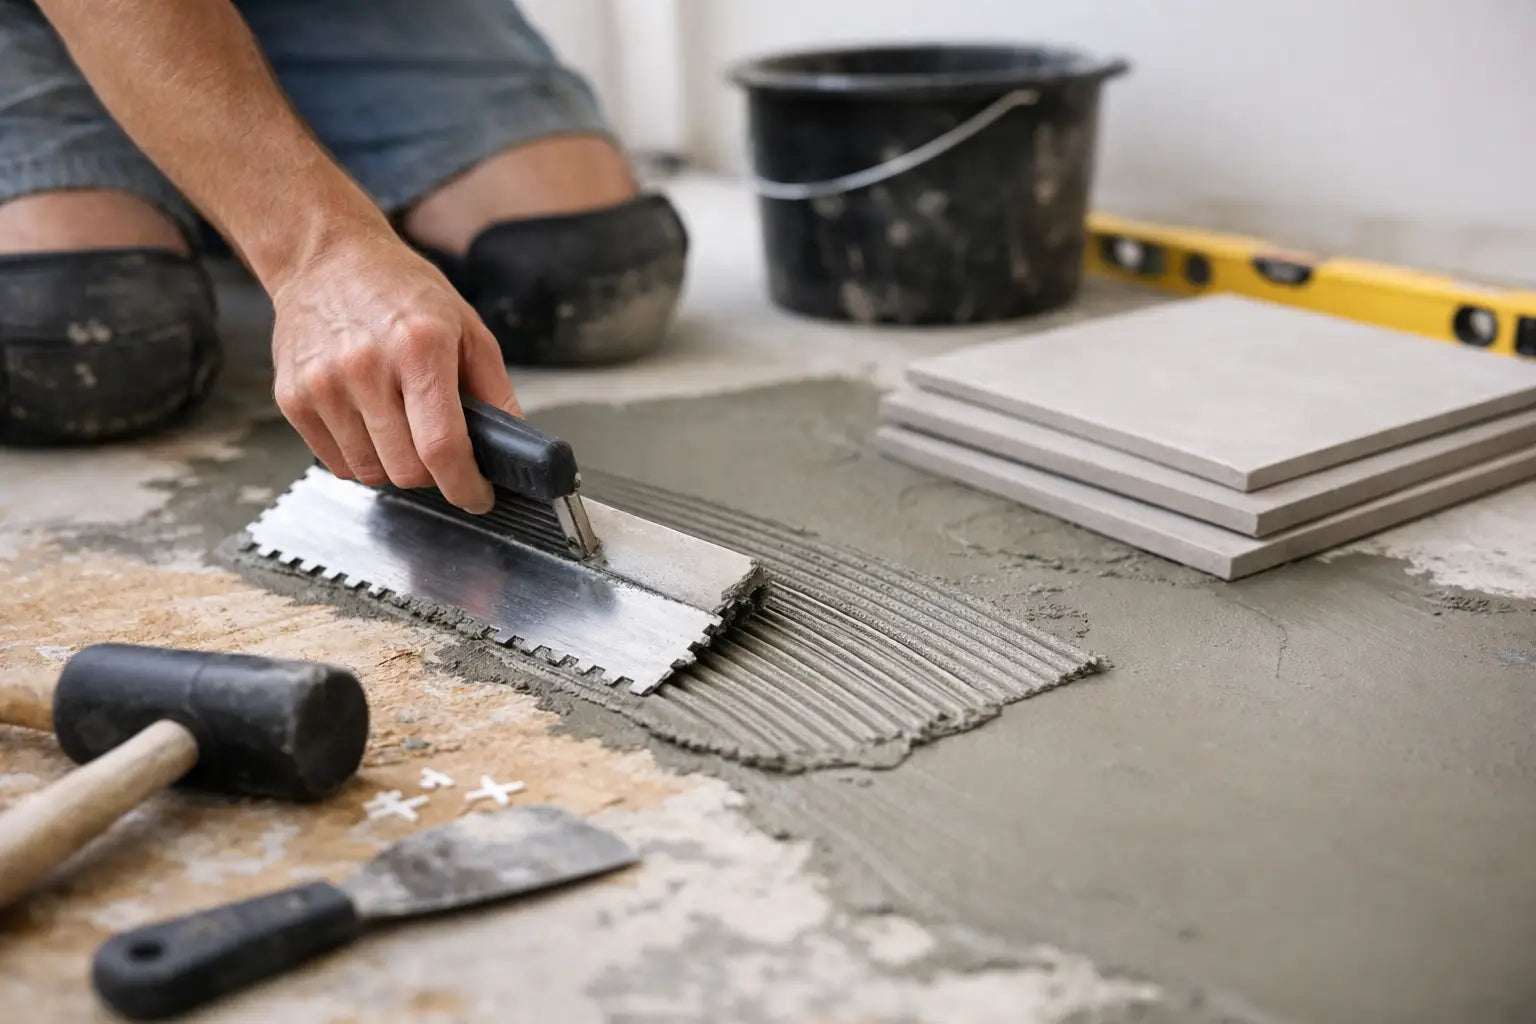
Use the correct trowel notch and aim for consistent adhesive coverage. On floor tiles, especially large porcelain or stone, back-buttering the tile can help achieve full support. Avoid spot bonding, which leaves voids beneath the tile and can increase the risk of cracking under point loads.
Do not overlook movement joints. Existing structural movement joints in the substrate should be carried through the tiled finish. Perimeter movement allowance is also needed where tiles meet walls, columns and fixed features. These details are often concealed by skirting, trims or flexible sealant, but they play a major part in preventing stress from building up across the floor.
Specify the complete preparation package
A reliable tiled floor is a system, not simply a tile and a bag of adhesive. The preparation products need to suit one another and the site conditions: primer for the substrate, smoothing or levelling compound where needed, board or membrane where movement is a concern, tanking in wet areas, then the correct adhesive, grout, trim and sealant.
For high-end homes and commercial interiors alike, this is where product selection and installation planning should meet. Smart Tiles can help bring together the tile, installation materials and finish details so quantities, compatibility and visual intent are considered before work starts.
Take time to inspect the base, measure the build-up and resolve movement or moisture before tiles arrive on site. It is a modest investment in the programme that allows the chosen surface to perform with the clean, enduring finish the project deserves.