Large Tile Layout Patterns for Better Spaces
Large tile layout patterns do more than determine where the grout lines fall. They influence how wide a hallway feels, whether a bathroom looks composed or busy, how much cutting is required, and how forgiving the finished surface will be under changing light. With a 600 x 600mm porcelain tile, a 600 x 1200mm slab or an even larger format, the layout needs to be decided before fixing starts, not adjusted around the room as work progresses.
For homeowners, the right pattern helps a premium tile feel properly considered. For installers and specifiers, it also supports cleaner setting out, realistic material quantities and a finish that meets the expectations of a high-value project.
Start with the room, not the pattern
A tile layout should relate to the strongest visual line in the space. In a bathroom, this may be the wall behind a basin, the front edge of a shower tray or the centreline of a freestanding bath. In a kitchen, it is often the run of cabinetry, an island or the main sightline from the entrance. Hallways usually benefit from a layout that follows their length and keeps the threshold areas orderly.
Avoid assuming that the centre of the room is automatically the best starting point. A perfectly centred grid can leave narrow, awkward cuts at a doorway or beside a focal wall. It is usually better to dry lay or digitally set out the tile dimensions first, then adjust the starting point so perimeter cuts are balanced and no less than roughly half a tile where this can reasonably be achieved.
The direction of the tile matters as much as the joint pattern. Rectangular large-format tiles laid lengthways can reinforce the length of a narrow room. Laid across it, they can make the same room appear broader. Neither choice is universally right: consider the room’s proportions, natural light, door positions and the direction in which people will typically view the floor.
The most effective large tile layout patterns
Straight lay or stack bond
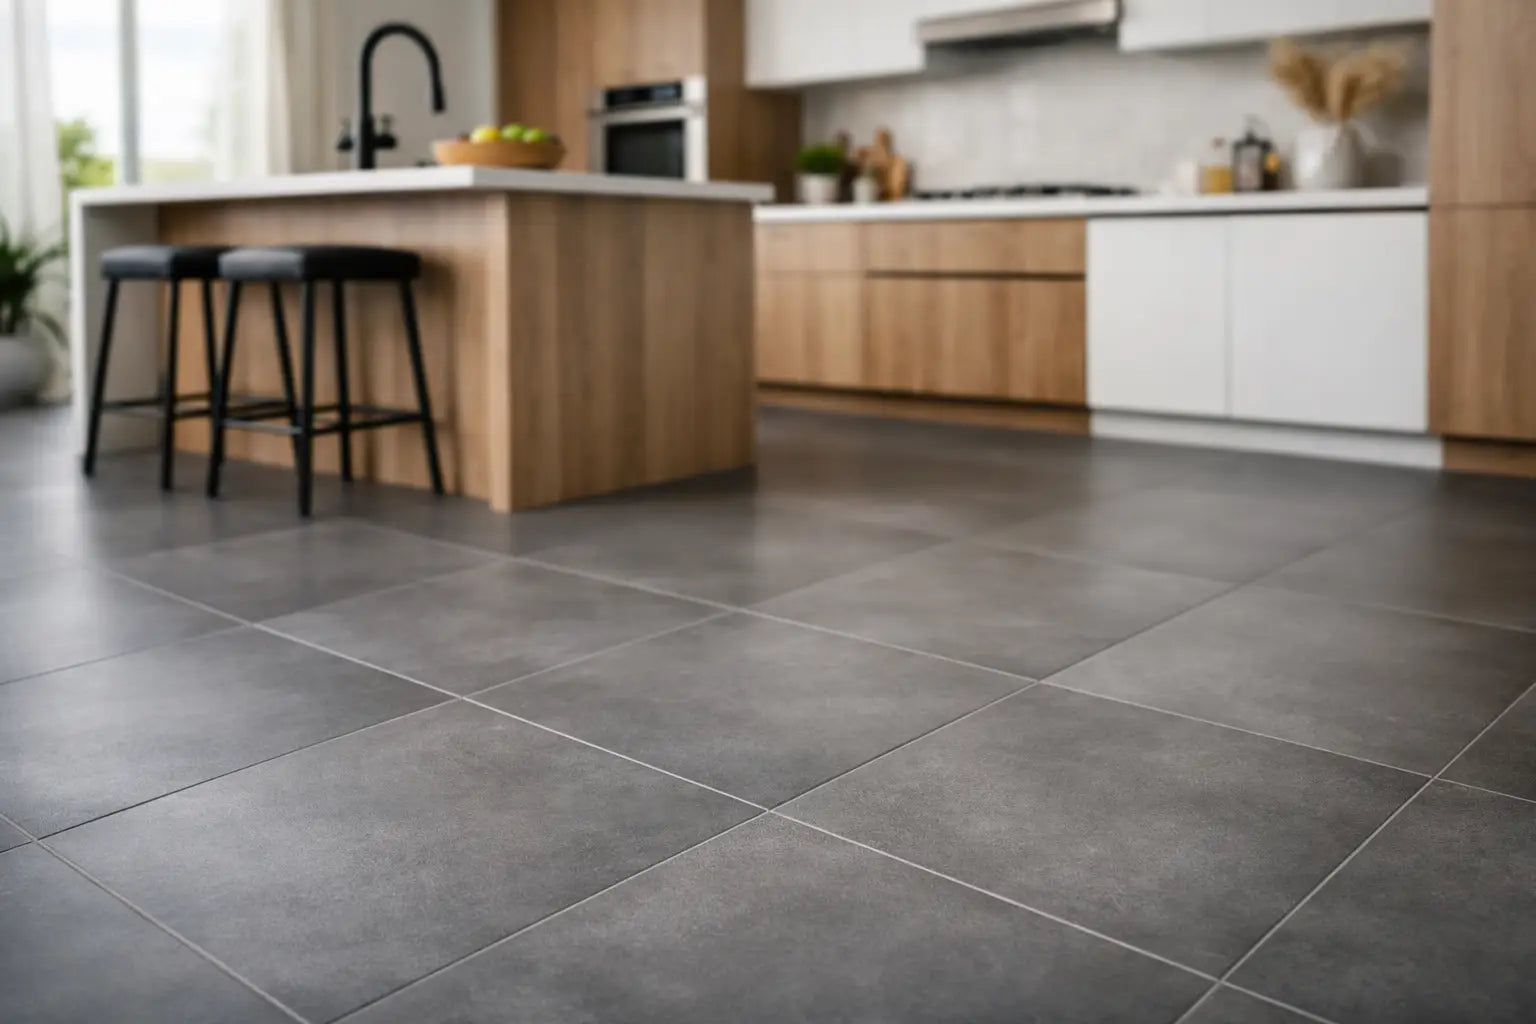
A straight lay places tile joints in continuous lines, creating a clean grid. It is one of the strongest choices for contemporary porcelain, stone-effect tiles and refined commercial interiors because it lets the colour, veining and surface finish take the lead.
This pattern works particularly well with square formats, such as 600 x 600mm or 750 x 750mm, and with 600 x 1200mm tiles used on floors or feature walls. A narrow, consistent grout joint gives the layout a calmer appearance, although the joint must still be wide enough to accommodate the tile manufacturer’s tolerance and the installation system.
Grid layouts demand accurate preparation. Long uninterrupted joints make any variation in level, spacing or alignment highly visible. On a well-prepared floor, however, the result is precise, spacious and enduring.
One-third offset
For rectangular tiles, a one-third offset shifts each new row by approximately one-third of a tile length. It introduces movement without the pronounced brick effect of a half-tile offset, making it a reliable option for wood-effect porcelain and elongated stone-effect formats.
It is also often the safer technical choice for plank-shaped tiles. Many large rectangular tiles have a slight natural bow from the manufacturing process. With a 50% offset, the centre of one tile can meet the ends of neighbouring tiles, increasing the risk of lippage. A one-third offset reduces this risk while retaining an attractive staggered rhythm.
Always check the product guidance, particularly for tiles longer than 900mm. Some manufacturers specify a maximum offset for this reason, and that instruction should guide the layout rather than a visual preference alone.
Half offset or brick bond
The familiar brick-bond layout offsets each row by half a tile. It has a relaxed, traditional character and can suit ceramic wall tiles, rustic finishes and selected smaller-format porcelain collections. With genuinely large-format tiles, it needs more care.
The pattern creates many T-joints, which can draw attention to unevenness on the substrate and to tile bowing. It may also produce more conspicuous cuts at room edges. Choose it where the product is suitable, the floor or wall is exceptionally flat, and the intended look benefits from a stronger repeating pattern.
Diagonal layout
A diagonal layout turns square tiles through 45 degrees. It can make compact entrances, cloakrooms and square rooms feel less static because the eye travels across the room rather than directly from wall to wall. It is especially effective with plain porcelain or subtle stone-effect designs.
The trade-off is material and labour. Diagonal setting out creates more perimeter cuts, particularly in rooms with multiple corners, alcoves or door openings. Allow a higher wastage factor than for a simple grid, and make sure the visual benefit justifies the additional cutting. In an expansive open-plan floor, a diagonal pattern can also feel more traditional than the architecture calls for.
Modular and mixed-format layouts
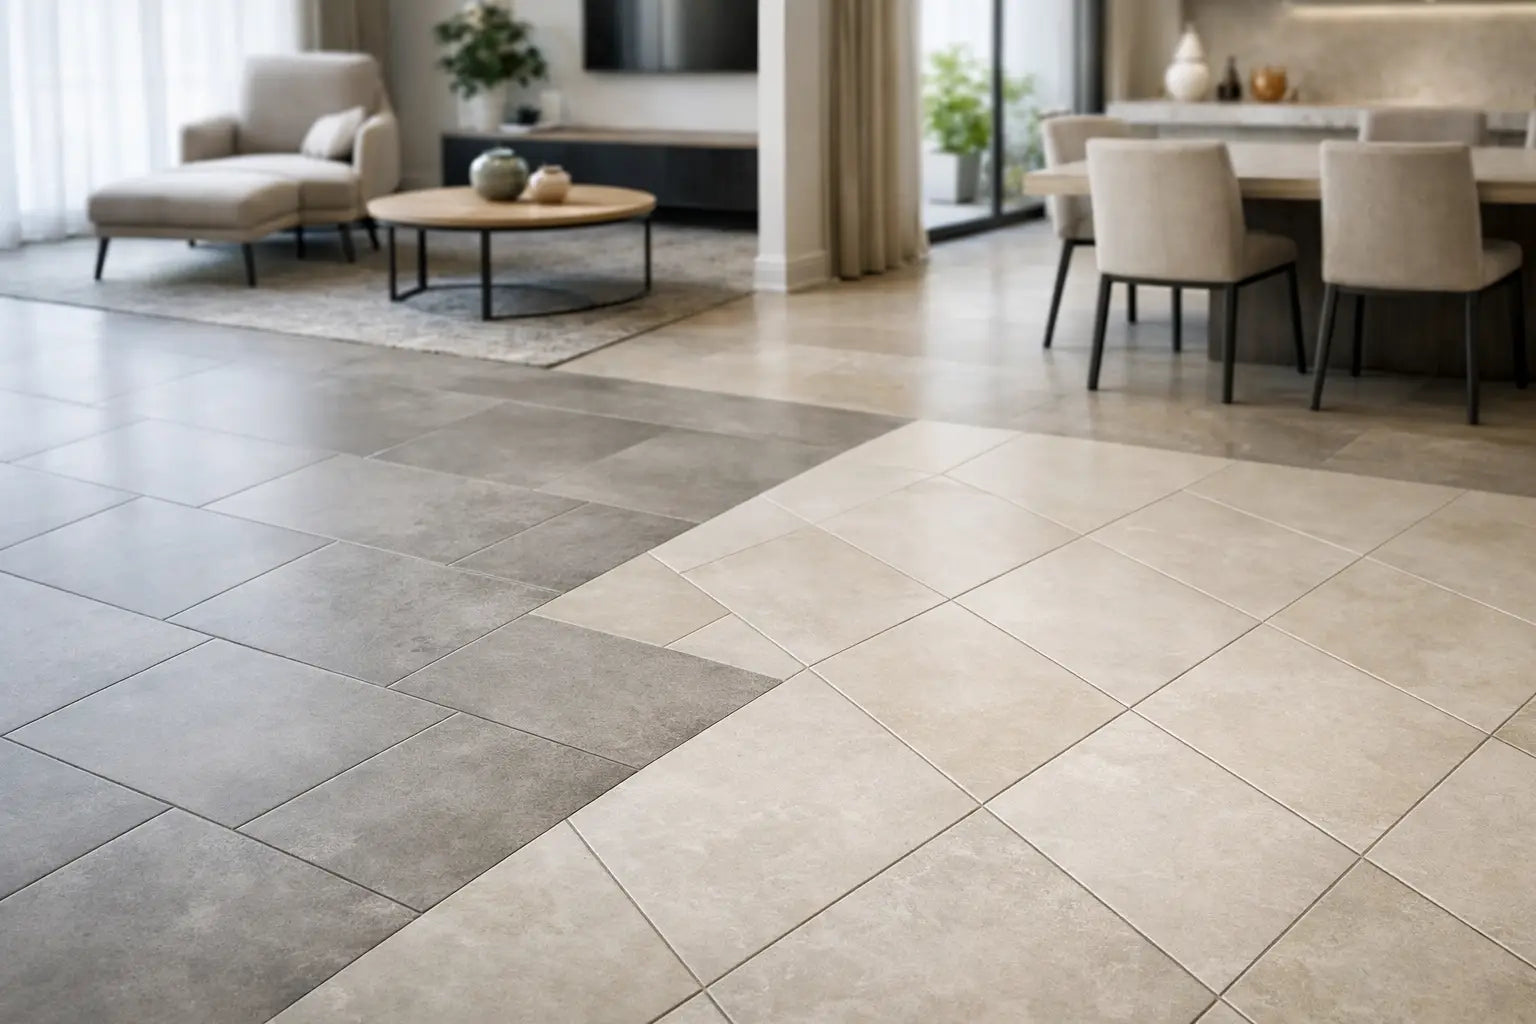
Some stone-look porcelain ranges are designed in coordinated sizes for modular patterns. These can bring character to larger rooms, garden rooms or hospitality settings, with a more natural, architectural feel than a regular grid.
Mixed-format layouts require disciplined setting out. The joint widths, repeat sequence and tile sizes must be followed exactly, otherwise the pattern can drift across the room. They are not the most economical choice for every project, but when selected for the right collection and space, they deliver a considered alternative to uniform large-format flooring.
Wall layouts need their own setting out
Large tiles on walls can make a bathroom or shower area feel quieter because there are fewer joints. The layout should still be planned around fittings rather than simply started from the floor.
For a shower wall, establish the centreline of the valve, shower head or niche where possible. A symmetrical arrangement around a niche is usually more convincing than one that leaves a thin strip of tile along one side. On a basin wall, consider whether the tile joints will frame the mirror, basin and brassware in a deliberate way.
Full-height wall tiling benefits from a horizontal datum line. Floors are not always level, even in a newly prepared room, so beginning directly from the floor can leave the top row visibly uneven. A level batten and a carefully calculated starting course allow the layout to finish with balanced cuts at both floor and ceiling.
Bookmatched marble-effect porcelain is a separate design decision. The veins can be arranged to mirror across a joint for a striking feature wall, but the tile faces must be checked and numbered before installation. This adds handling time and should be agreed before ordering quantities.
Installation details that protect the finished look
Large-format tiles are less forgiving than smaller tiles. Their size magnifies imperfections in the substrate, while their weight and low absorption demand the correct adhesive and fixing method. A beautiful layout cannot compensate for inadequate preparation.
Floors and walls should be checked for flatness before tiles are ordered or fixed. Levelling compounds, suitable tile backer boards and substrate preparation may be needed to achieve the tolerances required for the chosen format. On floors, a suitable flexible adhesive, solid bed coverage and back buttering where specified help prevent voids beneath the tile. Tile levelling systems can assist with alignment, but they do not correct an uneven base.
Movement joints are equally important, particularly across larger areas, underfloor heating systems, conservatories and commercial spaces. They should be incorporated into the design and finished with compatible movement profiles or sealant, rather than treated as an afterthought. Grout colour also deserves early consideration: a close tonal match makes a large-format surface appear more continuous, while a contrasting grout makes the pattern more graphic.
Plan quantities around the chosen pattern
Coverage calculations should begin with the net tiled area, then account for cuts, pattern complexity and spare tiles for future repairs. A straightforward square grid in a simple room may need a modest allowance. Diagonal, modular and heavily cut layouts need more. Rooms with shower niches, steps, boxing and multiple thresholds should be measured carefully rather than estimated from floor area alone.
It is sensible to order all tiles for a project at the same time where possible, especially for design-led ranges. This helps maintain consistency of shade and calibre. Alongside the tiles, specify the correct adhesive, grout, trims, edging profiles, tanking components and preparation materials so the installation is not delayed by a missing finishing detail.
Smart Tiles can support this process with samples, coverage guidance and a coordinated choice of tiles and installation materials, helping turn an initial design preference into a practical specification.
A large-format tile earns its impact through proportion, preparation and restraint. Set out the room carefully, choose a pattern that suits both the tile and the architecture, and give the installer a clear plan before the first bag of adhesive is mixed.