How to Seal Natural Stone Tiles for Lasting Protection
A pale limestone floor can look exceptional on installation day, then pick up a darkened patch from cooking oil or a ring around a basin surprisingly quickly. Knowing how to seal natural stone tiles helps preserve their character while making everyday cleaning and maintenance far more manageable. The right sealer will not turn stone into an indestructible surface, but it can give a premium natural finish the practical protection it needs in a busy home or commercial interior.
Natural stone is varied by nature. A dense honed marble, a riven slate and a porous tumbled travertine may all require different preparation, products and maintenance. The starting point is therefore not simply choosing a bottle labelled ‘stone sealer’, but identifying the stone, its finish and where it will be used.
Why natural stone needs sealing
Most natural stone contains tiny pores. These can absorb water, oils, coloured liquids and cleaning residues, particularly on unglazed or textured finishes. Sealing reduces this absorption, giving you more time to wipe up spills before they become stains. It also makes day-to-day cleaning easier and can help grout remain cleaner around a natural stone installation.
The level of protection required depends on the project. A slate feature wall in a low-traffic sitting room may need modest protection, while honed limestone flooring in a family kitchen, entrance hall or hospitality setting faces water, food, footfall and frequent cleaning. Shower areas and wet rooms demand even closer attention to product suitability and installation detail.
Sealer is not a substitute for sound fitting practice. Stone must be installed on a suitable, stable substrate with the correct adhesive, grout, movement provision and waterproofing where necessary. A sealer cannot fix moisture problems, loose tiles or an unsuitable cleaning regime.
Choose the right sealer for the stone and finish
For most interior natural stone tiles, a penetrating or impregnating sealer is the preferred choice. It is designed to work below the surface, reducing liquid absorption without leaving a noticeable film. This retains the natural look and is especially useful for honed limestone, marble, travertine and slate where a low-maintenance, understated finish is wanted.
An enhancing sealer deepens the colour and can create a richer, ‘wet look’ appearance. It is popular with some slates, tumbled stones and textured finishes, but it changes the visual result permanently enough that a sample test is essential. A beautiful charcoal slate can become significantly darker; pale stone may gain warmth or show more variation.
Topical coatings sit on the surface and can offer a more visible sheen, but they are not right for every stone or location. In wet or heavily trafficked areas, a surface coating may wear unevenly, become difficult to repair or alter slip resistance. Always check that the chosen product is suitable for the specific stone, intended location and floor traffic level.
Check whether your tiles are already sealed
Some stone products are factory treated, although this does not always mean no further sealing is required after fitting and grouting. Ask for the product guidance before specifying materials. If the tiles are already installed and you are unsure, a simple water-drop test can offer an indication.
Place a few drops of clean water on a discreet, clean area and leave them for around ten minutes. If the water beads and the stone remains unchanged, the surface may still have effective protection. If it darkens quickly or absorbs the water, resealing is likely to be needed. This is a guide rather than a replacement for manufacturer advice, particularly with polished stone or treated surfaces.
When to seal natural stone tiles
Timing matters. Many porous stones benefit from a pre-grout coat of a suitable impregnating sealer. This can reduce the chance of grout pigments or residues lodging in the face of the tile, especially with textured slate, tumbled travertine and rougher finishes. It should be applied carefully so it does not contaminate tile edges and compromise grout adhesion.
Once the tiles are fixed and grouted, allow the adhesive and grout to cure fully in line with the installation system guidance. Sealing too soon can trap moisture or interfere with the intended curing process. The surface must then be completely clean, dry and free from grout haze, dust, waxes, polish, silicones and old cleaning products.
For renovation projects, do not assume a stronger cleaner is always the answer. Acidic cleaners can etch calcareous stone such as marble, limestone and travertine, leaving dull marks that sealing cannot reverse. Use a stone-safe cleaner and resolve stubborn residues with an appropriate specialist product before applying any sealer.
How to seal natural stone tiles
A careful application is more valuable than applying excess product. Work in manageable sections so the sealer can be controlled and surplus removed before it dries.
First, test the selected sealer on a spare tile or an inconspicuous section of the floor or wall. Look at it once dry, not just while wet, and check the result under the room’s normal lighting. This is particularly important where the design depends on a pale, natural or matt appearance.
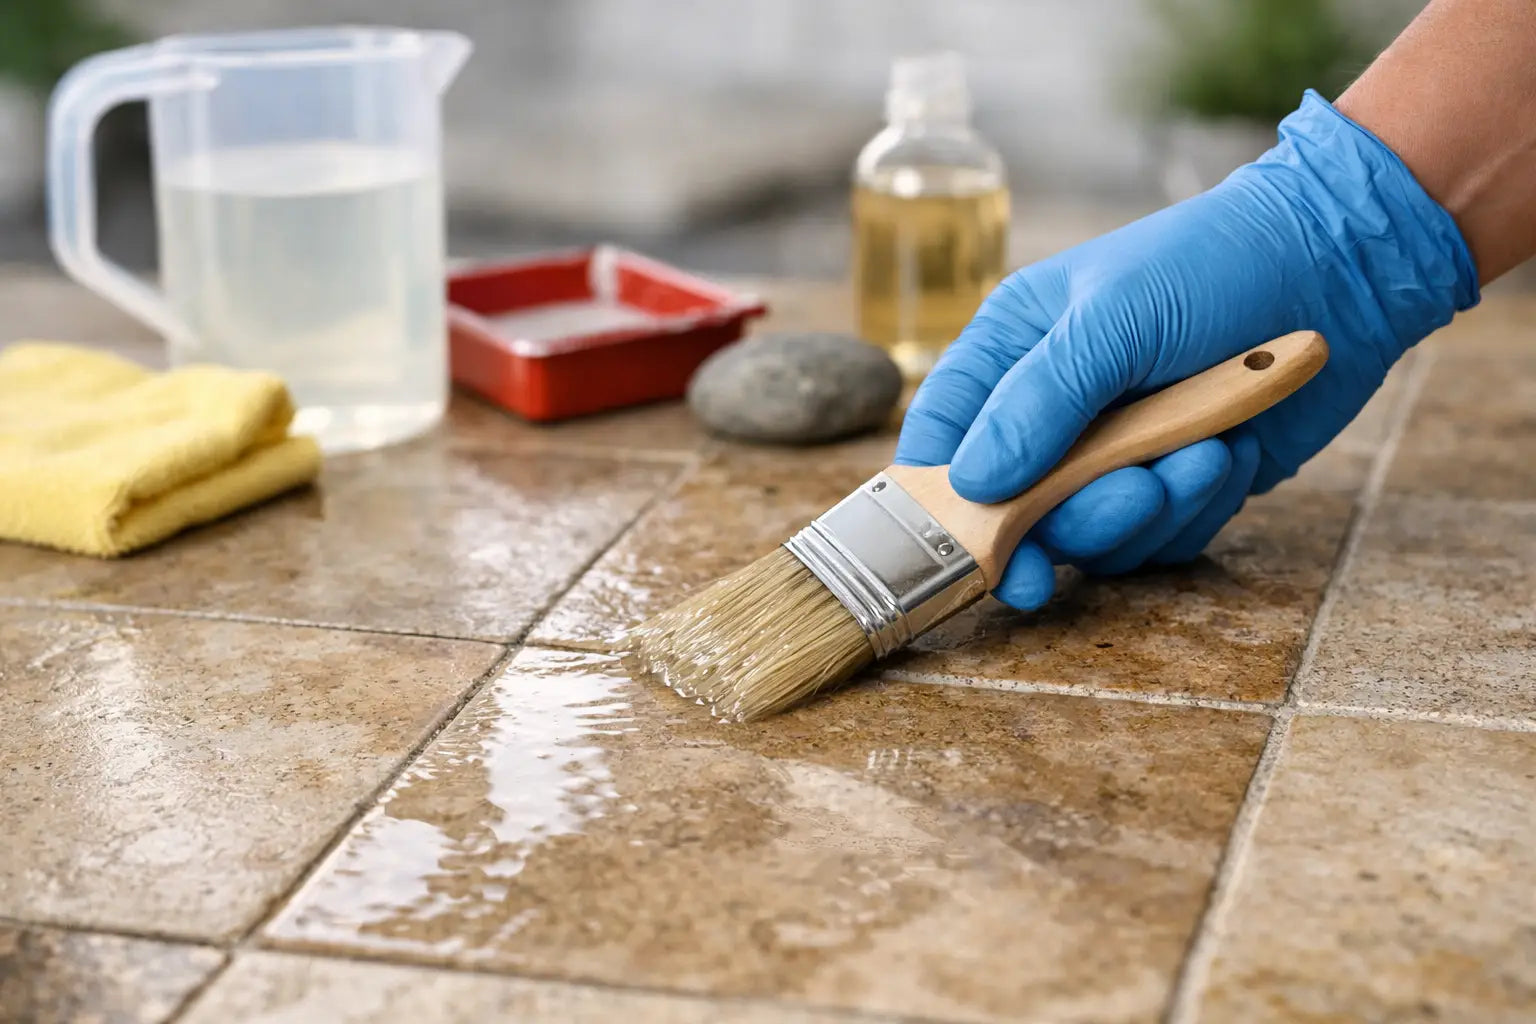
Apply the sealer evenly with a lint-free cloth, applicator pad, brush or roller, following the product instructions. Ensure the surface is covered but do not flood it. Porous stone may require a second coat, often applied while the previous coat is still within the manufacturer’s stated application window.
Allow the product to penetrate for the recommended dwell time, then buff away all excess with clean, dry cloths. This final step is critical. Sealer left to dry on the surface can create patchiness, smears or a sticky residue that attracts dirt. On textured stone, inspect recesses and edges carefully, as excess product can collect there.
Keep the area dry and free from foot traffic until the sealer has cured. Drying time and full cure time are not always the same, so plan the work around the product data rather than reopening a kitchen floor or shower area too quickly.
Common mistakes to avoid
Applying sealer over damp tiles is one of the most frequent causes of disappointing results. Moisture can prevent proper penetration and may leave an uneven appearance. Poor surface preparation has a similar effect, as dust and residues sit between the stone and the sealer.
Using too much product is another avoidable issue. More coats do not automatically mean more protection. Once the stone has absorbed what it can, excess sealer remains on the surface. Follow the stated coverage rate and remove residue thoroughly.
Finally, do not use a colour-enhancing product simply because it promises extra visual impact. It may be exactly right for a rustic slate floor, yet completely wrong for a calm, pale limestone bathroom. Samples and a small test area make that decision much safer.
Maintaining sealed stone in daily use
A sealed stone surface still needs sensible care. Sweep or vacuum grit regularly, using a suitable hard-floor setting, as abrasive particles can dull a finish over time. Wipe spills promptly, especially wine, coffee, oils, citrus, vinegar and strongly coloured foods. Entrance matting is worthwhile where external dirt and moisture are likely to be carried onto a stone floor.
Use a pH-neutral cleaner made for natural stone and avoid bleach, acidic limescale removers, harsh degreasers and general-purpose cleaners unless they are specifically approved for the material. These products can damage the stone, weaken the sealer or leave a residue that spoils the finish.
Resealing intervals vary. A lightly used internal wall may retain protection for years, whereas kitchen floors, shower areas and commercial entrances may need assessment more regularly. Rather than resealing to a fixed calendar date, repeat the water-drop test on a clean, dry surface and review areas exposed to the most use.
Plan the complete installation system
Natural stone rewards a considered specification. The tile itself is only one part of the finished surface: substrate preparation, tile adhesive, grout colour, trims, movement joints, cleaning products and a compatible sealer all affect the result. Selecting these elements together reduces the risk of colour variation, staining and avoidable delays on site.
For a new stone floor or wall, order a sample where possible and assess it alongside the room’s cabinetry, paint colours and lighting. Smart Tiles can help customers match natural stone finishes with the appropriate installation materials, helping both homeowners and trade professionals build a specification that looks considered and performs as intended.
A properly sealed stone surface should still look and feel like stone - individual, tactile and full of natural variation. Give it the right preparation and care, and that character can remain a feature of the space for years to come.