How to Lay Herringbone Wood Flooring Properly
A herringbone floor earns its impact from precision. The repeated V-shaped pattern can make a hallway feel longer, give a kitchen-diner more structure or bring a tailored finish to a commercial reception area. But to lay herringbone wood flooring successfully, the preparation and setting out matter just as much as the boards themselves. A small error at the starting line can become a visible misalignment across the room.
For most renovation projects, herringbone engineered wood flooring offers the most practical balance of character, stability and installation flexibility. It provides the appearance of real timber while its layered construction is generally better suited to modern heated homes and, when specified correctly, underfloor heating. Solid wood has its place, but it needs more careful consideration around moisture, movement and site conditions.
Choose the right herringbone wood floor first
Herringbone blocks are not simply standard planks laid at an angle. They are typically supplied as left and right-handed boards, which interlock to create the repeating pattern. Check the product specification before ordering, particularly the board dimensions, tongue-and-groove or click system, recommended fitting method, and whether the product is compatible with underfloor heating.
The scale of the block changes the character of the floor. Smaller blocks create a more traditional, detailed look that works particularly well in entrance halls, period properties and intimate rooms. Longer, wider blocks make the pattern calmer and more contemporary, often suiting open-plan spaces. Consider the timber tone too: pale oak keeps the design light and architectural, while smoked, brushed or darker finishes add depth and definition.
Ordering accurately is essential. Measure the net floor area, then allow additional material for cuts, pattern matching and contingency. A straightforward room may require around 10% extra, while angled walls, bays, fireplaces and multiple doorways can justify a higher allowance. Ordering enough from the same production batch helps maintain consistency in shade and grading.
Prepare the subfloor before laying herringbone wood flooring
A premium wood floor cannot disguise a poor base. Before installation, the subfloor must be dry, sound, clean and sufficiently level for the chosen flooring system. Herringbone makes unevenness more noticeable because the pattern creates strong visual lines across the room.
For a concrete or sand and cement screed, moisture testing should be carried out with an appropriate method before adhesive or flooring is introduced. Newly laid screeds often need far longer to dry than expected, especially in cool or poorly ventilated conditions. If moisture readings are too high, a suitable surface damp proof membrane may be required, but this should be selected as part of a compatible flooring system rather than treated as a shortcut around an unsuitable substrate.
Timber subfloors should be secure, flat and free from movement. Loose boards, protruding fixings and local dips need resolving before work begins. In many projects, overlaying an uneven timber floor with suitable plywood or a flooring-grade board creates a more reliable surface, provided the floor build-up and door clearances have been considered.
Acclimatise the unopened flooring packs in the room where they will be fitted, following the manufacturer’s instructions. The room should be at normal living temperature, not a cold construction site or an overheated space. Avoid storing boards directly on a potentially damp concrete floor.
Check underfloor heating settings
Engineered herringbone is frequently specified over water-based underfloor heating, but every floor and heating system has limits. The heating should be commissioned and run through its drying cycle before fitting, then switched off or reduced according to the flooring and adhesive guidance. Once fitted, bring the temperature back up gradually. Rapid changes can put unnecessary stress on natural wood.
The surface temperature of a wood floor is commonly limited to 27°C. A thermostat sensor, stable indoor humidity and a compatible flexible adhesive all contribute to a dependable installation.
Plan the layout before opening the adhesive
The most important visual decision is the direction of the pattern. In a long hallway, herringbone is usually aligned with the length of the space to lead the eye forward. In a larger room, it may be set parallel to the main wall, aligned to a central feature such as a fireplace, or coordinated with an adjoining floor transition. There is no universal answer: the room shape, natural light and sightlines from entrances should guide the choice.
Find the room’s centre line and mark it clearly. Then dry-lay several rows of blocks along this line to test the pattern. This reveals how the borders and end cuts will land at opposite walls. The aim is to avoid a narrow, awkward strip on one side of the room, which can make an otherwise well-fitted floor look unbalanced.
A traditional herringbone layout may use a perimeter border, sometimes with a contrasting feature strip. This produces a formal, framed appearance but requires careful planning and additional cutting. A borderless layout feels cleaner and is often better for contemporary homes, although expansion gaps must still be maintained and concealed with skirting, scotia or suitable trims.
Use a chalk line, laser or straightedge to establish a reliable reference. Do not assume a wall is straight enough to work from. In older homes especially, walls can wander considerably, while a central line gives the pattern a controlled and intentional appearance.
How to lay herringbone wood flooring step by step
For most engineered herringbone wood flooring, full bonding with an approved flexible wood-floor adhesive provides a secure, solid feel underfoot. It can also help manage the small seasonal movement that is natural in timber. Always follow the flooring manufacturer’s fitting requirements and the adhesive instructions, as some products are designed for floating or mechanical installation instead.
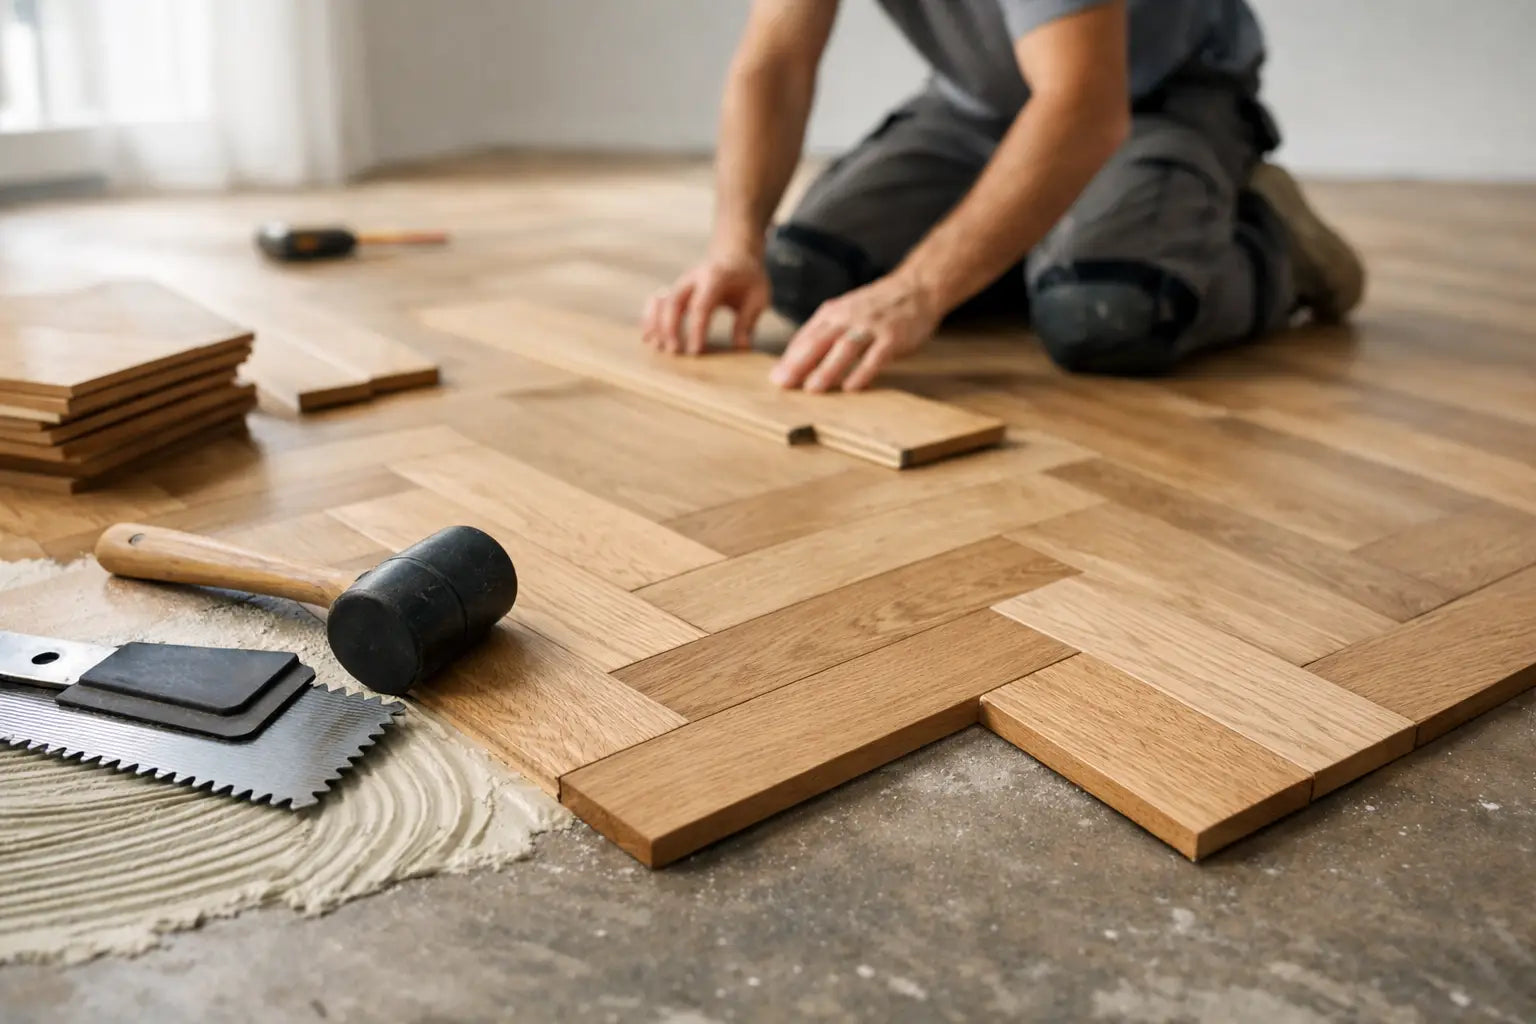
Start by creating the first V, positioning one left-handed and one right-handed block precisely against the marked centre line. This first pair establishes the angle for the entire floor, so check it repeatedly with a square and straightedge before progressing. It is worth taking time here rather than trying to correct an increasingly visible drift later.
Apply adhesive only to an area that can be covered within its stated working time. Spread it evenly with the correct notched trowel, then bed each board firmly into place without smearing adhesive across the finished surface. Keep the blocks tightly joined, but do not force them together so hard that adhesive is pushed into the joints.
Build the pattern out in controlled sections, checking the line every few rows. A professional installer will often use weights or temporary straps where needed to keep the early rows stable while the adhesive cures. Keep a clean cloth and manufacturer-approved cleaner to hand, because cured adhesive can be difficult to remove without affecting the finish.
At walls and fixed features, measure every cut individually. Rooms are rarely perfectly square, and copying one measurement repeatedly can create widening gaps. Leave the expansion allowance specified by the flooring manufacturer around the perimeter, door frames, pipes and other fixed points. Wood needs room to respond to changes in temperature and humidity.
Fitting around doors, thresholds and details
Door architraves are normally undercut so the flooring slips underneath for a neater finish. Use an offcut of flooring as a height guide before cutting. At doorways, plan how the herringbone pattern meets the adjoining surface. A clean threshold or transition profile protects the edge and allows for the differing movement characteristics of wood, tiles and other floor finishes.
For radiator pipes, drill holes slightly larger than the pipe diameter to preserve the movement gap, then finish with matching pipe collars where appropriate. Avoid using rigid filler to close expansion spaces.
Finishing, protection and aftercare
Once the floor is fitted, respect the adhesive curing time before replacing furniture or allowing heavy foot traffic. This is particularly important in commercial settings, where point loads, trolleys and frequent access can disturb a newly bonded floor.
Fit skirting or trims without pinning them through the flooring itself. The trim should conceal the perimeter gap while allowing the wood to move beneath it. Add felt pads under furniture, use entrance mats to reduce grit, and deal with spills promptly. Regular vacuuming with a soft floor head and cleaning with a wood-floor-approved product will preserve the finish without leaving a residue.
A herringbone floor is a design-led choice, but it should also be specified as a working surface. The right floor construction, a stable subfloor, compatible installation materials and careful setting out will make the difference between a pattern that merely looks attractive and one that performs beautifully for years. If there is any uncertainty around moisture, underfloor heating or layout, resolve it before fitting begins - that is where the best floors are made.