Article: How to Order Flooring Samples With Confidence

How to Order Flooring Samples With Confidence
A floor can look entirely different once it leaves a product image and enters your home. Natural light, adjoining paint colours, room proportions and the texture underfoot all affect the final result. Knowing how to order flooring samples gives you the chance to assess those details before committing to a full order, whether you are choosing engineered wood for a hallway, porcelain for an open-plan kitchen or a durable surface for a commercial interior.
A sample is not simply a colour swatch. It is a practical specification tool that helps you compare finishes, confirm suitability and reduce the risk of an expensive change of direction once installation has begun.
Start with the room, not the sample
Before selecting samples, be clear about where the floor will be installed and how the space will be used. A pale oak-effect finish may suit a quiet bedroom beautifully, but a busy entrance, kitchen or hotel corridor may need greater slip resistance, easier cleaning and a finish that is more forgiving of daily traffic.
Consider the subfloor, underfloor heating, moisture exposure and the level of use. Bathrooms and utility rooms need materials appropriate for wet areas. Ground-floor spaces may require attention to moisture protection and floor preparation. With wood flooring, you will also need to consider movement, acclimatisation and the suitability of the chosen construction for the environment.
This early thinking narrows the selection. Rather than ordering every appealing finish, you can request samples that meet both the design brief and the technical demands of the project.
How to order flooring samples for a useful comparison
Begin by shortlisting two to five options from the same product family or from finishes that you genuinely expect to compare. Ordering too many unrelated samples can make the decision harder, particularly when timber tones, stone effects and different sheen levels are all being assessed at once.
On the product page, check the material, dimensions, thickness, finish and stated application. For tile flooring, look for suitability for floors, slip rating where relevant, rectified or pressed edges, and whether the tile is designed for internal or external use. For wood, review the species or décor, plank format, wear layer where applicable, installation method and compatibility with underfloor heating.
Add the samples to your basket using the available sample option, then provide delivery details at checkout. Sample availability can vary by range and product format, so it is sensible to review the product information carefully before placing the request. If the project involves a large area, a commercial scheme or a particular installation condition, speaking with a specialist before finalising the selection can prevent unsuitable products reaching the specification stage.
At Smart Tiles, samples can support the same decision process whether you begin online or in the Kendal showroom: compare the surface finish, then plan the full floor with the appropriate preparation and fitting materials in mind.
Order more than one shade where variation matters
A single sample is useful, but it cannot always show the full character of the finished floor. This is particularly true for natural wood, stone, marble-effect porcelain and ranges with deliberate tonal variation. The final installation will contain more movement, pattern and shade variation than one small piece can represent.
If you are choosing wood flooring, compare samples from the same collection in the intended room and expect natural variation between boards. Knots, grain direction, brushed texture and colour shifts are part of the material's appeal, not faults to be eliminated. A sample confirms the overall tone and finish, while the wider floor will create the visual rhythm.
For tiles, check whether the range is described as having shade variation. A low-variation tile gives a more uniform appearance. A higher-variation stone or concrete effect can look more natural and layered, but needs to be viewed as a collection rather than as one isolated face. Ask to see larger-format pieces or installed displays where possible if pattern distribution is central to the design.
View samples in the right light
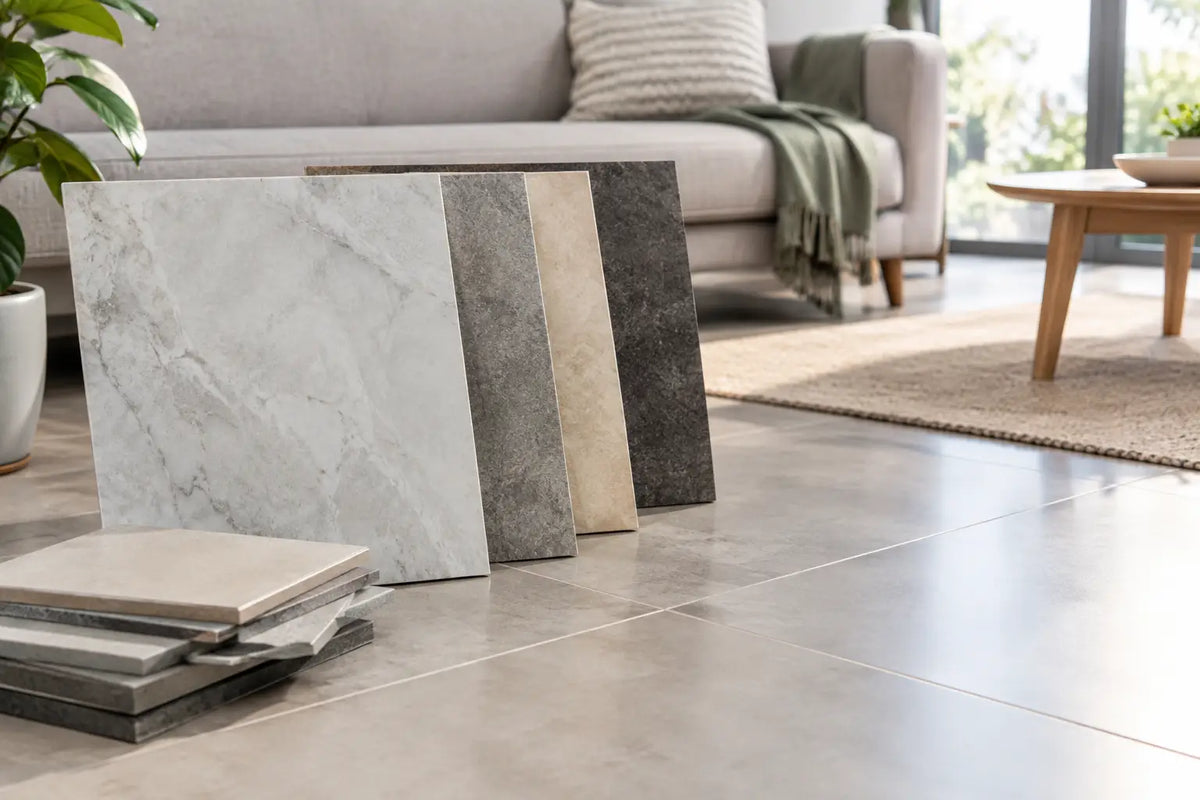
Place samples flat on the floor in the exact space where they will be used. Stand back, walk around them and look at them at different times of day. Morning daylight, afternoon sun and artificial evening lighting can all change how a colour reads.
A warm beige porcelain may appear softly neutral beside cream cabinetry but slightly pink against a cool grey wall. A smoked oak may look richly brown in daylight and much darker under warm LED lighting. This is why viewing a sample beside the kitchen doors, wall paint, worktop, joinery and fabrics is more reliable than choosing from a screen.
Do not assess flooring only against a white background. Surrounding finishes have a strong effect on perceived colour. If paint samples are still being chosen, place them beside the flooring at the same time. For a renovation, take account of fixed elements you are keeping, such as brickwork, fireplaces, staircase timber or existing furniture.
Feel the finish and assess daily use
Flooring is a surface you live or work on every day. Hold the sample at different angles to see its sheen, run a hand across it and consider how it will behave in the room. Matt finishes can create a calm, contemporary look and may disguise light marks well, although textured surfaces can require more attention when cleaning grout lines or surface relief. Polished finishes bring light and visual impact, but may show water marks, footprints or scratches more readily in high-use settings.
For tile floors, texture can improve grip and give a more authentic stone or timber effect. The trade-off is that a heavily structured finish may not be the simplest option for a busy kitchen or a project where rapid cleaning is a priority. For wood, a brushed or textured surface can add character and help disguise minor wear, while smoother lacquered finishes often provide a cleaner, more uniform appearance.
Think about footwear, pets, children, entrance dirt and cleaning routines. The most visually striking option is not automatically the best one for every household or commercial setting.
Check scale, layout and transitions
A flooring sample confirms colour and finish, but it rarely communicates scale on its own. Tile size can make a room feel more open or more detailed depending on the layout, while plank width and length influence how wood flooring reads across the room. A large-format porcelain tile can create a clean, expansive effect with fewer grout lines, but it may need a flatter subfloor and careful handling during installation.
Use the sample to plan direction and transitions. Lay a wood sample in the likely plank direction and consider sightlines from the doorway. Place tile samples beside adjacent floor finishes to judge thresholds and changes in level. If the floor meets fitted units, a staircase, a hearth or an external door, check how trims and edge details will be resolved.
This is also the point to consider grout for tiles. Grout can either blend with the tile for a quieter floor or contrast with it to define the layout. A small grout colour board beside the sample can prevent surprises later, especially with pale stone effects and patterned designs.
Do not finalise quantities from a sample
Once the preferred flooring has been selected, measure the room accurately and account for cuts, layout and wastage. A straightforward rectangular room may need less allowance than a space with alcoves, multiple doorways, diagonal laying or a repeating patterned tile. Larger planks and tiles can also create more cutting waste in smaller or irregular rooms.
Order from the final measured area, not an estimate based on the size of the sample. Confirm pack coverage, batch information and lead times before arranging fitting. For larger projects, ordering sufficient material from the same production batch is particularly valuable, as batches can vary slightly in tone or calibration.
The flooring choice should also be coordinated with adhesives, grout, levelling products, underlay, moisture protection, trims and sealers where required. These are not afterthoughts. The correct installation system protects the appearance and performance you chose the sample for.
When a sample is not enough
Samples are excellent for narrowing a choice, but some decisions benefit from seeing a full board, larger tile or showroom display. This is especially worthwhile for bold-veined marble effects, decorative tiles, herringbone wood layouts, high-variation natural materials and large commercial areas where consistency matters.
If a product will be laid across several connected rooms, view it in each space before making the final commitment. Light levels can change dramatically between a north-facing hallway, a glazed kitchen extension and an upstairs landing. For commercial projects, test the proposed finish against the cleaning regime, traffic level and performance requirements as well as the design concept.
A well-chosen sample turns a flooring decision from a guess into an informed specification. Give it a few days in the room, view it in changing light and judge it alongside the materials that will surround it. The right floor should still look convincing after that real-world test.