How to Clean Textured Porcelain Tiles Properly
Textured porcelain is chosen for a reason: it gives floors and walls more character, more natural variation and, in many cases, more underfoot grip than a polished finish. But the same fine surface texture that makes a stone-effect porcelain tile look convincing can hold onto cleaning residue, soap film and everyday dirt. To clean textured porcelain tiles well, the aim is not simply to make them look wet or shiny. It is to lift dirt from the texture without leaving a coating behind.
This matters particularly in bathrooms, entrance halls, kitchens and commercial washrooms, where moisture, footwear and regular use can make a textured finish appear dull before the tile itself is actually dirty. The right routine is straightforward, but product choice and cleaning technique make a noticeable difference.
Why textured porcelain needs a different approach
Porcelain is a dense, hardwearing material with very low water absorption. Unlike many natural stones, the tile face does not usually require sealing. However, a textured or structured surface has tiny high and low points. Grease, limescale, dust and cleaning-product residue can settle into these recesses, especially on matt stone-effect, concrete-effect and anti-slip tiles.
A standard mop used with too much detergent often moves dirt across the floor rather than removing it. It can also leave a film in the texture. This is why a floor may feel clean but look patchy, hazy or darker in the more heavily used areas.
The grout should also be considered separately. Although porcelain itself is highly stain resistant, cement-based grout is more porous and may show discolouration first. A sensible cleaning method protects both parts of the installation.
The best everyday method to clean textured porcelain tiles
For most indoor floors, frequent light cleaning is more effective than occasional aggressive cleaning. Start by removing loose grit with a soft-bristle broom, vacuum cleaner with a suitable hard-floor setting, or dry microfibre mop. Grit is particularly relevant in hallways and kitchens, where it can collect in the surface relief and be walked into the grout joints.
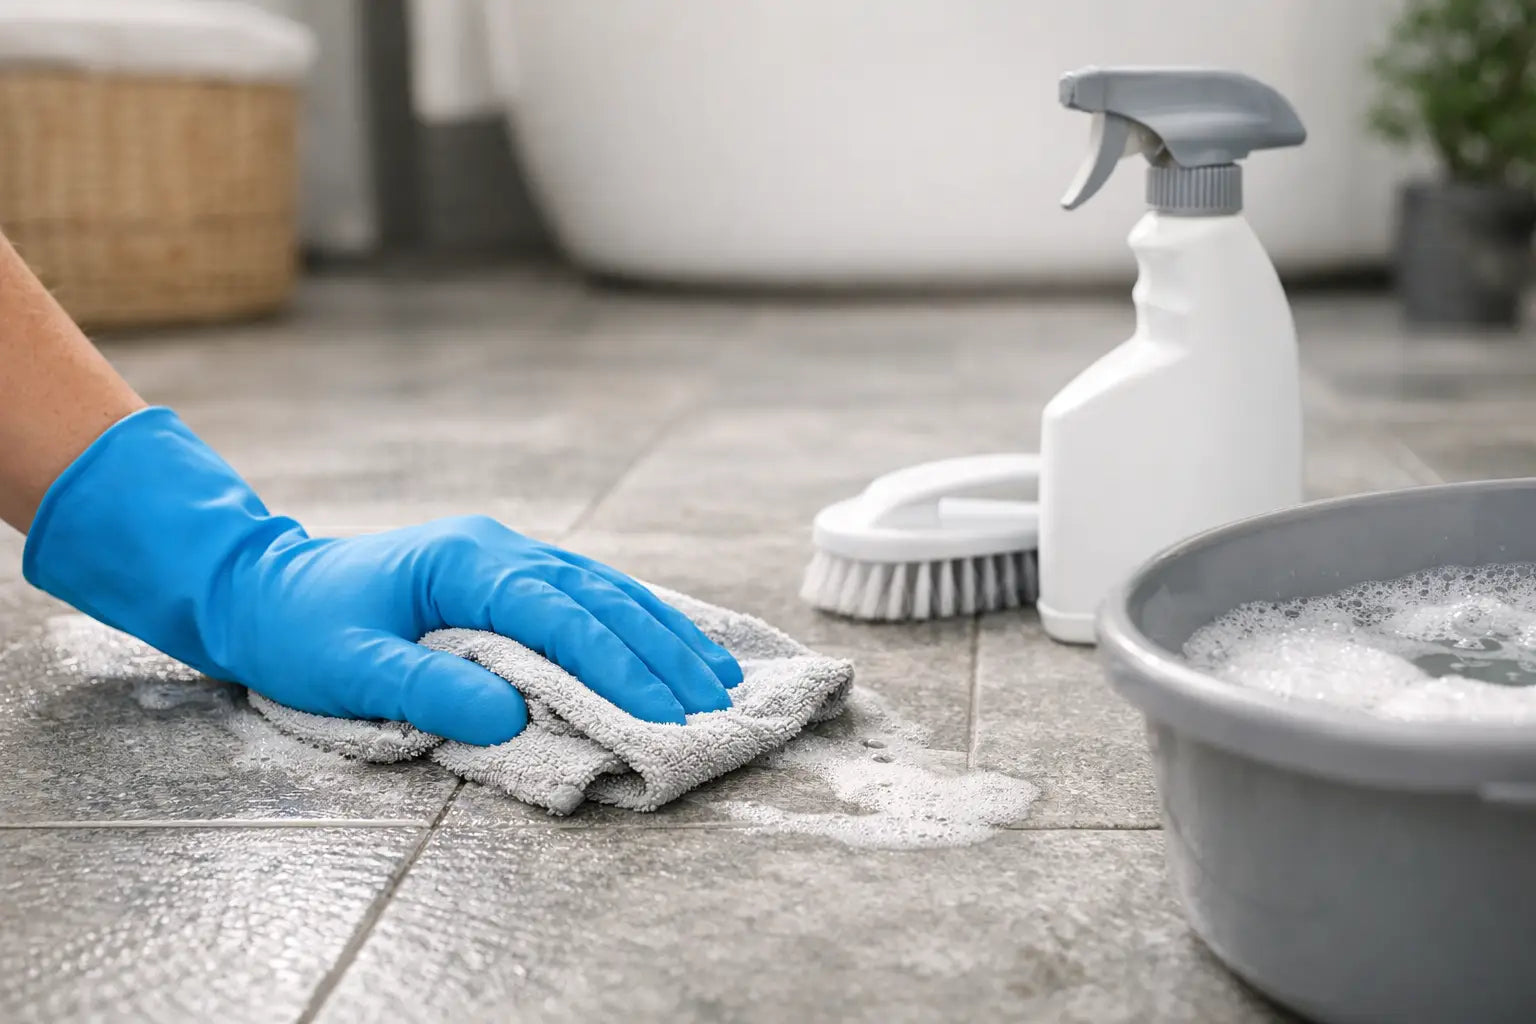
Then use warm water with a pH-neutral tile cleaner, diluted precisely to the manufacturer's instructions. Apply it with a microfibre mop or soft deck brush, allowing enough moisture to clean the texture without flooding the floor. Work in manageable sections, agitating the tile surface gently where needed.
The essential final stage is removing the dirty solution. Rinse the mop regularly, use clean water for a final pass, and avoid allowing detergent to dry on the tile. On larger areas, a wet vacuum or scrubber dryer can be particularly effective because it lifts the soiled water away rather than redistributing it.
A simple routine is usually enough:
1. Dry-remove dust, grit and loose debris.
2. Wash with a diluted pH-neutral cleaner and warm water.
3. Agitate textured areas gently with a soft brush if dirt remains.
4. Rinse or extract the cleaning solution, then allow the floor to dry naturally.
For bathroom walls, use the same principle with a soft cloth or non-abrasive pad. Do not leave cleaning spray sitting on the tile face for longer than necessary, particularly around shower fittings, grout joints and silicone sealant.
Choosing the right brush and mop
A microfibre mop is a practical first choice for routine care, but it may not reach deep enough into a pronounced slate, riven or anti-slip texture. For these finishes, use a soft nylon brush or soft deck brush occasionally. The bristles should be firm enough to work into the surface relief but never so harsh that they damage grout, trims or sealant.
Avoid steel wool, wire brushes and highly abrasive scouring pads. Porcelain is extremely durable, but aggressive tools can leave metal marks, affect decorative surface treatments or abrade surrounding materials. They are also unnecessary for normal domestic dirt.
Removing common marks without damaging the finish
The correct cleaner depends on what is on the tile. Treating every mark with a strong all-purpose product is one of the main reasons textured porcelain starts to look cloudy.
Soap film and limescale in bathrooms
Soap residue and hard-water deposits can make shower floors and walls appear pale or streaky. Use a cleaner designed for limescale and soap deposits that is confirmed as suitable for porcelain and grout. Apply sparingly, allow it to work for the recommended time and agitate lightly with a soft brush before rinsing thoroughly.
Acidic products can be effective against limescale, but they need careful use. They may affect cement grout, natural stone details, metal trims and certain sealants. Never assume a household descaler is appropriate simply because the tiles are porcelain. Check the cleaner's suitability first and test an inconspicuous section where the installation includes sensitive materials.
Grease and cooking residue in kitchens
A kitchen floor near a hob, island or dining area may develop a slightly tacky film that attracts dust. Use a pH-neutral degreasing tile cleaner or an alkaline cleaner formulated for porcelain, following the dilution guidance exactly. A stronger product is not automatically better: excessive concentration can leave residue and create the same dull appearance you are trying to remove.
After cleaning, rinse with fresh water. This step is especially important on textured floor tiles, where degreaser can sit in the surface profile if it is not removed properly.
Stubborn dirt in entrances and utility rooms
Mud, road salt and ingrained dirt are best dealt with after they have been softened, not by dry scrubbing. Apply the diluted cleaner, leave it briefly as directed, then brush the surface and lift the soiled water. Entrance matting is also a worthwhile preventative measure, reducing abrasive grit and moisture before they reach the tiled floor.
For commercial entrances, hotel corridors and other high-footfall areas, a planned maintenance routine is preferable to waiting until the floor looks dirty. The frequency will depend on traffic, weather and the tile's texture, but regular mechanical scrubbing and extraction can preserve a consistent appearance across larger installations.
What not to use on textured porcelain
Avoid waxes, oil-based polishes and products marketed to add shine. These can fill or coat the texture, change the intended matt appearance and reduce the practical grip of a slip-resistant tile. They also attract further dirt, creating a cycle of increasingly heavy cleaning.
Do not use bleach routinely. A bleach-based product may be suitable for a specific stain when the manufacturer permits it, but it is not an everyday porcelain cleaner and can be hard on coloured grout, sealants and adjacent surfaces. Likewise, avoid mixing cleaning products. Combining chemicals, especially bleach and acidic cleaners, can create dangerous fumes.
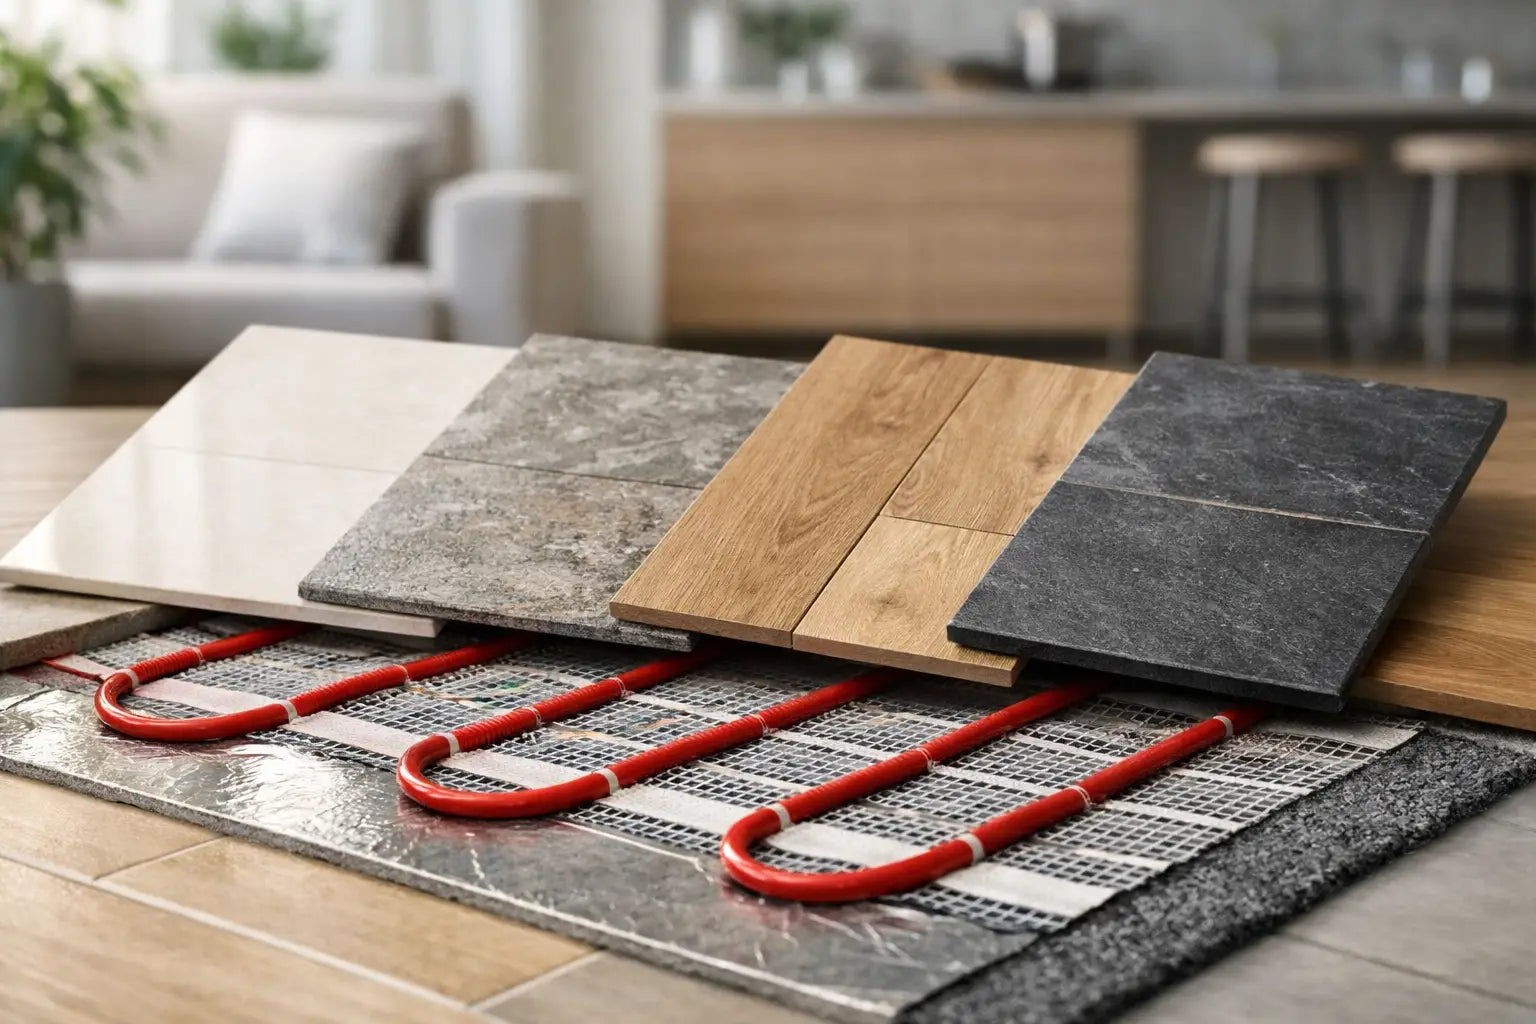
Steam cleaners can work on some porcelain installations, but care is needed around grout, silicone, movement joints and poorly bonded tiles. They are not a replacement for removing detergent residue. Check the installation system and cleaner guidance before using steam, particularly in a newly tiled bathroom or on a floor with underfloor heating.
Deep cleaning a textured porcelain floor
If a textured floor has become persistently dull, feels sticky underfoot or still looks marked after normal cleaning, it may need a one-off deep clean. In many cases, the issue is built-up detergent rather than permanent staining.
Begin with a suitable porcelain deep cleaner or residue remover, selected for the type of contamination rather than the tile colour. Apply according to the label, work it into the texture with a soft brush or scrubber, and do not let it dry out. Then remove the solution completely with a wet vacuum, scrubber dryer or repeated rinsing with clean water.
It is sensible to test a small area first, particularly where tiles sit beside natural stone, timber flooring, painted skirting or decorative metal trims. In a large room, clean in sections so the product remains controllable and dirty water does not dry back onto the tiles.
Newly installed tiles deserve particular attention. Grout haze, adhesive traces or site dust should be dealt with using products that are suitable for the tile, grout and installation stage. Once grout has fully cured, a careful post-installation clean can make day-to-day maintenance considerably easier.
Keep the finish looking as intended
Textured porcelain does not need complicated care, but it benefits from consistency. Wipe spills promptly, especially oils, coloured drinks and toiletries. Use entrance mats, furniture protectors and suitable floor-cleaning products. If a floor begins to look uneven in colour, review the cleaner dosage and rinsing process before assuming the tile has stained.
For a project that combines feature porcelain, floor tiles, matching grout and trims, choosing compatible materials from the outset reduces uncertainty later. Smart Tiles can help homeowners, designers and trade buyers select practical surface finishes alongside the installation products needed to complete the specification professionally.
A well-chosen textured porcelain tile should retain its depth, grip and design character for years. Clean it with the lightest effective method, rinse away residue and give the texture the attention it was designed to deserve.