How to Calculate Tile Coverage Accurately
A beautiful tile scheme can be held up by one surprisingly practical detail: ordering too little material. Knowing how to calculate tile coverage before choosing a collection, laying pattern or trim helps keep your project on schedule, avoids mismatched batch issues and gives you a clearer budget from the outset.
The calculation itself is straightforward. The accuracy comes from measuring carefully, working in consistent units and allowing for the cuts that turn a neat drawing into a real installation. Whether you are tiling a kitchen splashback, a large-format bathroom floor or a commercial reception area, the same principles apply.
How to calculate tile coverage in square metres
Start by measuring the width and length of every area to be tiled in metres. Multiply the two figures to find the area in square metres.
Width x length = area in m²
For example, a floor measuring 3.6 metres long by 2.4 metres wide requires:
3.6m x 2.4m = 8.64m²
This is your net coverage area - the surface before cuts, breakages and spare tiles are considered. If you are measuring in centimetres, convert each measurement to metres first by dividing by 100. A 240cm wall is 2.4m; a 60cm tile is 0.6m.
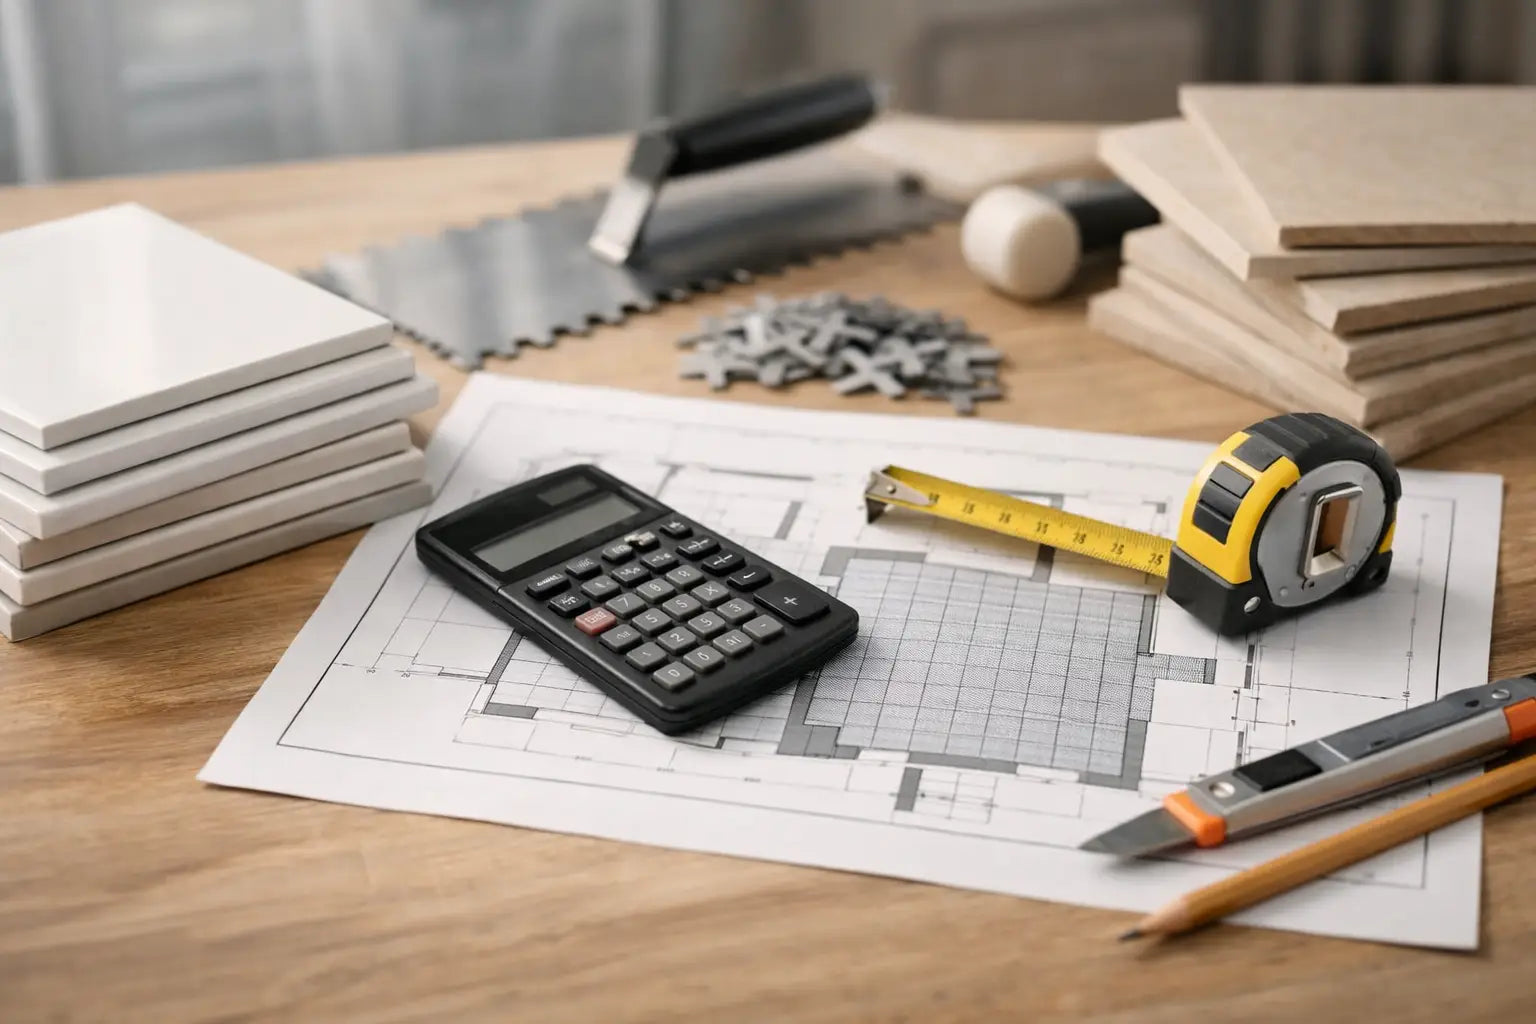
Keep a simple sketch as you measure. Mark doors, alcoves, boxed-in pipework, windows and changes in wall height. It is much easier to check dimensions on a plan than to rely on a list of figures gathered around the room.
Measuring rectangular walls
For a straightforward wall, multiply its width by its height. A wall that is 2.8m wide and 2.3m high has an area of 6.44m².
If the room has four walls, calculate each wall separately, then add them together. This matters in bathrooms and cloakrooms, where wall lengths may differ and a bath boxing or shower recess can alter the final figure considerably.
Measuring floors, hallways and irregular rooms
Long hallways, L-shaped rooms and open-plan spaces should be divided into simple rectangles. Calculate the area of each rectangle, then add them together.
For instance, an L-shaped floor may contain a main section of 4m x 3m and a return measuring 1.5m x 1m. The total is 12m² plus 1.5m², giving 13.5m² before wastage.
Avoid estimating irregular spaces by eye. Even a small difference across a large floor can mean an extra pack is needed, particularly with premium porcelain where availability or batch continuity can affect a tight project programme.
Should you deduct doors, windows and fixed units?
It depends on the size of the opening and the tile layout. As a practical rule, small windows, doors and service penetrations are often left within the measurement. The tile removed around them is largely offset by the additional cutting they create.
For a full-height door, large window or substantial opening, you can deduct its area from the wall total. Measure the opening in the same way: width multiplied by height. A 0.8m x 2m door opening equals 1.6m².
On floors, decide early whether tiles will run beneath kitchen units, fitted wardrobes or a bath. Tiling beneath removable furniture and appliances is normally sensible. For permanently fitted cabinetry, some projects tile only the visible floor area, while others tile the entire room for flexibility in future renovations. Your installer, the floor build-up and the furniture design should guide that decision.
Add the right allowance for cuts and wastage
The net area is not the quantity you should order. Tiles need to be cut at perimeters, around corners, pipe penetrations, niches and fittings. A sensible allowance also protects against accidental damage and leaves a small reserve for later repairs.
For a simple straight-lay installation in a square or rectangular room, add 10%. This usually suits standard wall tile layouts and uncomplicated floor areas.
Increase the allowance to 15% where the room has many corners, narrow returns, multiple openings or a less forgiving tile format. Large-format porcelain can produce more offcuts in compact rooms, while small mosaics may require extra material around curves and detailed recesses.
Allow 15% to 20% for diagonal layouts, herringbone, chevron patterns, feature borders and other design-led arrangements. These patterns create more cuts, and the visual result depends on having enough tiles to maintain the planned sequence and direction.
Use this calculation:
Net area x wastage allowance = order area
For the 8.64m² floor above, with a 10% allowance:
8.64m² x 1.10 = 9.50m²
You would therefore need at least 9.50m² of tile. In practice, you must then round up to full packs.
Check coverage per pack, not just the tile size
Tile products are sold by pack, and each pack states the coverage it provides in square metres. This is the figure to use when placing an order.
If your final requirement is 9.50m² and a pack covers 1.44m², divide 9.50 by 1.44. The result is 6.6 packs, so you must order seven packs. Seven packs provide 10.08m², giving a useful margin without falling short.
Do not round down because the decimal looks close. A project cannot be completed with part of a pack that has not been ordered. Ordering whole packs also gives a better chance of retaining spare tiles from the same production batch, which can be valuable if a tile is damaged after installation.
Be aware that stated tile dimensions can be nominal. A tile sold as 600 x 600mm may have a slightly different working size once manufacturing tolerances and rectification are considered. For coverage, rely on the pack information. For setting out, grout joints and trim positions, use the actual tile size confirmed on site.
Calculate individual tile quantities when required
Most projects are easiest to order by square metre, but individual quantities can be useful for sheet mosaics, decorative inserts, loose pieces or when checking a layout.
Calculate the face area of one tile in metres, then divide the total area by that figure. A 600 x 300mm tile measures 0.6m x 0.3m, so each tile covers 0.18m². A 6m² wall therefore needs 33.3 tiles before allowing for cuts. Add the appropriate allowance, then round up.
For mosaics, check whether the product is supplied by sheet, by square metre or by box. A sheet may include mesh spacing that affects its stated coverage, so the manufacturer's pack coverage remains the most dependable ordering reference.
Plan the layout before finalising the quantity
Two rooms with identical measurements can require different quantities. A centred layout with balanced cuts may use material differently from a layout that starts with a full tile at the entrance. Tile direction also matters: timber-effect planks laid at a 45-degree angle will create more waste than the same product laid parallel to the longest wall.
Before ordering, consider where the eye will land first. In a bathroom, this may be the shower wall, vanity backdrop or floor visible from the doorway. In a hallway, it is often the approach through the front door. Setting out from a focal point can improve the finished appearance, but it may increase the number of cuts at the perimeter.
This is also the stage to account for feature strips, contrasting grout lines, border tiles and trims. Measure decorative areas separately rather than assuming they are included in the field-tile calculation. If a feature tile replaces part of the main wall tile, deduct that area only once both quantities have been checked.
Avoid the common coverage calculation mistakes
The most frequent error is measuring only the floor or wall at its widest points and overlooking recesses. The next is mixing centimetres and metres in the same calculation, which can produce a dramatically incorrect result. Measuring each plane separately prevents both problems.
Another issue is applying one standard allowance to every room. A simple utility room is not comparable with a shower enclosure containing a niche, window reveal and mitred external corners. The latter needs more contingency, even if its square metre figure is modest.
Finally, buy all tiles required for the project at the same time where possible. Natural variation, especially in stone-effect, encaustic-style and wood-effect collections, is part of the design appeal, but batch and shade can vary between production runs. Smart Tiles can help translate a room plan, tile format and chosen layout into a practical pack quantity before you commit to installation materials.
A final measurement check takes only a few minutes and is one of the most valuable decisions in a tile project. Order enough for the layout you genuinely want, retain a few spares once the work is complete, and your chosen surface will be ready to perform as beautifully as it looks.