How to Choose Tiles for Hallways That Last
A hallway is the first surface guests see and one of the hardest-working floors in the home. To choose tiles for hallways well, look beyond the initial colour or pattern: the floor needs to handle wet shoes, grit, pets, bags and frequent cleaning while setting the standard for the rooms beyond it.
For period properties, contemporary extensions and busy commercial entrances alike, the strongest schemes balance a considered design with the correct technical specification. Porcelain is often the natural starting point, but format, finish, slip resistance and installation preparation all influence how the finished floor will look and perform over time.
Choose tiles for hallways around real footfall
Start by considering where the hallway sits in the property and how it is used. A front entrance opening directly onto a driveway, garden or country lane will receive significantly more moisture and abrasive dirt than an internal corridor between bedrooms. A large family house, holiday property, boutique hotel or commercial reception may also require a more resilient specification than a lightly used flat entrance.
Porcelain floor tiles are a dependable choice for most hallways. Their low porosity makes them highly resistant to staining and everyday moisture, while modern Italian and Spanish collections offer finishes ranging from quiet limestone-effect designs to dramatic marble, terrazzo and concrete looks. They are also compatible with underfloor heating when installed over a suitable prepared substrate using the correct flexible adhesive and grout.
Ceramic tiles can be suitable for lower-traffic internal spaces, particularly on walls, but porcelain generally provides greater strength and durability where a floor is likely to take regular impact and wear. Natural stone can create an exceptional entrance, though it needs a considered sealing and maintenance regime. For clients who want the visual character of stone with easier day-to-day care, a quality stone-effect porcelain can be the more practical choice.
Select the right surface finish
A polished tile can bring light and a sense of occasion to a generous entrance hall. It is particularly effective in homes where the hallway is kept dry and where a refined, formal finish is the priority. However, polished surfaces can show water marks, footprints and dust more readily, and they may be less appropriate immediately inside a busy external door.
Matt and satin finishes are often the most versatile options. They have a softer appearance, are more forgiving between cleans and can give a hallway a calm, architectural quality. Many stone-effect and concrete-effect porcelain tiles use subtle texture and variation to disguise everyday dust while still looking premium.
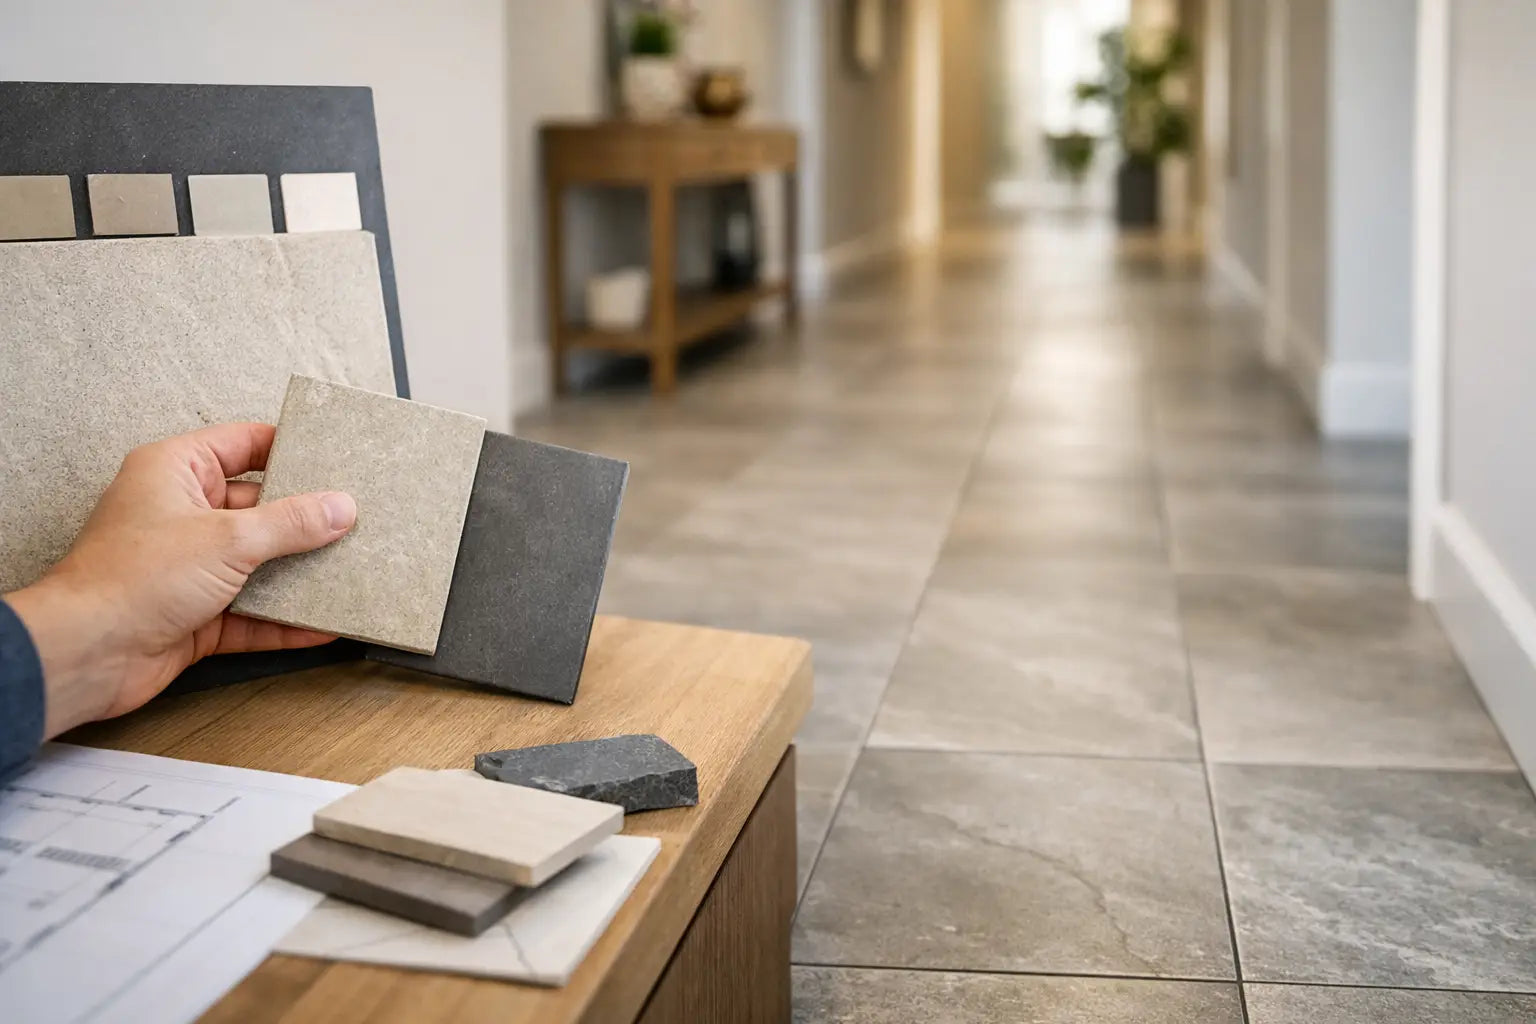
For entrance zones exposed to rain, choose a tile with a suitable slip-resistance rating and a surface that offers grip without being difficult to maintain. More texture usually improves traction, but very heavily structured tiles can hold dirt in the relief. This is where viewing a full sample matters. Assess it in natural light, feel the finish underfoot and consider how it will work with the cleaning routine the property can realistically support.
A practical entrance mat is still valuable, even with a high-performance tile. Recessed mat wells can provide a particularly neat transition in renovation and new-build projects, helping to catch grit before it reaches the tiled floor.
Tile size changes the scale of the space
There is no single best tile size for every hallway. Large-format porcelain, such as 600 x 600mm, 600 x 1200mm or plank formats, can reduce grout lines and create a clean, expansive appearance in wide entrances and open-plan ground floors. A rectified edge allows narrower, more consistent joints, although the floor and walls must be accurately prepared to achieve this result.
In a narrow hallway, a large tile does not automatically make the room feel bigger. The layout is just as important. A well-planned rectangular tile laid lengthways can draw the eye through the space, while a diagonal layout can add movement but creates more cuts and waste. Always establish the setting out before ordering, particularly where doorways, stair returns and adjoining rooms are visible from the entrance.
Smaller formats bring a different kind of value. Victorian-style patterns, encaustic-effect porcelain, mosaics and small brick tiles can suit period homes, boot rooms and characterful entrances. They provide more grout lines, which can add grip, but also mean more cleaning and a greater emphasis on careful installation. Patterned floor tiles make an immediate statement, so keep surrounding wall finishes and joinery relatively restrained if the aim is a balanced scheme.
Build a cohesive colour and pattern scheme
Hallway tiles should relate to the architecture and the adjoining rooms rather than compete with them. Warm limestone, soft beige and pale oak-inspired tones can make darker entrances feel welcoming. Grey concrete and slate effects work well in more contemporary interiors, especially with black metal details, flush doors or minimalist joinery. Deep green, blue and charcoal tiles can look striking in a larger hall with good natural light, but may feel heavy in a confined space without considered lighting.
Variation is also worth checking before final selection. Stone-effect and wood-effect porcelains are designed with different faces to recreate natural movement, while marble-effect ranges may feature bolder veining from tile to tile. View several pieces, not only one small sample, to understand the overall effect. This is especially relevant across larger floors, where repeated patterns can be more noticeable.
If the hallway connects directly to a kitchen, utility or open living area, using the same tile can create a more continuous floor plan. Alternatively, a coordinating border, inset rug effect or change in laying direction can define the entrance without introducing an unrelated material. The best choice depends on whether the project needs visual flow or a clear threshold between functions.
Do not overlook grout, trims and transitions
Grout is part of the design, not an afterthought. A closely matched grout creates a calmer, more monolithic surface and is often suited to large-format stone or concrete effects. A contrasting grout emphasises the geometry of brick, patterned or small-format tiles, but it will make every line more visible.
For a hardworking hallway, choose a quality grout with suitable stain resistance and ensure joints are sized correctly for the tile and substrate. Very narrow joints may look elegant, yet they are not appropriate for every product or installation condition. Movement joints should be allowed for where required, particularly across larger areas, heated floors and thresholds.
External edges, steps and changes in level should be finished with suitable tile trims or purpose-designed profiles. These protect exposed tile edges from chips and provide a cleaner result than relying on grout alone. Where the tiled hallway meets timber, carpet or another floor finish, plan the transition height early. It avoids an awkward lip and helps installers sequence the work correctly.
Allow for preparation, quantities and maintenance
A premium tile cannot compensate for an uneven, unstable or damp substrate. Floors may need levelling, decoupling or suitable tile backer boards before installation. This is particularly important in older properties, over timber floors and where underfloor heating is being introduced. The appropriate primer, adhesive, grout and movement provision should be selected as a system, based on the substrate and tile format.
Measure the net floor area, then allow for cuts, layout and future repairs. A simple rectangular hall may need a modest allowance, whereas diagonal layouts, patterns and rooms with multiple door openings will need more. Ordering additional tiles from the same batch is sensible, as it supports a consistent finish and leaves spares for any later damage.
Most porcelain hallway floors need only regular sweeping or vacuuming with a hard-floor setting, followed by cleaning with a suitable neutral product. Avoid harsh residues that can dull the surface or build up in grout joints. For stone, follow the specific sealing and maintenance requirements of the material.
At Smart Tiles, samples and accurate coverage planning help turn a promising tile choice into a confident specification. Take time to view the finish at home, assess it beside your paint, joinery and lighting, and choose a floor that feels right on an ordinary wet Tuesday as well as on the day the project is photographed.