Ceramic Wall Tile Collections for Every Room
A wall finish can set the standard for an entire room. In a bathroom, it can make a compact layout feel calmer and more generous. In a kitchen, it can turn a practical splashback into a considered design feature. The best ceramic wall tile collections give you that visual impact while remaining a practical, manageable choice for everyday interiors.
Ceramic is especially well suited to walls because it offers extensive choice in colour, shape, glaze and decorative detail without the weight or cost associated with some natural materials. For homeowners, designers and installers, the key is not simply finding an attractive tile. It is choosing a collection whose format, finish and supporting products work with the room, the substrate and the intended result.
Choosing ceramic wall tile collections by room
A collection should be assessed in the setting where it will be installed. Light levels, moisture, wall dimensions and the amount of visual activity already in the room all influence whether a tile will feel balanced once fitted.
Bathrooms: balance finish with practicality
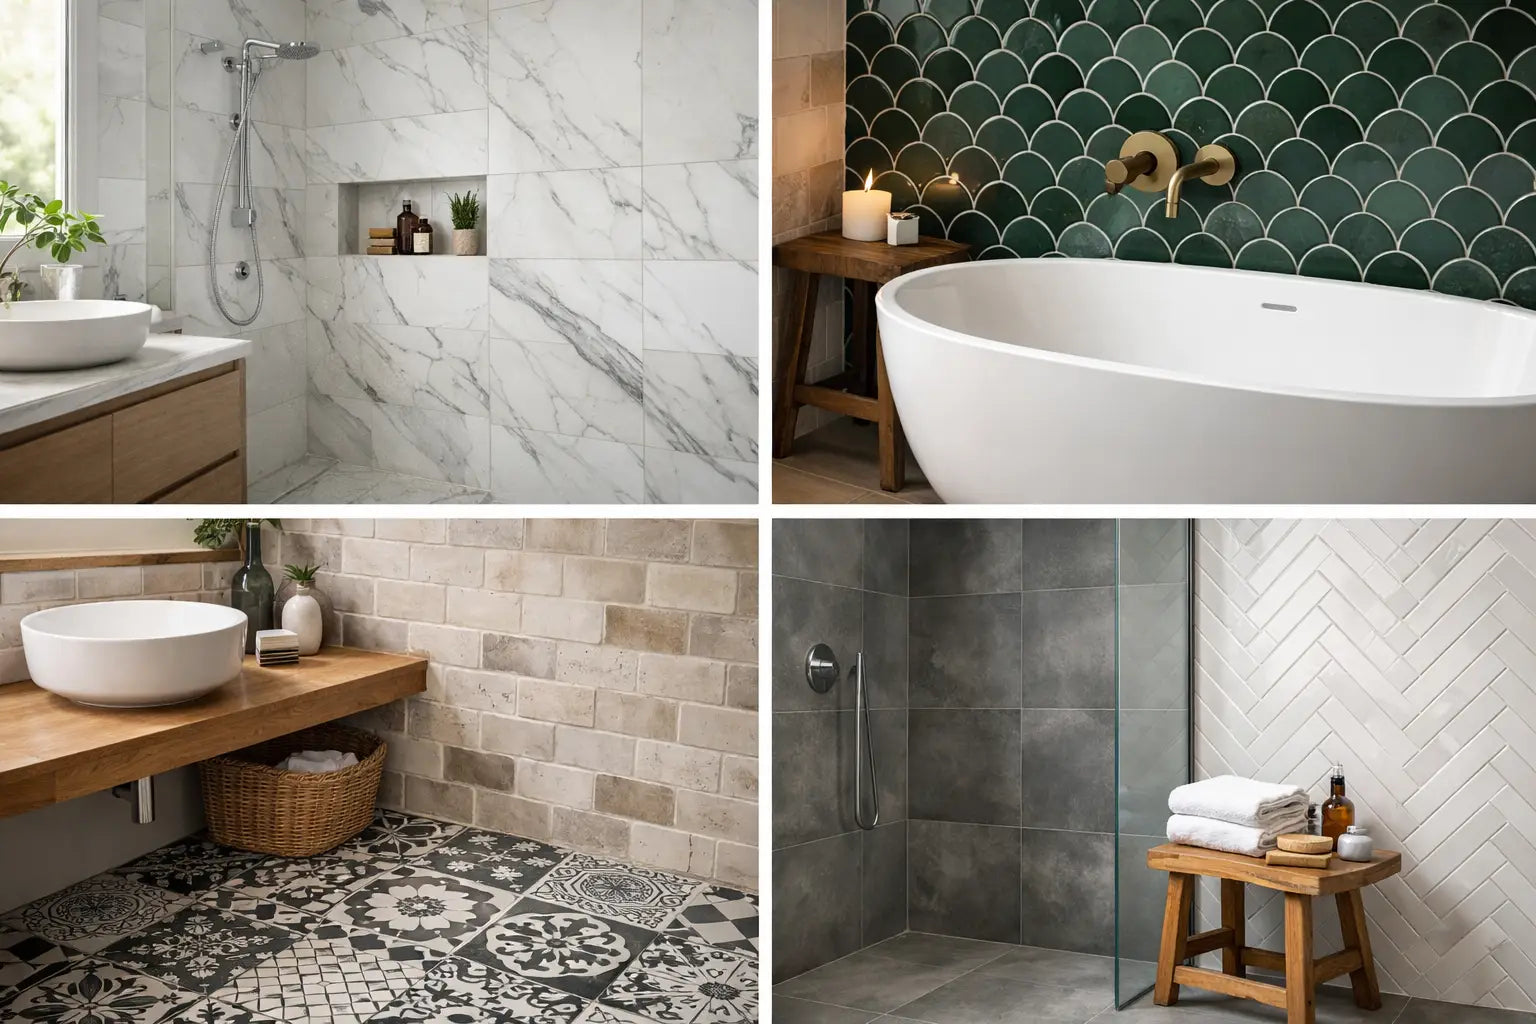
Ceramic wall tiles remain a reliable choice for bathroom walls, from full-height shower enclosures to a tiled half wall behind a basin. Gloss finishes reflect light effectively, making them useful in smaller bathrooms, en-suites and cloakrooms. A soft satin or matt glaze, meanwhile, can create a quieter, more contemporary surface and may disguise water spotting better than a highly reflective tile.
Large-format wall tiles reduce the number of grout joints, which can give a bathroom a more expansive appearance. They do, however, demand flatter walls and careful handling during fitting. A smaller rectangular tile may be the better decision where walls are uneven, a room has many corners or pipes need to be worked around.
For shower areas, the tile is only one part of the specification. A suitable waterproofing system, compatible adhesive, grout and properly finished internal corners are essential. The most decorative tile cannot compensate for inadequate preparation behind it.
Kitchens: make the splashback work harder
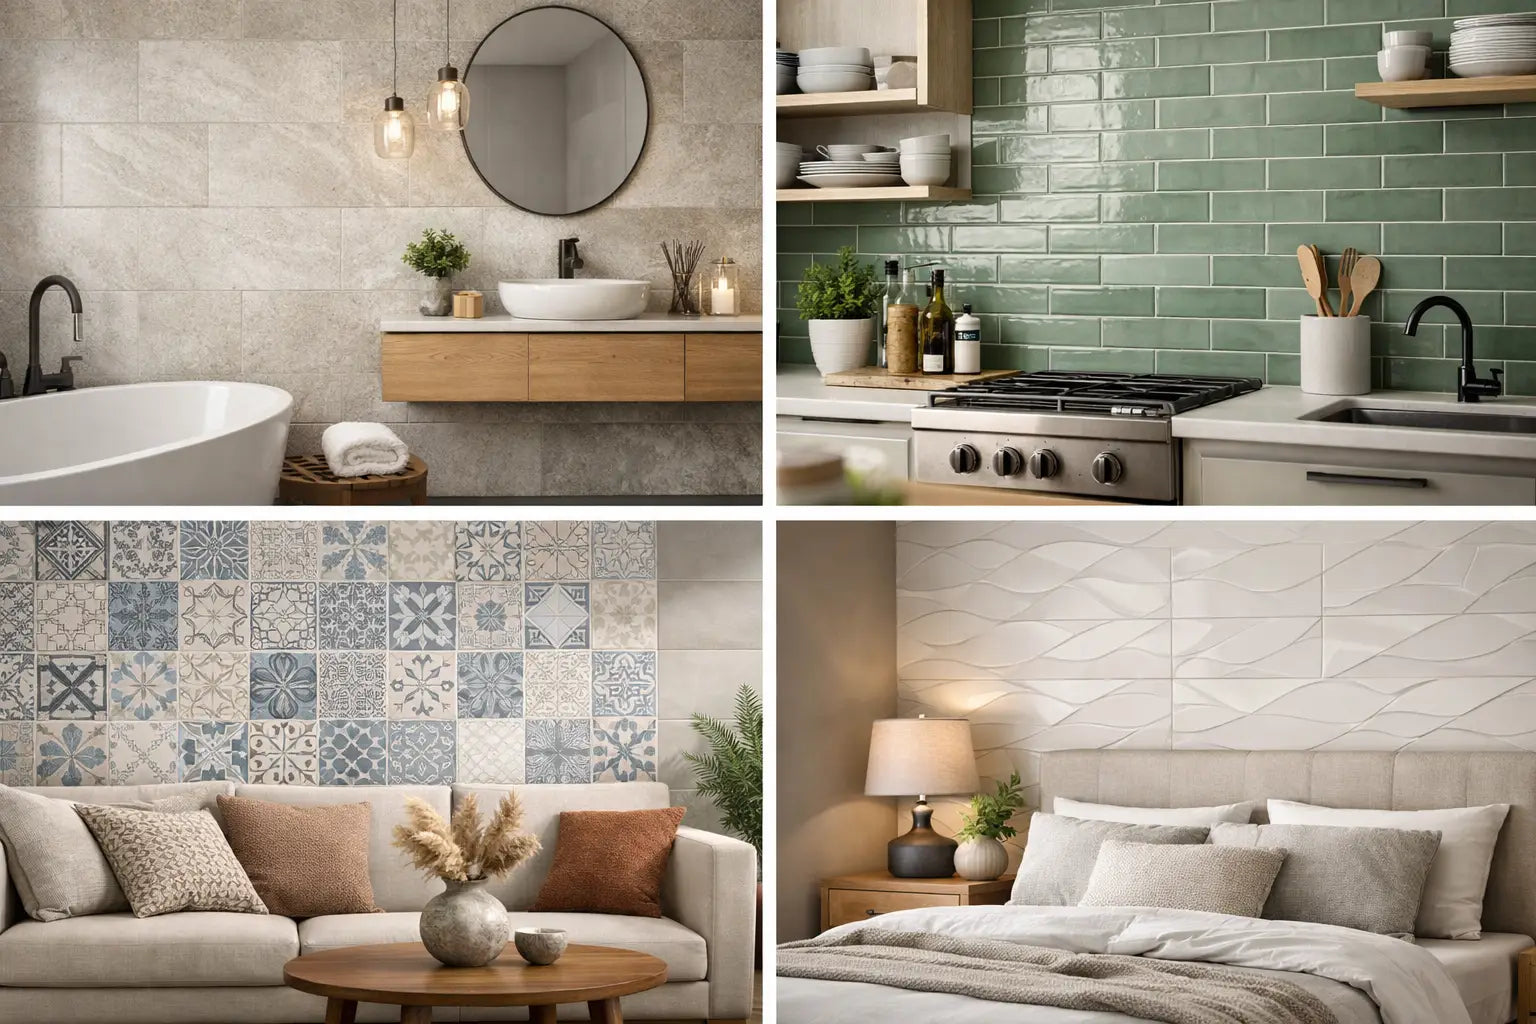
The kitchen splashback is an opportunity to introduce colour, texture or pattern without overwhelming the whole room. Classic metro formats remain popular because they can be laid in brick bond, stacked, herringbone or vertical arrangements, each giving the same tile a different character. Hand-finished-look ceramics, with subtle tonal movement and uneven edges, add warmth to painted cabinetry and natural timber details.
A simple square tile is equally versatile. Laid straight, it feels clean and architectural; set on the diagonal, it becomes more expressive. If the worktop and cabinetry already carry a strong grain or pattern, a single-colour ceramic collection can provide welcome visual restraint.
Think about grout before committing to a tile colour. A close tonal grout creates a continuous surface, while contrasting grout defines every tile and makes the layout part of the design. Around hobs and sinks, select installation materials suited to the application and ensure joints are finished cleanly for easy day-to-day maintenance.
Hallways, utilities and living spaces
Ceramic wall tiles are no longer limited to wet areas. A tiled entrance wall, utility splash zone, fireplace surround or bar area can give a residential project a more tailored finish. In commercial interiors, they offer an attractive solution for reception desks, washrooms, hospitality walls and service areas where a durable, easy-care surface is required.
This is where decorative collections can be particularly effective. Fluted profiles, geometric reliefs and patterned designs create depth that paint cannot replicate. Use them purposefully. A textured tile across every wall may be right for a bold hospitality setting, but a single feature wall or inset panel is often more successful in a private home.
Format, layout and finish change the final look
Tile samples show colour and surface quality, but they cannot fully communicate scale. Before ordering, consider the tile dimensions alongside the wall width, ceiling height, fittings and furniture. A 300 x 600mm format can look sleek in a spacious bathroom, while a slim 75 x 300mm tile may better suit a narrow splashback or detailed alcove.
Rectangular tiles naturally guide the eye. Horizontal laying can visually widen a room, whereas vertical laying can emphasise ceiling height. Square formats feel orderly and familiar. Hexagons, scallops and other shaped tiles offer more decoration, but typically involve more cuts, planning and installation time.
Finish is equally influential. Gloss ceramics bounce light around a room and enhance depth of colour. Matt and satin glazes have a more restrained appearance, often working well with stone-effect floors, brushed brassware and contemporary joinery. Crackle glazes and handmade-effect pieces deliver character, although their finish may need specific sealing or care advice depending on the product. Always check the individual collection guidance rather than assuming that all ceramic tiles have identical maintenance requirements.
Variation between tiles also deserves attention. Some collections are deliberately uniform, while others include shade movement, glaze pooling or irregular edges to create an artisan look. View several pieces together where possible. This gives a much more accurate impression of the finished wall than selecting from one tile alone.
Plan quantities before selecting the finishing details
Accurate measurement protects both the design and the programme. Measure each tiled area separately, multiply height by width, then deduct substantial openings only where appropriate. It is normally sensible to allow for cuts, breakages and future repairs. The right allowance depends on the format and layout: a straightforward square or brick bond layout may require less extra material than a diagonal pattern, herringbone installation or a room with numerous returns.
Ordering too tightly can create avoidable problems if additional tiles are needed later, particularly where shade batches have changed. Keeping a small number of spare tiles is worthwhile for repairs after the project is complete.
At the same stage, specify the products that make the installation look finished rather than merely fitted. These commonly include compatible adhesive, grout, sealant, tile trim, backer board or waterproofing components. Trim choice has a visible effect at external corners and exposed tile edges. A matching ceramic trim produces a traditional finish where available, while metal trims in chrome, brass, black or stainless steel can coordinate with fittings and give a crisp contemporary line.
For larger projects, calculate not only tile coverage but also delivery access, lead times and storage conditions. Tiles should be stored safely on site, protected from damage and available to the installer before work begins. A late change in tile direction or grout colour is much easier to manage before the fixing programme is underway.
Use samples to make confident decisions
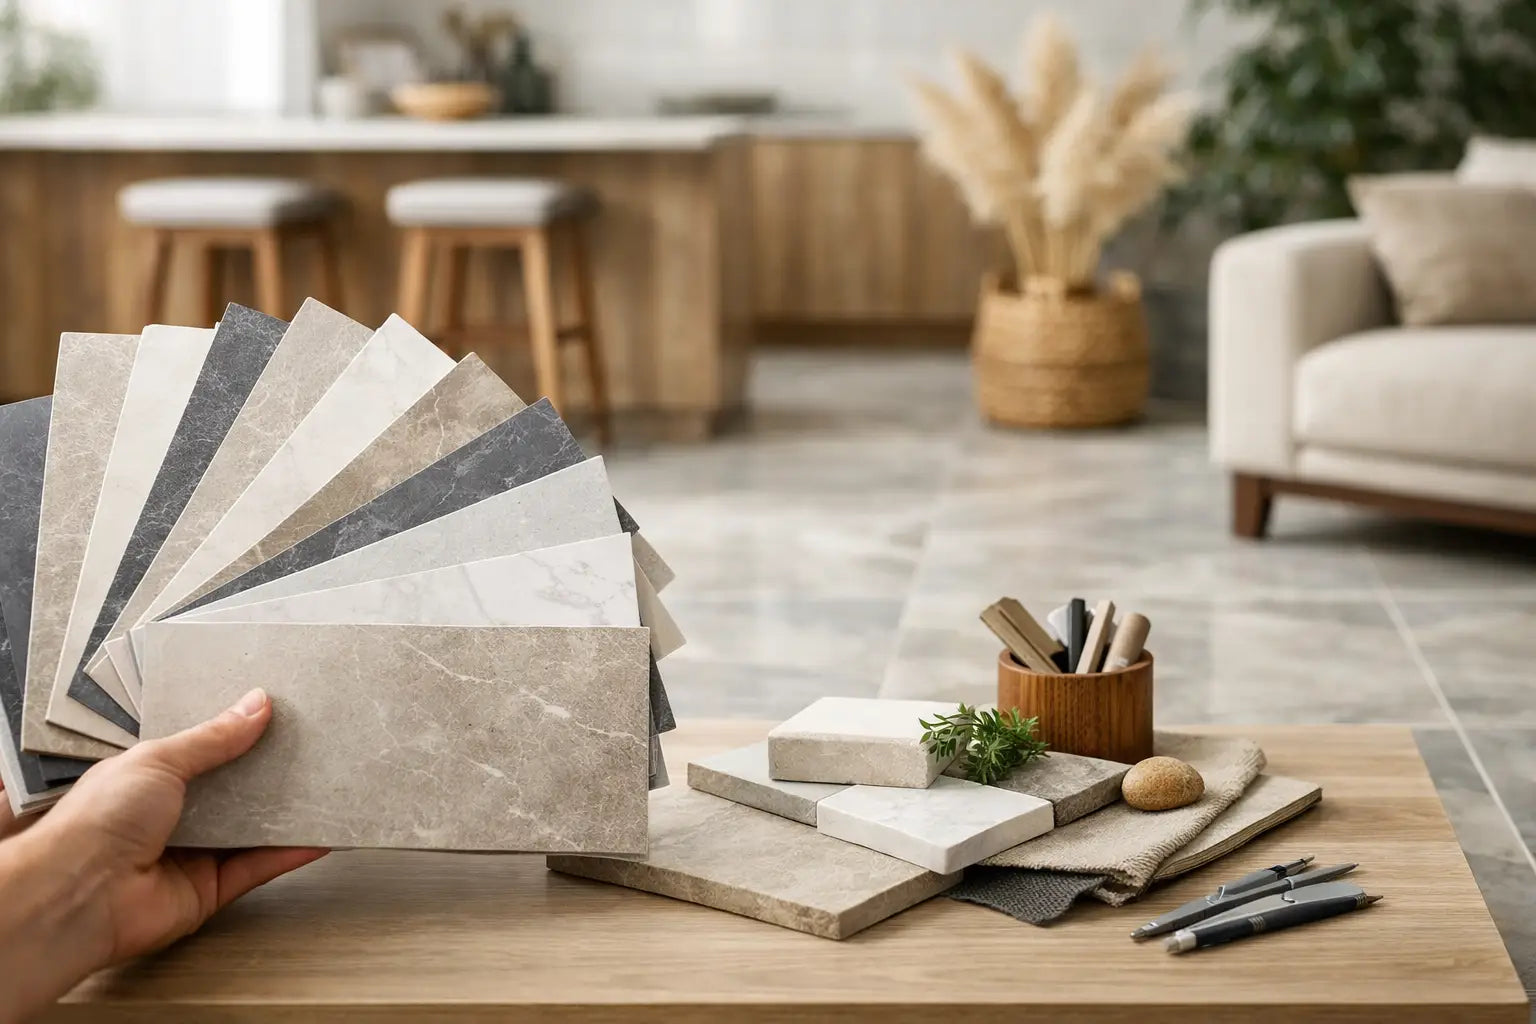
A sample should be viewed in the actual room, not just under showroom or screen lighting. Place it next to cabinetry, paint, worktops, flooring and brassware. Check it in daylight and under the artificial lighting planned for the space. A warm white ceramic can appear very different beside a cool quartz worktop than it does beside oak flooring.
For a collection with colour variation or handcrafted character, order enough samples to understand the range. This is particularly valuable with pale neutrals, greens, blues and reactive glazes, where tonal differences are often part of the appeal. Designers working across several rooms should also consider whether the wall tile needs to coordinate quietly with the floor or stand apart as a feature.
Smart Tiles can support this process with design-led ceramic choices, samples, coverage planning and the installation materials required to carry the scheme through from selection to completion.
A considered wall surface starts with the right specification
The strongest ceramic wall tile schemes usually feel effortless because the decisions behind them were precise. The tile suits the room, the layout respects the proportions, and the grout and trims have been chosen as part of the finish rather than as afterthoughts. Give the collection time to be seen in context, plan the installation properly, and the wall will continue to earn its place long after the renovation dust has settled.