Article: Plan Underfloor Heating for Tiled Floors
Plan Underfloor Heating for Tiled Floors
A tiled floor can look exceptional yet still feel unwelcoming on a cold morning. Planning underfloor heating beneath tiles changes that experience, but the heating system, tile format and floor build-up need to be considered together from the outset. Retrofitting decisions after tiles have been chosen can lead to raised thresholds, insufficient heat output or avoidable delays during installation.
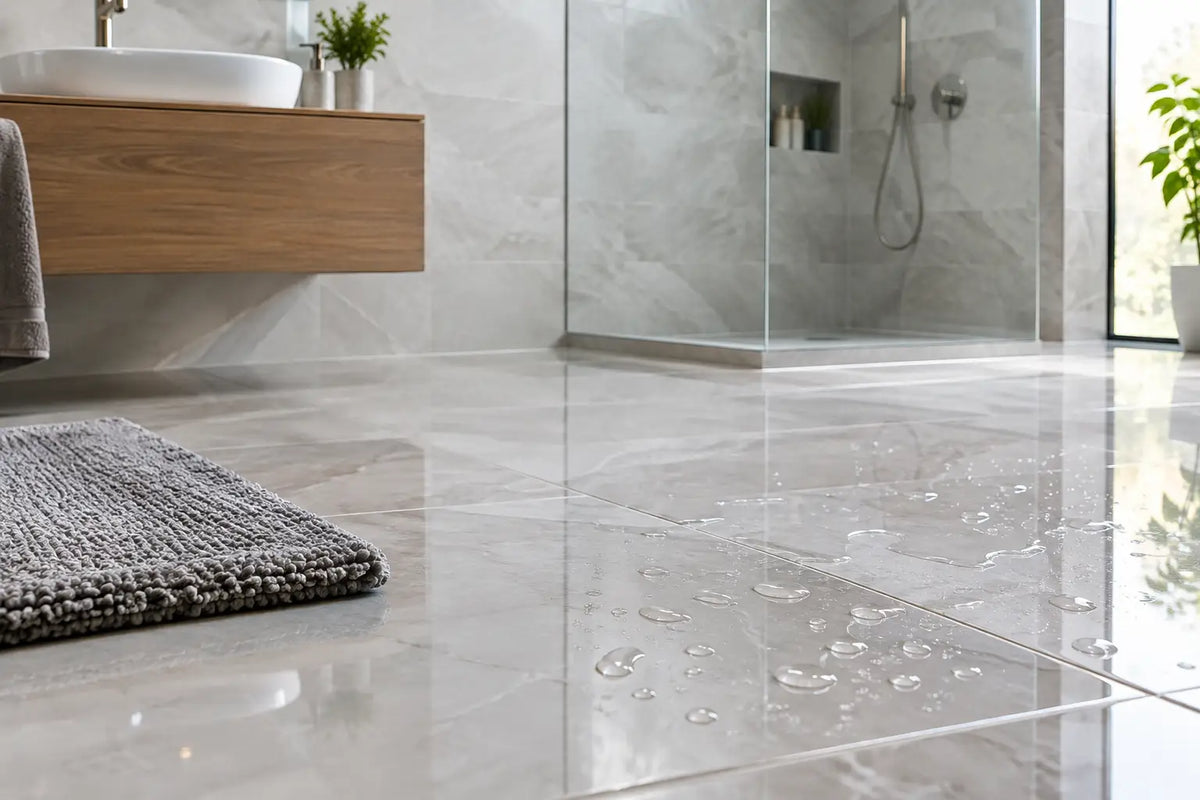
For bathrooms, kitchens, hallways and larger open-plan spaces, tiles are one of the most effective floor finishes for underfloor heating. Porcelain and ceramic conduct heat efficiently, are stable under temperature changes and offer a wide choice of stone, concrete, wood and decorative finishes. The result can be a floor that is both visually refined and practical for daily use.
Start by planning underfloor heating beneath tiles
The first question is not which tile to buy, but what sits below it. Underfloor heating performs best when the subfloor is sound, flat and insulated. Heat lost downwards is heat that does not reach the room, so an uninsulated concrete slab or suspended timber floor may require additional preparation before the heating system is installed.
Measure the room carefully and identify all fixed elements. Heating should not normally be installed beneath permanent units such as fitted kitchen cabinetry, baths without clearance below, shower trays or sanitaryware that sits directly on the floor. This reduces the usable heated area, which in turn affects the output required. A compact bathroom with a large vanity unit may need a different layout from an open kitchen with only an island.
Floor height deserves equal attention. Electric heating mats and loose cable systems are relatively slim, but insulation boards, levelling compounds, adhesive and tile thickness all add to the finished build-up. In a renovation, check door clearances, transitions into adjoining rooms and the level of existing skirting or fitted joinery before selecting the system.
Choose between electric and water underfloor heating
Electric underfloor heating is often the straightforward choice for single-room renovations. Mats can suit regular open areas, while loose cable gives an installer more flexibility around curves, sanitaryware and awkward room shapes. It responds well in bathrooms and smaller tiled spaces, particularly where the system is intended for comfort rather than as the sole heat source.
Water-based underfloor heating, also called hydronic or wet underfloor heating, circulates warm water through pipework. It is commonly specified for new builds, extensions and whole-home refurbishment projects, especially where a heat pump or low-temperature heating system is planned. It generally involves a greater floor build-up and more coordination, but can be economical to run across larger areas.
The right option depends on room size, insulation, heat loss, available floor depth and the wider heating strategy. A well-insulated en suite may be ideal for electric heating, while a large kitchen-diner in an extension often justifies a water-based system. For commercial schemes, the calculation should account for occupancy, glazing, entrances and intended room use rather than relying on a standard wattage assumption.
Calculate heat demand, not just floor area
Heating systems are often selected by watts per square metre, but this is only a starting point. A room with modern insulation, limited glazing and an internal location needs less energy than a north-facing space with bifold doors and an exposed external wall. If underfloor heating is the primary heat source, a proper heat-loss calculation is particularly valuable.
Where the system is designed as supplementary warmth, the aim may simply be to take the chill off the tiled surface. In that case, existing radiators or towel rails can continue to meet the room's main heating demand. This distinction helps avoid overspecifying a system in one project or expecting too much from it in another.
Specify tiles that work with the system
Porcelain tiles are a strong choice for heated floors. Their density and low porosity make them durable, easy to maintain and well suited to bathrooms, kitchens and entrance areas. Ceramic tiles can also perform very well in appropriate residential spaces. Natural stone is compatible with underfloor heating, but it can require more careful product selection, sealing and installation planning due to variations in thickness and porosity.
Tile thickness and format influence installation, though they do not prevent good performance. Large-format porcelain can create a calm, contemporary floor with fewer grout lines, but it needs a very flat substrate and careful handling. Smaller tiles, mosaics and patterned formats offer more design detail and can be especially useful in shower rooms, where additional grout joints can support slip resistance.
Choose the finish according to the room. A polished tile can bring light and a premium look to a dry space, while matt, textured or grip-rated porcelain is often more suitable for bathrooms, utility rooms and entrances. Underfloor heating provides comfort, but it does not replace the need to select an appropriate slip-resistant surface where water, footwear or commercial traffic are factors.
Build the floor correctly from the base up
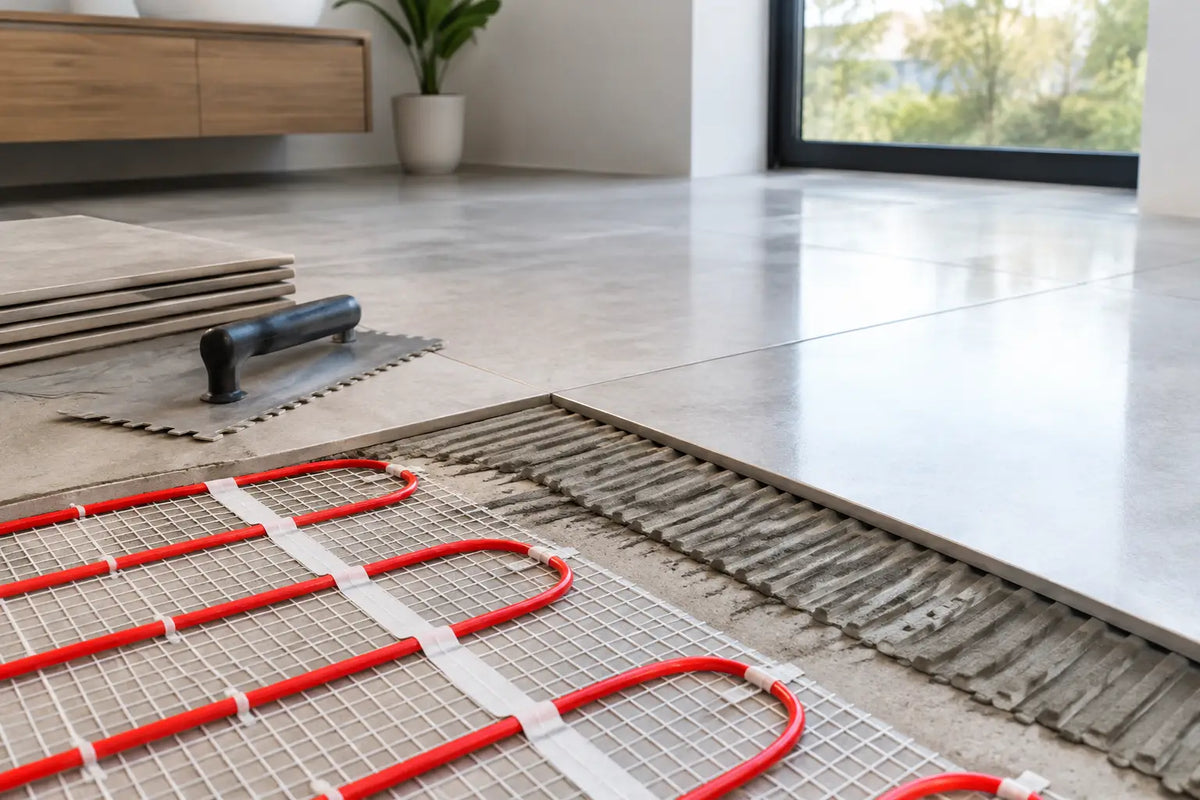
The heating system is only one layer within a complete tiled floor. A typical build-up may include the prepared subfloor, insulation or decoupling boards where required, the heating element or pipework, a suitable smoothing compound, flexible adhesive, tiles and grout. The exact order and products should follow the heating manufacturer's and installation system manufacturer's guidance.
On timber floors, movement control is especially important. The substrate must be rigid enough for tiling, with suitable boards or tile backer systems used where necessary. Simply laying tile onto an uneven or flexible timber floor risks cracked grout, loose tiles and damage to the heating installation beneath.
For concrete floors, check moisture conditions and allow new screeds to cure fully. A floor that looks dry on the surface is not automatically ready for tiles or underfloor heating. Moisture testing and the correct priming or membrane system can prevent problems that are expensive to resolve once the room is complete.
Use compatible adhesive, grout and movement joints
Tiles over heated floors need flexible, cement-based adhesive and grout designed for the conditions. Temperature cycles create small movements through the floor build-up, and compatible materials help accommodate them. Large-format tiles may require a flowing adhesive or back-buttering technique to achieve full coverage and minimise voids beneath the tile.
Movement joints should never be treated as an optional finishing detail. Existing structural joints must be honoured through the tiled finish, while perimeter movement allowance and intermediate joints may be needed in larger areas or where room shapes are complex. The requirements vary by substrate, tile size, floor area and exposure to sunlight.
If a waterproofing system is required, such as in a wet room or around a shower area, plan it alongside the heating installation rather than as a separate afterthought. The waterproofing layer, cables, adhesive and tile system must all be compatible and installed in the correct sequence.
Plan controls, testing and installation timing
A programmable thermostat makes a meaningful difference to comfort and running costs. It allows the floor temperature and heating schedule to reflect how the room is used, whether that is a bathroom warming before the household wakes or a kitchen floor operating around family routines. A floor sensor is usually used to protect the tiled finish and maintain a comfortable surface temperature.
Electric systems should be tested before installation, during the works and after tiling, with readings recorded by the installer. Final electrical connections must be completed and certified by a competent electrician. Avoid cutting, shortening or crossing heating cables, and retain photographs or a layout drawing showing their position before the floor is covered.
Do not switch on the heating immediately after tiling. Adhesives, grouts and screeds need their stated curing time. Once ready, bring the system up to temperature gradually in line with the manufacturer's instructions. This protects the installation while allowing the floor assembly to adjust steadily.
For a polished result, choose the tiles and underfloor heating system as one specification rather than two separate purchases. Smart Tiles can help bring together design-led porcelain or ceramic tiles with the boards, adhesives, grouts, trims and practical quantities needed to complete the floor with confidence. A well-planned heated tiled floor should feel considered long after the installation team has left.