Large Format Wall Tiles for Refined Interiors
A wall finished in small tiles can look busy before the room has even been furnished. Large format wall tiles take a different approach: broader surfaces, fewer grout lines and a more considered sense of scale. They are a natural choice for contemporary bathrooms, kitchens and feature walls, but their success depends on more than choosing an impressive tile in the showroom.
The right format can make a compact en-suite feel calmer, give a kitchen splashback a more architectural finish or create a hotel-quality backdrop in a reception space. The wrong choice of size, finish or installation method, however, can make fitting unnecessarily difficult. Planning the wall, tile layout and fixing system together is what produces the polished result these tiles are known for.
Why Choose Large Format Wall Tiles?
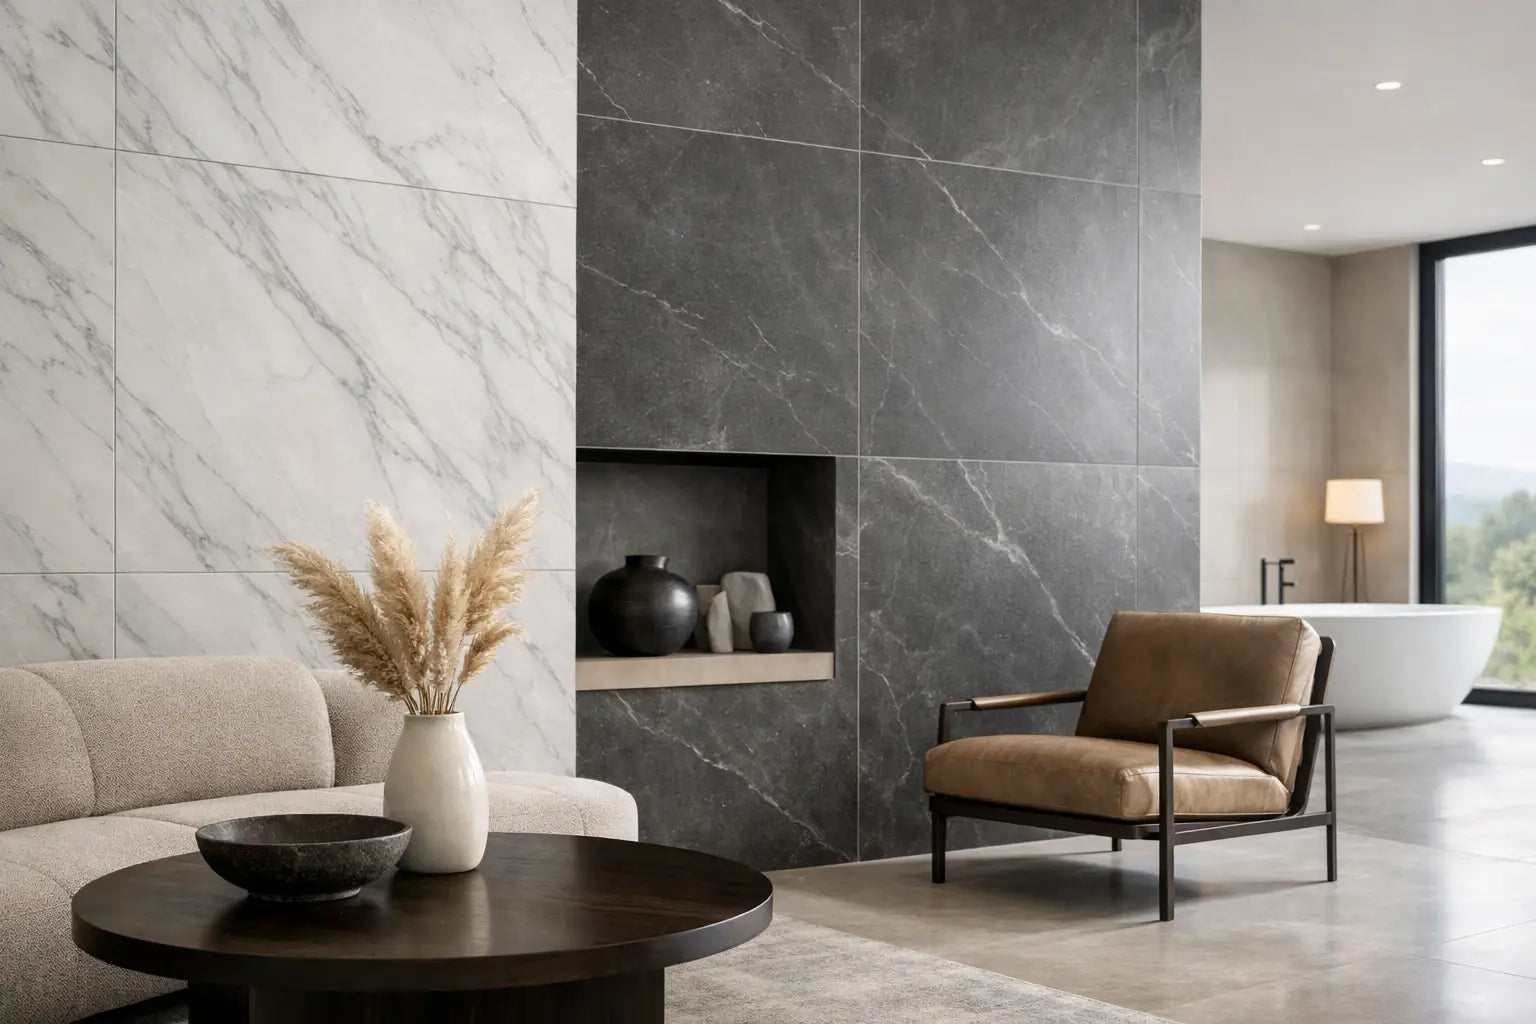
Large-format porcelain and ceramic tiles create long, uninterrupted planes of colour, stone effect or concrete effect. With fewer joints crossing the surface, the wall tends to look cleaner and more expansive. This is particularly effective where the aim is a premium, pared-back interior rather than a decorative, heavily patterned scheme.
The reduction in grout lines also has a practical benefit. In shower areas and behind hobs, fewer joints generally means less grout to clean and maintain. That does not remove the need for proper cleaning or suitable grout selection, but it can make everyday upkeep more straightforward.
Format is not simply about choosing the biggest tile available. A 600 x 1200mm tile may suit a family bathroom beautifully, while 1200 x 2800mm panels can be more appropriate for a substantial feature wall or commercial setting. Room dimensions, wall openings, handling access and the installer’s experience all matter. Large tiles should look intentional, not forced into a space where cuts and awkward joints undermine the effect.
Selecting the Right Size for the Room
Start with the wall itself, rather than the product photograph. Measure full widths and heights, then account for windows, niches, sanitaryware, sockets and cabinetry. A tile layout that gives generous full pieces in the most visible areas will usually feel more balanced than one that leaves narrow strips at both edges.
In bathrooms, a larger rectangular tile installed vertically can emphasise ceiling height. The same tile fitted horizontally can make a narrow room feel wider. For a walk-in shower, aligning joints with the screen line, niche edges or vanity unit can bring order to the design. These details are often subtle, yet they distinguish a well-specified installation from one that merely covers the wall.
Kitchens offer different considerations. Large format wall tiles can create an elegant splashback with minimal visual interruption, especially behind a run of worktops. Check the required tile cuts around sockets before committing to a layout. A large tile can look exceptional in this setting, but the position of electrical accessories may influence the best size and orientation.
For commercial interiors, larger formats are often chosen for their visual impact and reduced joint pattern. Reception desks, washrooms, restaurant walls and hospitality spaces can all benefit, provided the substrate, access route and programme have been assessed before ordering.
Use Samples to Judge Scale and Finish
A sample is useful for more than comparing colour. Place it against cabinetry, paint, brassware, worktops and flooring at different times of day. Natural stone-effect veining and directional designs should be viewed over more than one tile where possible, as variation is part of their appeal.
Also consider how the finish responds to light. A polished surface can reflect light dramatically and make a room feel brighter, while a matt finish offers a softer, more understated appearance. In a shower or high-splash area, make sure the chosen product is specified as suitable for wall use in that environment.
Porcelain, Ceramic and Finish Choices
Most large format wall tiles are made from porcelain, although ceramic options are also available in selected sizes and designs. Porcelain is valued for its density, durability and broad choice of contemporary finishes. It is especially popular for bathrooms, kitchens and commercial schemes where a hardwearing surface is required.
Ceramic wall tiles can be an excellent choice where the design and size are appropriate. They are often lighter to handle than comparable porcelain tiles and can offer appealing decorative finishes. The product specification should guide the decision, particularly if the tile is being considered for wet areas or alongside a matching floor tile.
Stone-effect porcelain remains a versatile option for homeowners who want the character of natural materials with consistent performance and easier care. Marble-effect designs suit classic and contemporary bathrooms alike, while concrete-effect tiles bring a quieter, more architectural quality to kitchens and open-plan living spaces. Plain neutral tiles can be just as effective, especially when texture, format and grout colour have been selected carefully.
Grout should support the overall design rather than become an afterthought. A close tonal match will reduce the appearance of joints and reinforce the continuous look of large format tiles. A contrasting grout makes the grid more visible, which can be effective in the right scheme but works against the calm, expansive quality many people want from a larger tile.
Large Format Wall Tiles Need Proper Preparation
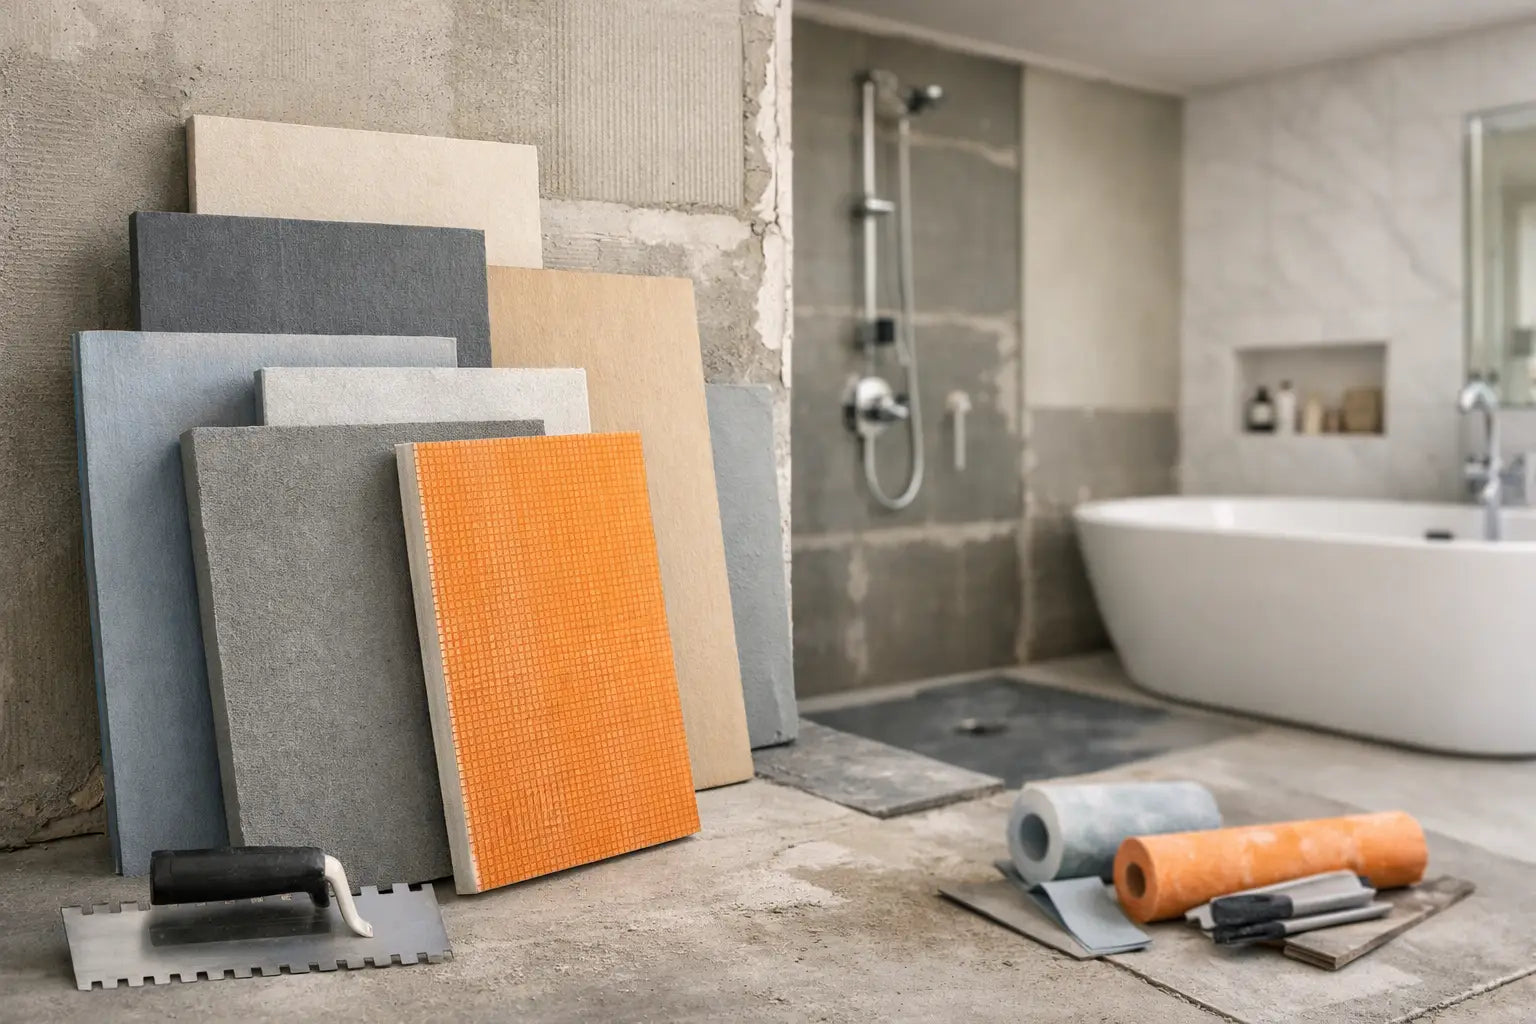
The larger the tile, the less forgiving the wall. A surface that appears acceptable with a smaller format may show unevenness through lipping, poor adhesive contact or inconsistent joints once larger tiles are installed. Walls should be sound, clean, dry and suitably flat before tiling begins.
This is particularly relevant in renovated properties, where existing plaster, old adhesive residues and uneven backgrounds are common. Depending on the wall construction and condition, preparation may involve removing loose material, making good the surface, applying a suitable primer or installing a tile backing board. In wet rooms and shower enclosures, the required waterproofing system should be considered before the first tile is fixed.
Adhesive choice matters too. Large porcelain tiles usually require a high-performance flexible adhesive selected for the substrate and installation environment. Coverage behind each tile is critical, especially in wet areas. A competent installer will use an appropriate trowel, work methodically and may apply adhesive to both the wall and tile back where required to achieve reliable support.
Avoid assuming that a tile’s size alone determines whether it can be fitted. Weight, thickness, substrate, location and fixing height all affect the specification. Very large panels may require specialist cutting equipment, additional handling support and an installer experienced in panel-format materials. This can add to the fitting budget, but it protects the finish and reduces avoidable waste.
Joints, Movement and Finishing Details
Narrow grout joints are common with rectified large format tiles because their accurately finished edges allow closer spacing. They still need a joint. Tiles should not be butt-jointed, and joint width should follow the tile and installation system guidance.
Movement joints are equally essential, particularly across larger wall areas, at changes of plane and where different substrates meet. Internal corners, wall-to-floor junctions and perimeter details commonly need a suitable flexible sealant rather than grout. This allows for normal building movement and helps keep the installation looking sound over time.
Trims deserve the same attention as the tile. A neat metal trim can provide a crisp finish to an external corner or exposed tile edge, with options available to complement chrome, black, brass and other fittings. Where a mitred edge is preferred, it should be planned with the installer, as the tile type and cut quality will influence the result.
Planning Quantities Without Unnecessary Waste
Accurate quantities reduce the risk of delays and mismatched batches. Calculate the net wall area, then allow for cuts, pattern matching and a sensible reserve. The correct allowance varies. A simple rectangular wall with few cuts needs less additional material than a bathroom with niches, boxing, windows and diagonal or directional layouts.
For veined, patterned or bookmatched designs, extra tiles may be needed to achieve the intended composition. It is also wise to retain a small number of tiles for future repairs, particularly where the design has pronounced variation or the project is likely to be completed in phases.
Ordering all tiles together helps maintain consistency of shade and calibre. Check products on delivery before fitting, including the quantity, finish, shade reference and condition of the tiles. Once tiles have been cut and installed, issues are far harder to resolve.
A Finish That Starts With Good Specification
Large format wall tiles reward careful decisions. Choose a size that respects the room, a finish that works with the light and a layout that gives full tiles pride of place. Then make sure the wall preparation, adhesive, grout, trims and movement details are treated as part of the same specification, not as separate purchases.
For projects where design ambition meets practical delivery, Smart Tiles can help bring the tile, fixing materials and planning considerations together. A well-chosen sample and a conversation before installation can prevent expensive compromises later, leaving the wall to do what it should: make the whole room feel considered.