Choosing Tile Backer Boards for Bathrooms
A beautiful bathroom tile scheme can only perform as well as the surface beneath it. Tile backer boards for bathrooms create a stable, tile-ready base in areas exposed to moisture, helping to protect the installation from movement, damp-related damage and avoidable tile failure. The right board is a practical specification choice, but it also protects the finish, format and investment in the tiles selected.
For a simple tiled splashback or a fully tiled shower room, the board needs to suit the location, the existing substrate and the weight of the finish. There is no single best choice for every project. A large-format porcelain wall in a walk-in shower places different demands on a background than a small-format ceramic tile floor in a family bathroom.
Why tile backer boards matter in a bathroom
Bathrooms are humid, frequently wet and subject to regular temperature changes. Standard plasterboard can be appropriate in some dry, low-splash areas when it is sound and correctly prepared, but it is not the preferred background for a shower enclosure or other continuously wet zone. Repeated water exposure can compromise unsuitable boards, adhesives and the finishes behind the tiles.
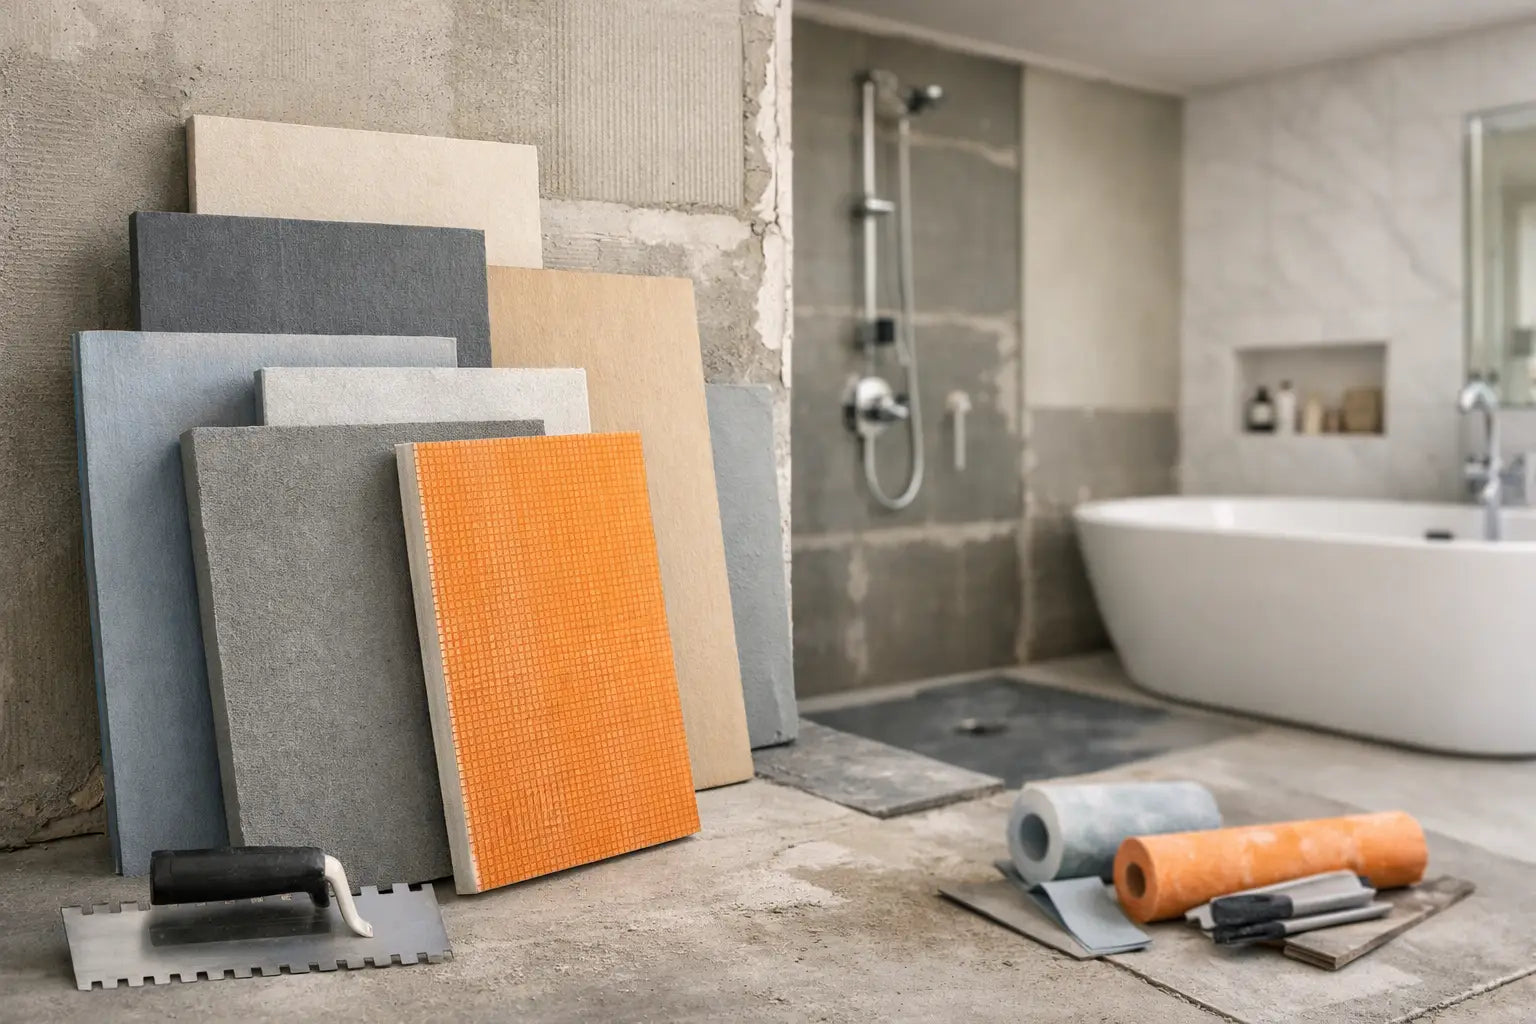
A purpose-made tile backer board provides a more reliable base. Depending on the product, it can offer moisture resistance, dimensional stability, insulation and a surface designed to accept tile adhesive. This matters particularly where premium porcelain, natural stone or large-format tiles are being installed, as these finishes demand a flat, secure substrate.
It is worth separating moisture resistance from waterproofing. A board may resist moisture without making the whole wall or floor waterproof. In wet areas, the board joints, corners, penetrations and fixings must be addressed as part of a compatible waterproofing or tanking system. Tiles and grout are decorative, hard-wearing finishes, not a waterproof barrier in their own right.
Types of tile backer boards for bathrooms
Cement-based boards
Cement-based and fibre-cement boards are a familiar choice for bathroom walls and floors. They are dense, durable and well suited to wet environments when installed to the manufacturer’s system. Their strength makes them a dependable option behind heavier wall tiles and on properly prepared floors.
The trade-off is weight. Cement boards can be harder to cut and handle than lightweight alternatives, which can affect fitting time on larger projects. They may also require a primer or specific adhesive, so the installation instructions should guide the full specification rather than assumptions made on site.
Foam-core boards
Foam tile backer boards are lightweight, easy to cut and often bring useful thermal insulation to an external wall or a cold bathroom floor. Many are inherently waterproof, making them particularly attractive for shower walls, wet rooms and refurbishment work where speed and handling are important.
Waterproof board alone does not finish the waterproofing detail. Board joints, screw heads, internal corners, pipe openings and floor-to-wall transitions still need the correct sealing tape, collars or membrane. Used as a complete system, foam boards can provide an efficient and clean solution, especially where level surfaces need to be built up or adjusted.
Gypsum-based tile boards
Gypsum-based tile boards, including moisture-resistant variants, can work in areas that are humid but not directly saturated. They are straightforward to cut and are commonly used for tiled bathroom walls outside shower and bath splash zones.
They are not interchangeable with a waterproof wet-room board. If the wall will receive regular direct spray, choose a board and tanking approach explicitly rated for that environment. This is one of the most common points where a lower initial cost can create a higher project risk later.
Match the board to the location
The most useful starting point is not the board material but the area being tiled. Shower enclosures, wet rooms and bath-shower walls should be treated as wet zones. Here, a tile backer board suitable for direct water exposure, combined with compatible waterproofing details, is the sensible specification.
For bathroom floors, check the existing structure before choosing a board. Tile backer boards can improve the tile background and help create a suitable surface for adhesion, but they do not turn a flexible or inadequately supported floor into a structurally sound one. Timber floors must be stable, correctly fixed and within the tile and board manufacturer’s permitted deflection limits.
In lower-risk bathroom wall areas, such as behind a basin or around a WC, the decision may be driven by flatness, tile weight and the condition of the wall. A sound masonry wall may only need suitable preparation, while a stud wall may benefit from a dedicated board to achieve a more dependable tiled finish.
Selecting the right thickness
Thickness affects both performance and practical detailing. A thinner board may be designed for floors where minimal height build-up is important, particularly when meeting an adjoining hallway floor or existing door threshold. Wall boards are often thicker to provide rigidity, accommodate fixing requirements and create a level tiled face.
Do not select thickness on appearance alone. The board must be suitable for the substrate, fixing method and tile weight. Consider how the board will align with neighbouring plaster, shower trays, niches, trims and door frames. A few millimetres can influence the finished look of an edge profile or the ability to maintain clean transitions around fittings.
For projects using large-format tiles, flatness is especially important. The board system should help achieve a level background, but it cannot disguise a poorly prepared wall. Correct packing, shimming or levelling work may be needed before tiling begins.
Installation details that protect the finished tilework
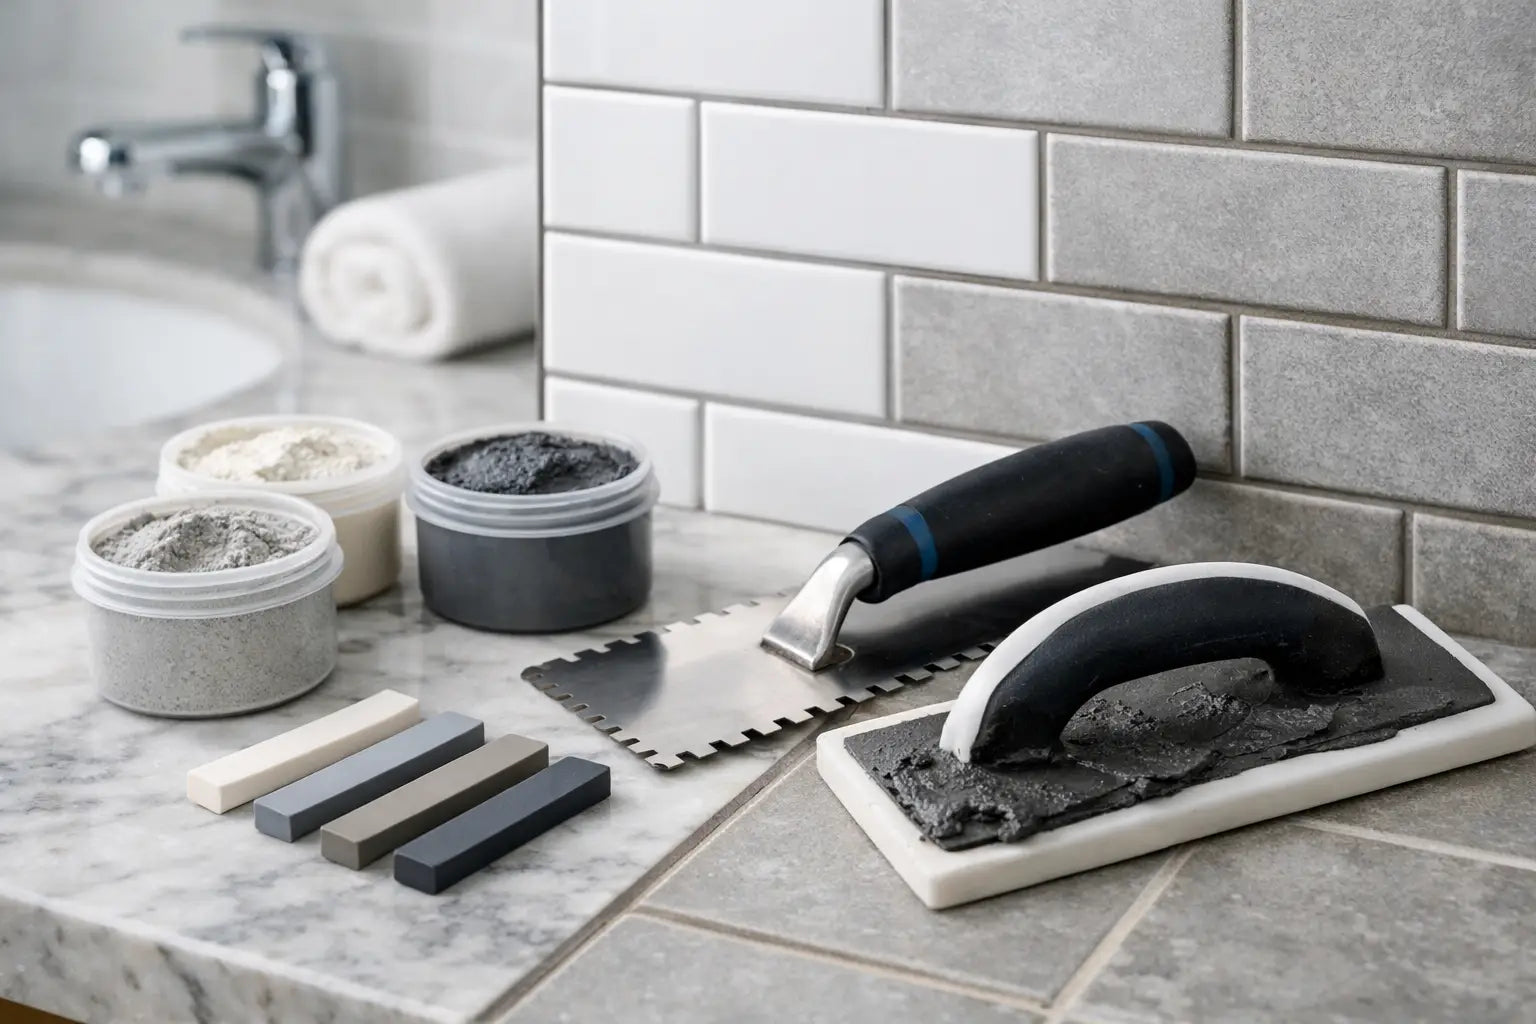
A board is only one part of the installation system. Correctly specified adhesive, grout, primers, fixings, tapes and sealants are equally important. For most bathroom tiling, a flexible tile adhesive is selected to accommodate normal building movement, but the correct product depends on the board, tile type and location.
Fix boards at the recommended centres using the manufacturer’s approved screws or fixings. On floors, bedding the board into adhesive where required prevents voids underneath, which can lead to movement and cracked grout or tiles. On walls, ensure the framing or background is adequate before boarding, particularly where heavy porcelain or stone is planned.
Joints should be treated carefully. In wet zones, use the specified waterproof tape and sealing materials at every board joint and corner. Pipe penetrations need waterproof collars or suitable sealing detail, while changes of plane, such as wall-to-floor and wall-to-wall junctions, should be planned for movement rather than rigidly grouted.
Allow for the finished tile build-up before fitting shower valves, niches, screens and trims. This is particularly relevant with thicker boards, large-format tiles and mitred or metal-trimmed external corners. Good setting-out prevents narrow tile cuts and helps the finished bathroom feel considered rather than improvised.
A practical buying checklist
Before ordering, confirm the substrate, location and finished tile specification. Measure the tiled area accurately, then allow for cuts and wastage according to the board layout. It is also sensible to calculate the associated materials at the same time: board fixings, adhesive, waterproofing tape, tanking products, grout, sealant and trims.
For larger bathroom renovations or commercial schemes, keep to one recognised installation system where possible. Products designed to work together remove uncertainty around compatibility and give installers clear guidance on preparation and fitting. Smart Tiles can help bring boards, tile finishes and the essential installation materials into one coordinated order, supporting a more controlled project from specification through to completion.
The best board is the one that suits the room, the background and the tile finish without compromising the waterproofing detail. Give that layer the same consideration as the surface tile, and the bathroom will have the foundation it needs to look refined and perform reliably for years to come.