Engineered Wood Flooring Kitchen: Is It Right?
A well-planned engineered wood flooring kitchen brings a warmth and depth that tile can rarely replicate. It can soften a contemporary run of cabinetry, give an open-plan space visual continuity and create a more considered finish underfoot. The key is choosing a board, finish and fitting method that suit the realities of a busy kitchen, rather than treating wood as a purely decorative choice.
Engineered wood is not waterproof, and it should never be specified as though it were. However, a quality product with a durable factory finish, professionally prepared subfloor and sensible day-to-day care can be an excellent option for many kitchens.
Why choose engineered wood flooring for a kitchen?
Unlike solid timber, engineered boards are made with a real hardwood wear layer over a stable multi-layer core. This construction reduces natural movement caused by changes in temperature and humidity. That added stability makes engineered wood a more practical choice where cooking, cleaning and everyday family life create fluctuating conditions.
The visual advantage is equally persuasive. A real oak surface has grain variation, knots and tonal movement that give a kitchen character over time. Pale brushed oak can make a compact room feel more open, while smoked, walnut-toned or richly oiled boards can anchor a larger kitchen-diner with a more luxurious feel. Wide planks are particularly effective in open-plan schemes, where fewer joins allow the floor to read as one continuous surface.
For high-end renovations, timber flooring can also create a stronger connection between the kitchen and adjoining dining or living areas. Continuing the same floor through the ground level avoids a visual break at the doorway and can make the overall layout feel more generous.
There are trade-offs. Wood is softer than porcelain, so grit, dropped utensils and dragged furniture can mark it. It also needs prompt attention when water is spilt. If the room is likely to experience frequent standing water, poor ventilation or a high risk of leaks, a wood-effect porcelain tile or quality luxury vinyl floor may be the more suitable specification.
Selecting engineered wood flooring kitchen boards
The right product is determined by more than colour. Board construction, wear layer, surface treatment and edge detail all affect both performance and appearance.
Choose a suitable wear layer
The wear layer is the visible hardwood section of the board. A thicker wear layer generally provides more scope for future renovation, although whether a floor can be sanded depends on the product construction and manufacturer guidance. For a kitchen expected to see long-term use, it is worth selecting a quality engineered board with a substantial real wood top layer rather than choosing solely on initial price.
Oak remains a dependable choice because it works with both traditional and contemporary cabinetry, from painted shaker doors to sleek handleless finishes. Its grain also helps disguise the small marks that naturally develop in a lived-in kitchen. Cleaner-grade boards offer a more uniform appearance; character grades show knots, colour variation and natural features. Neither is inherently better. The decision comes down to whether the design calls for a refined, consistent surface or a floor with more organic detail.
Consider the finish as carefully as the timber
A lacquered finish provides a protective surface that is straightforward to clean and often suits busy family kitchens. Matt lacquer is especially popular because it retains a natural timber appearance without a high sheen. A brushed texture can add definition to the grain and make light day-to-day wear less noticeable.
Oiled floors offer a tactile, authentic finish and can be repaired locally more easily than some lacquered surfaces. They do, however, require a planned maintenance regime. In a kitchen, this means using the appropriate cleaning products and refreshing the oil when recommended. An oiled board is a considered choice for customers who appreciate the evolving character of wood and are prepared to care for it accordingly.
Avoid assuming that a darker floor is always more practical. Deep brown and black-toned boards can look dramatic, but pale dust, crumbs and scratches may show more readily. Mid-oak, natural and softly smoked tones are often the most forgiving for active spaces.
Think about plank size and layout
Long, wide planks can make an island-led kitchen feel particularly refined, especially when laid towards the main source of natural light or along the longest sightline. In smaller rooms, they can still work well, provided the scale complements the cabinetry rather than competing with it.
A herringbone or chevron layout adds visual detail and works beautifully in period homes, boutique hospitality settings and statement kitchen-diners. It involves more preparation, more cutting and typically greater material allowance than a straight plank installation. Build this into the budget from the outset, including fitting labour and compatible adhesives.
Preparing the kitchen subfloor properly
A premium floor is only as good as the subfloor beneath it. Kitchens frequently combine several surfaces, doorways and appliance zones, so the existing base must be checked for level, moisture and structural soundness before boards are ordered.
Concrete or screed must be fully dry and tested using an appropriate method. A surface that feels dry is not necessarily within the moisture limits required for a timber installation. Where readings are unsuitable, the installer may need a compatible damp-proof system or additional drying time. Skipping this stage risks movement, cupping or adhesive failure later.
Timber subfloors should be firm, level and free from excessive deflection. Loose boards, uneven joints and local dips should be corrected before installation. Most engineered boards have specific flatness tolerances, and these should be followed rather than relying on a general visual check.
Underfloor heating can be used beneath many engineered wood floors, but only where both the flooring and heating system are approved for use together. A low, controlled surface temperature is essential. Sudden temperature changes can stress timber, so commissioning should be gradual and the system should be operated within the flooring manufacturer’s stated limits.
Fitting around cabinets, islands and appliances
Kitchen sequencing matters. In many projects, fixed cabinetry and islands are installed before the flooring, with expansion space left around their perimeter. This prevents the weight of units from restricting the natural movement of the wood floor. The exact approach depends on the chosen system and fitting instructions, so it should be agreed by the kitchen supplier and flooring installer before work begins.
Engineered boards may be floated, glued or, in some cases, secret-nailed over suitable timber bases. Fully bonding the boards to a prepared subfloor can provide a solid, quieter feel underfoot and is often preferred in large open-plan areas. Floating systems can be quicker in the right conditions, but they need suitable underlay, correctly formed expansion gaps and careful attention at transitions.
Dishwashers, washing machines and American-style fridge freezers deserve particular consideration. Fit drip trays where appropriate, inspect appliance connections and deal with leaks immediately. No wood floor is designed to tolerate prolonged water exposure. A discreet mat near an exterior door or sink area can also reduce grit and moisture, provided it does not trap water against the boards.
Everyday care that protects the finish
A kitchen wood floor does not need complicated maintenance, but it benefits from regular, sensible attention. Vacuum with a hard-floor setting or sweep away grit before it becomes abrasive. Clean using a lightly damp microfibre mop and a product approved for the floor’s finish. Avoid soaking the surface, steam mops, bleach and general household sprays, which can leave residues or damage protective coatings.
Wipe up spills promptly, particularly around the sink, dishwasher and pet bowls. Use felt pads beneath movable furniture, and lift chairs rather than dragging them. Small dents and surface marks are part of the natural ageing of timber, but good habits keep them to a minimum and allow the floor to develop character rather than look neglected.
If the floor is oiled, schedule maintenance oil as recommended for the product and level of use. For lacquered boards, use the specified cleaner and refresher where needed. Matching the care regime to the finish is more effective than using a one-size-fits-all cleaning product.
Planning quantities and a confident specification
Measure the full floor area, then allow for cutting waste, room shape and the selected pattern. Straight planks in a simple rectangular kitchen need less allowance than herringbone layouts, angled walls or spaces with multiple cupboards and doorways. Ordering enough from the same batch is also worthwhile, as natural timber variation is part of the product.
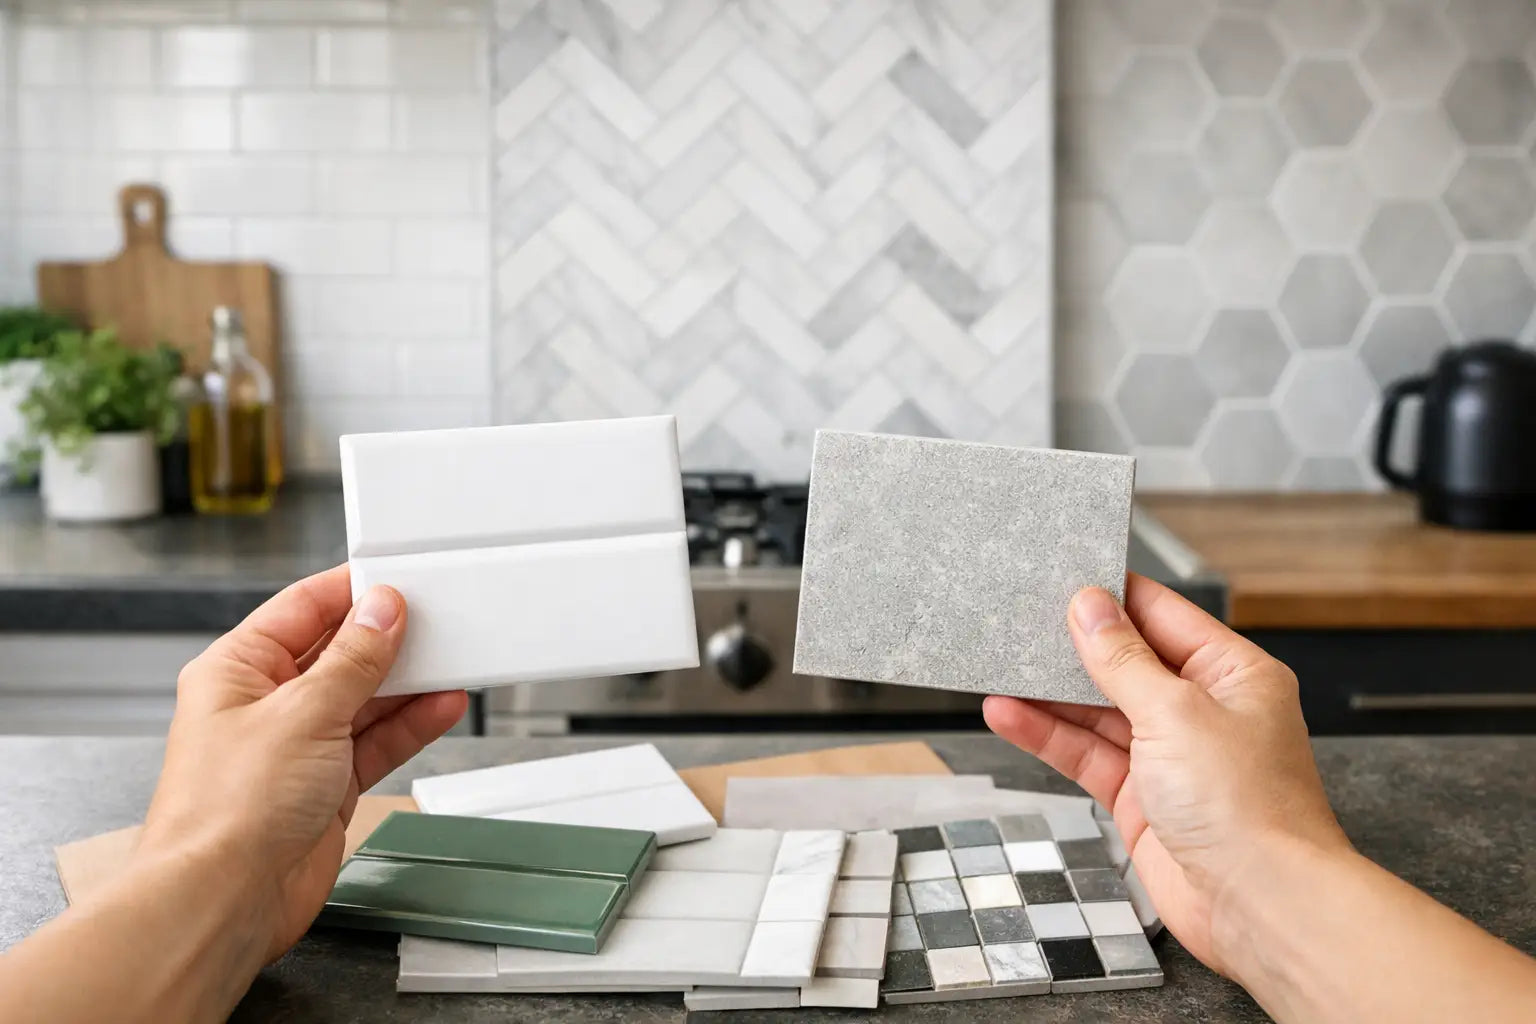
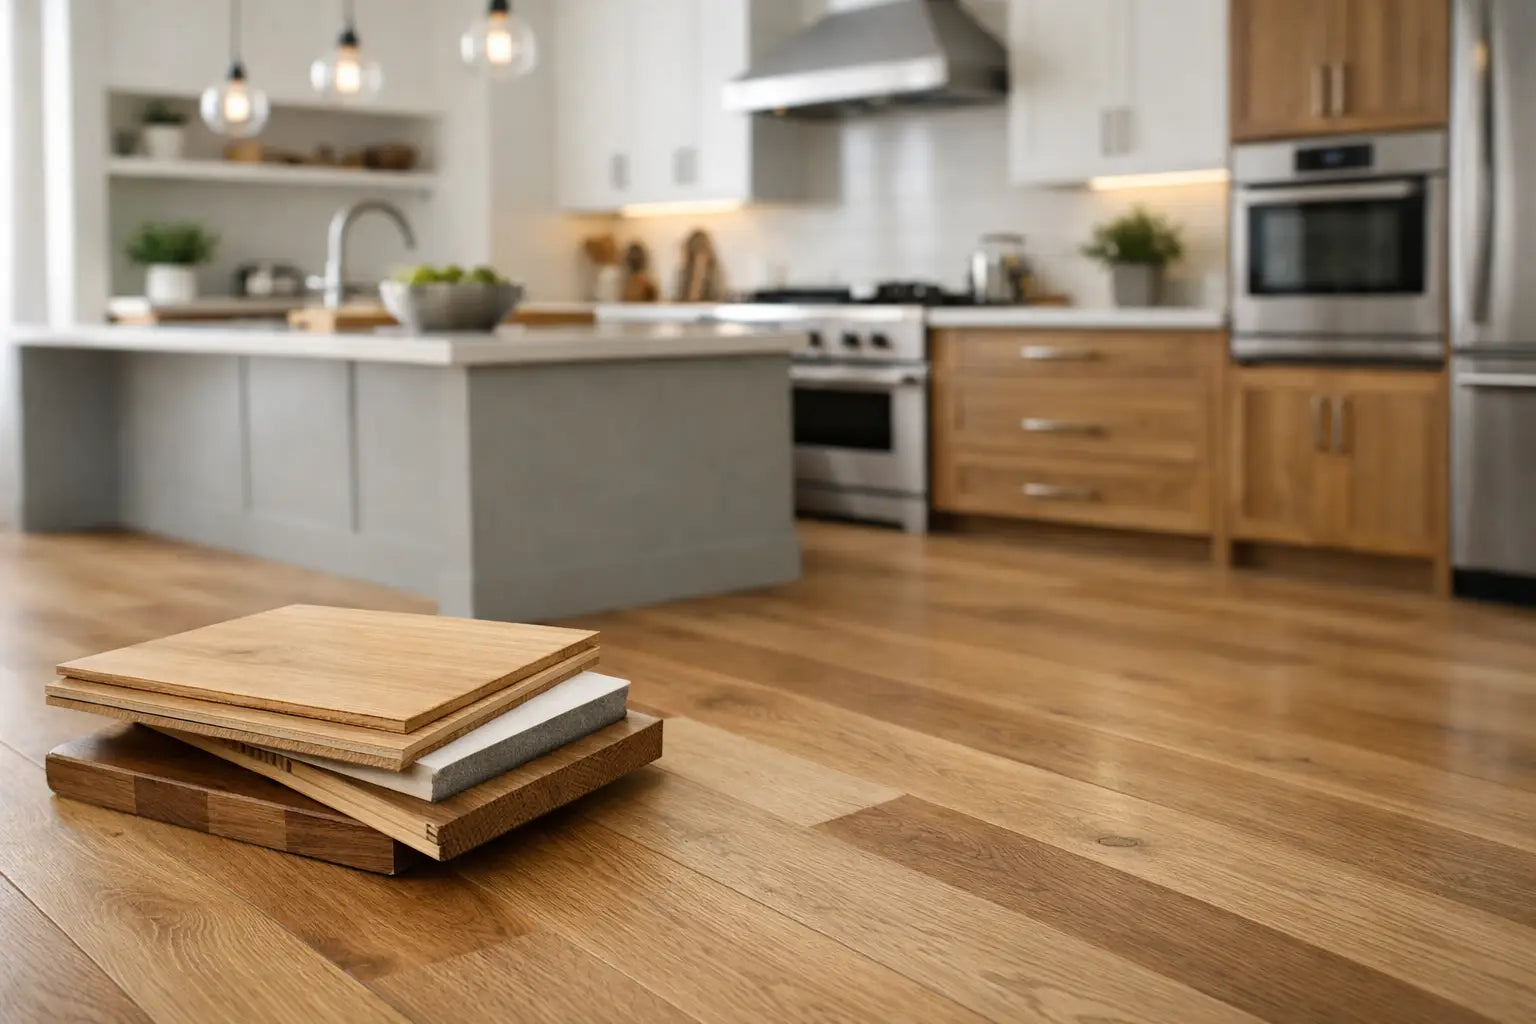
Before committing, assess a sample alongside cabinet doors, worktops, wall tiles and lighting. Timber can look very different in a showroom, under warm pendants and in cool north-facing daylight. At Smart Tiles, samples and practical project guidance help bring these decisions together before fitting begins.
The best kitchen floor is one that supports the way the room will actually be used. Select a well-finished engineered board, prepare the subfloor properly and give the installation the same attention as the cabinetry. The result is a surface that feels as considered at breakfast on a weekday as it does when the kitchen is full of guests.