How Much Extra Tile for Wastage?
Order too little tile and the job can stall halfway through. Order far too much and you tie up budget in unopened boxes you may never use. If you are wondering how much extra tile for wastage to allow, the right answer is rarely a flat number for every project. It depends on the room shape, tile size, laying pattern and how exact you want the finished result to be.
For most straightforward installations, a sensible allowance sits between 10% and 15%. That usually covers cuts around edges, a few breakages in transit or on site, and the practical reality that not every offcut can be reused elsewhere. On more complex projects, the figure can rise. On very simple square rooms with large-format tiles and minimal obstacles, it may be at the lower end.
How much extra tile for wastage should you order?
As a working rule, order 10% extra for simple wall or floor areas and 15% extra for more detailed layouts. If the design includes herringbone, diagonal setting, small awkward returns, multiple pipe penetrations or highly visible centring requirements, 15% to 20% is often more realistic.
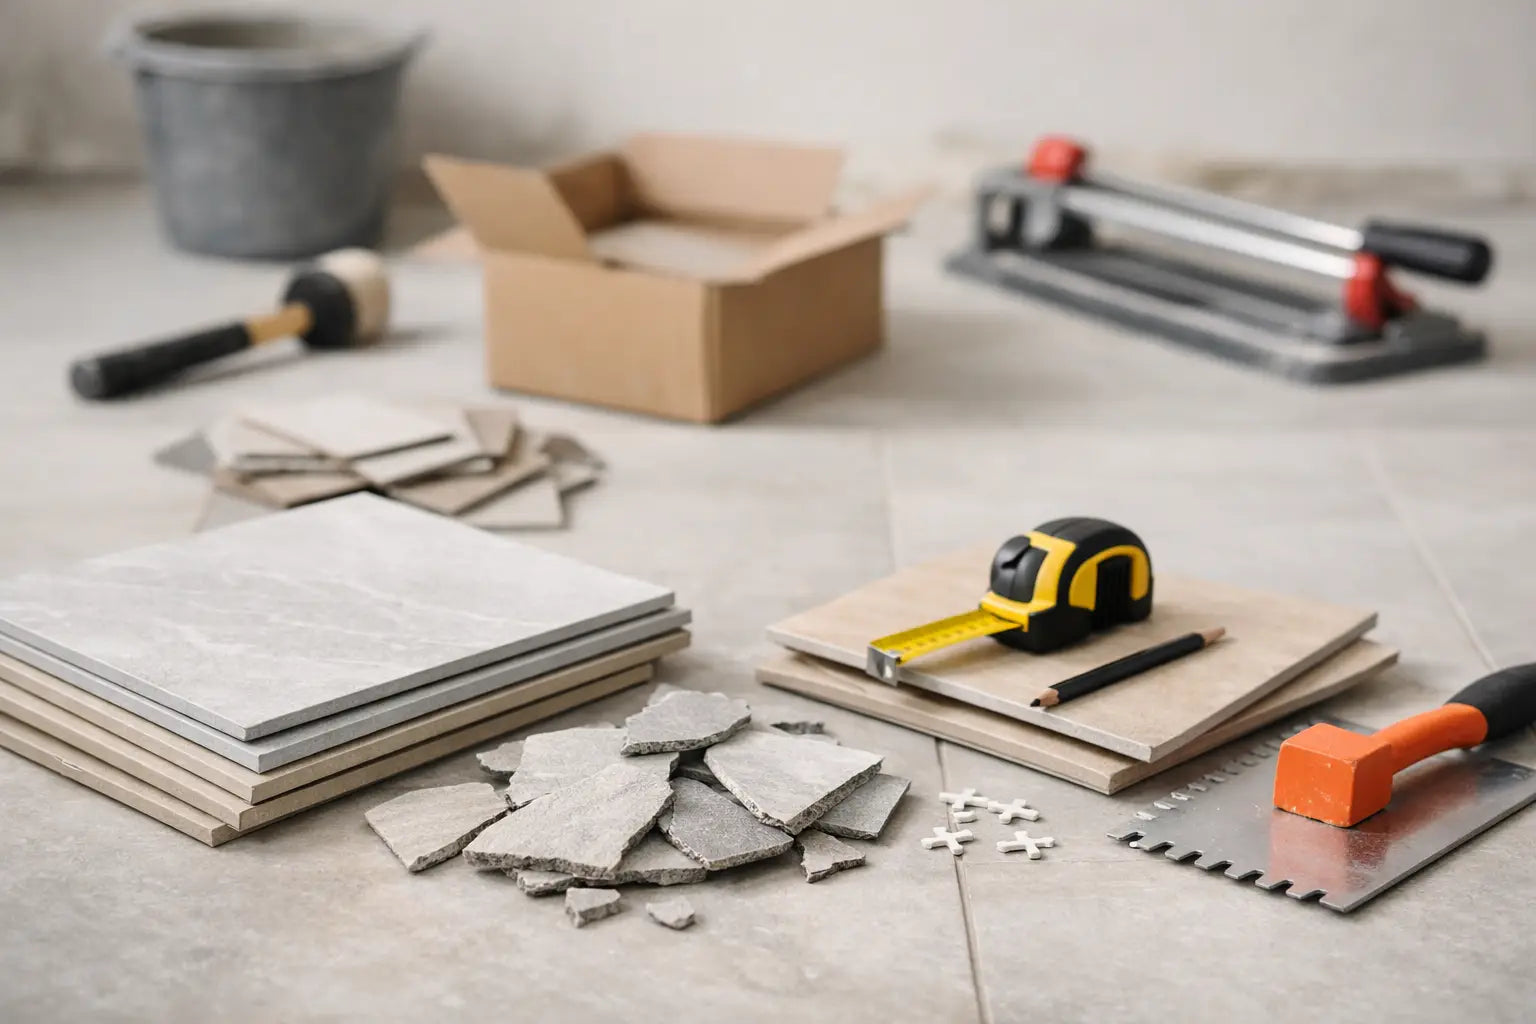
That range is not about supplier caution. It reflects what happens during installation. Tiles need trimming at perimeters, around door frames, sanitaryware, kitchen units and corners. Some pieces chip during cutting. Some boxes can contain slight shade or calibre variation, which means keeping a few spare tiles from the same batch is a sensible safeguard.
For homeowners, that extra quantity protects the finish you have chosen. For installers and specifiers, it reduces the risk of delays, especially if a product has limited availability or a later batch differs slightly from the original delivery.
Why wastage varies from one project to another
Wastage is not simply waste. A large share of it comes from planned cutting. The more interruptions there are in the room, the more material is lost.
A simple rectangular utility room is efficient to tile. A bathroom with boxing, niches, a window reveal, a vanity unit, a concealed cistern wall and multiple corners is not. Even if the measured square metreage looks modest, the quantity of cuts can push the wastage allowance up quickly.
Tile format matters as well. Large-format porcelain can reduce grout joints and create a clean, contemporary finish, but it can also generate bigger offcuts in tight spaces. Smaller tiles may seem more flexible, yet patterned layouts can still create substantial waste depending on the setting out.
Then there is the visual standard of the installation. In premium residential interiors and commercial schemes, tiles are often centred carefully to avoid thin slivers at the edges. That improves the final appearance, but it can increase the amount of material lost during setting out.
Room shape and fixed obstacles
The more the room moves away from a clean rectangle, the more allowance you should build in. L-shaped rooms, chimney breasts, alcoves, islands and built-in joinery all reduce the chance of reusing offcuts efficiently.
Bathrooms usually need a higher allowance than open-plan living spaces because there are more interruptions. Kitchens can vary. A clear floor area may be straightforward, but splashbacks and feature walls with sockets, corners and cut-outs often need more contingency.
Tile size and pattern
Straight lay is the most economical pattern in material terms. Brick bond typically needs a little more care, especially with long plank-style porcelain where offset recommendations may be limited by tile flatness. Diagonal layouts almost always increase wastage because perimeter cuts are greater throughout the room.
Herringbone and chevron deserve particular attention. They look exceptional when specified well, but they do consume more material. The pattern creates repeated angled cuts, and maintaining alignment usually means keeping extra stock on hand.
Future repairs and batch matching
One of the most overlooked reasons to order extra tile is future maintenance. If a tile is damaged years later, there is no guarantee the same design, shade or size will still be available. Even when a collection remains in production, later batches can differ slightly.
Keeping one unopened box, where practical, is often worth more than the credit on a return. That matters even more for decorative, stone-effect or feature tiles where continuity of finish is important.
Practical percentages for different tile projects
If you want a reliable starting point, these percentages work well for most projects.
For a simple square or rectangular floor laid in a straight pattern, allow 10% extra. For standard wall tiling in uncomplicated areas, 10% is also usually suitable. For bathrooms, en suites and kitchens with several cuts and fittings, 12% to 15% is safer. For diagonal layouts, herringbone, chevron and highly detailed feature areas, allow 15% to 20%.
Commercial projects and larger residential schemes can sometimes operate with tighter percentages because the overall area is bigger and cutting losses are spread more efficiently. Even then, it pays to check the exact layout before trimming the allowance too aggressively.
How to calculate your order properly
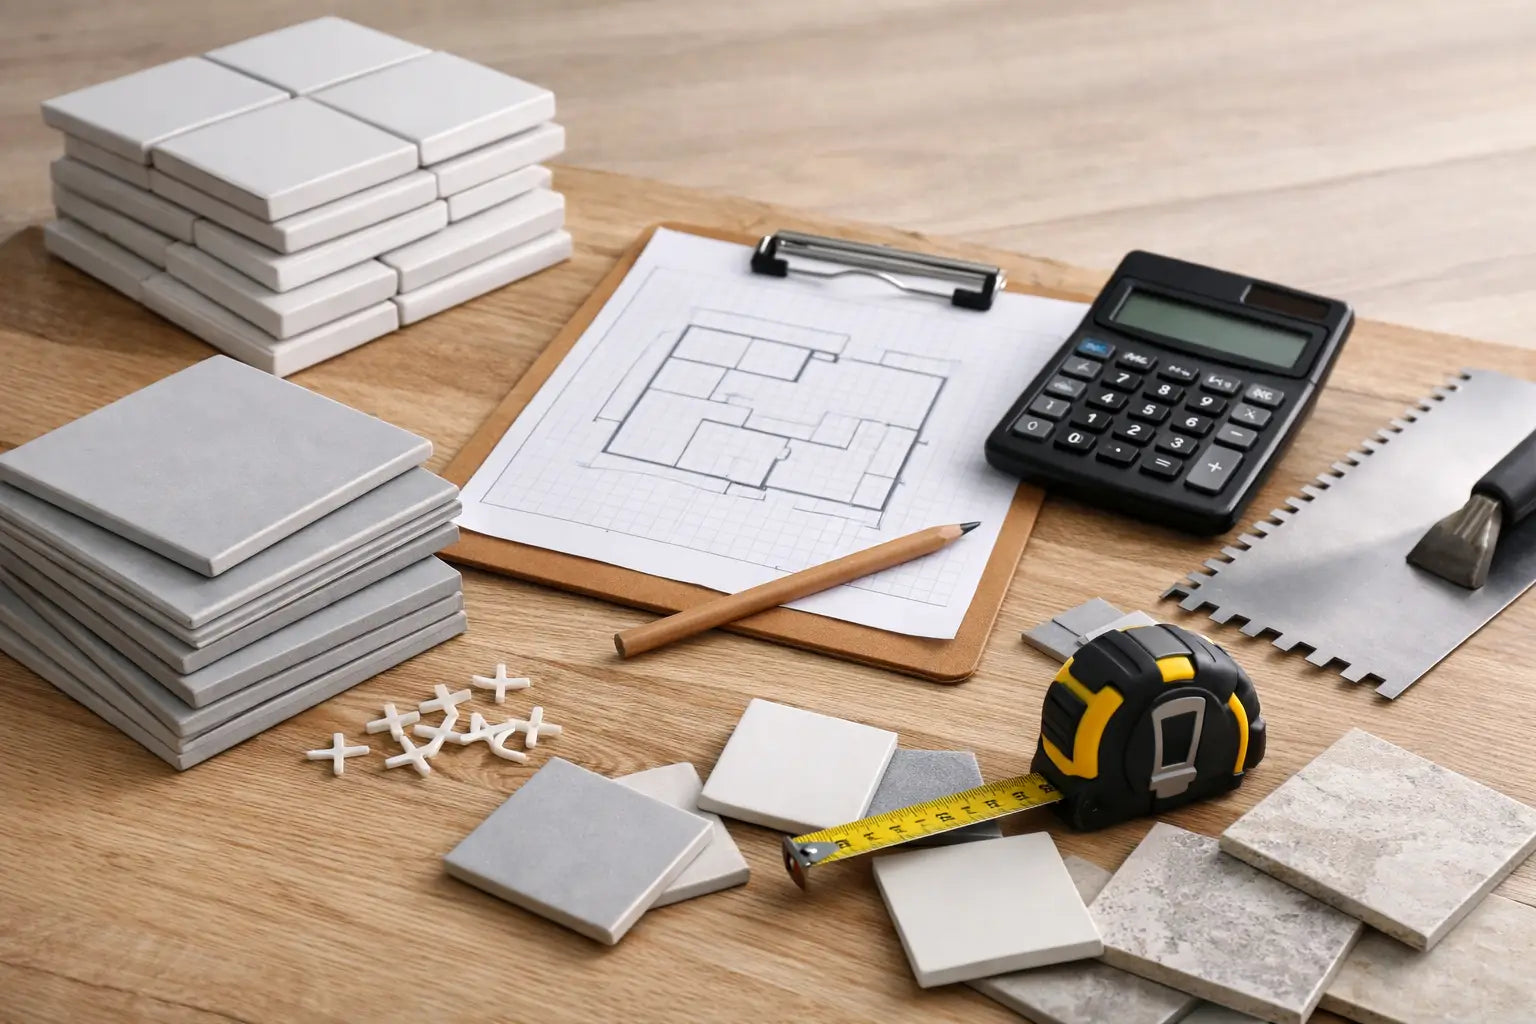
Start with the true area, measured in square metres. Multiply the length by the width for each floor or wall section, then add those sections together. Do not guess. Measure each return, recess and separate area individually.
Once you have the net area, add your wastage percentage. If the room measures 20m2 and the installation is straightforward, adding 10% gives a total of 22m2. If the layout is more complex and you need 15%, the order becomes 23m2.
After that, check how the tile is sold. Many tiles are packed by box, and box quantities rarely match your calculation exactly. Always round up to the next full box. If trims, movement joints or feature borders affect the tiled area, account for those before finalising quantities.
It is also worth checking whether all areas will be tiled in the same product orientation. A wood-effect plank used in a herringbone floor and a straight-laid adjoining area may need different assumptions for wastage, even if the tile itself is the same.
Don’t rely on square metreage alone
Coverage figures are useful, but they do not replace setting out. A room that measures 12m2 may still need noticeably more tile than another 12m2 room if there are awkward edges or the pattern has to align with a focal point.
This is why trade professionals often review plans before confirming quantities. The tile itself, the room geometry and the expected finish standard all affect the final order.
Common mistakes when allowing for tile wastage
The biggest mistake is ordering the exact measured area with no contingency. That nearly always creates pressure on site, and any late top-up order can cause delays.
Another common issue is underestimating patterned layouts. Herringbone and diagonal designs are not just visually different - they are materially different. They require a more generous allowance.
Some buyers also assume wall tiles need less wastage than floor tiles in every case. That is not always true. A full-height bathroom wall with niches, mitred corners, tap penetrations and a centred feature can be more demanding than a plain floor.
Finally, there is the temptation to minimise overage by returning every spare box. If the project uses a distinctive tile, retaining a small quantity for future repairs is often the smarter decision.
When to increase the allowance
There are situations where ordering extra is simply prudent. If the tile has a textured or directional face that must be selected carefully, if the installer needs to sort pieces for visual consistency, or if the product is made to look intentionally varied, a little more stock can make the installation stronger.
The same applies when lead times are long or a project deadline is fixed. On high-end residential schemes and commercial fit-outs, the cost of a delay usually outweighs the cost of one extra box.
For projects using premium European porcelain or decorative feature tiles, it is sensible to think beyond minimum coverage. A well-planned order protects both the design intent and the installation programme.
A sensible approach for confident ordering
If you want a practical rule to follow, use 10% as the minimum for straightforward tile installations, move to 15% where there are cuts, patterns or awkward details, and consider up to 20% for herringbone, diagonal layouts or particularly complex rooms. That approach is usually far more accurate than trying to force every project into one fixed number.
At Smart Tiles, that is why quantity planning is treated as part of specification rather than an afterthought. The right tile order is not only about covering a measured area. It is about allowing for installation reality, preserving the finish you have chosen and avoiding unnecessary disruption once the work begins.
If you are between two quantities, the safer choice is usually to round up, not down. A little foresight at ordering stage is far cheaper than chasing a matching batch after the fitter has already started.